25
4.4.1.1
Diagnostics Toolbar
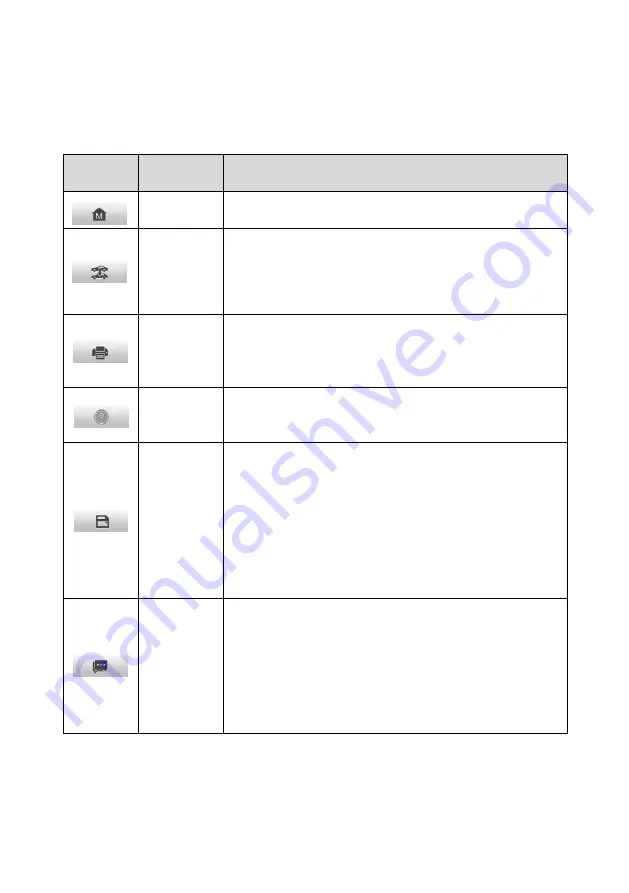
The Diagnostics Toolbar contains several buttons that allow you to print and save the
displayed data, along with other controls. The table below provides a brief description for
the operations of these buttons.
Table 4-2 Diagnostics Toolbar Buttons
Button
Name
Description
Home
Returns to the OTOFIX Job Menu.
Vehicle
Swap
Exits the diagnostics session of the currently identified
vehicle, and returns to the vehicle menu screen to
select another vehicle for testing.
Saves and prints a copy of the displayed data. See
on page 67
for additional
information.
Help
Provides instructions or tips for operations of various
diagnostics functions.
Save
Opens a submenu and provides 2 options to save data.
Tap
Save this page
to take a screenshot of the
current screen.
Tap
Save all data
to save a PDF file (use this save
option when data displays on multiple screens).
All saved data are stored in the Data Manager for later
reviews. See
on page 73.
Data
Logging
Records the communication data and ECU information
of the vehicle. The saved data can be reported and
sent to technical support center via the Internet.
You can go to the Support application to follow up on
the progress. See
on page 87 for further
information.
Summary of Contents for OTOFIX D1 Pro
Page 9: ...2 1 1 5 Procedures An arrow icon indicates a procedure Example To use the camera ...
Page 66: ...59 Figure 7 5 Sample Vehicle Information Figure 7 4 Screen OBD Connect Screen ...
Page 90: ...83 Refer to the associated TeamViewer documents for additional information ...
Page 96: ...89 To search by functions Figure 16 2 Sample Function Viewer Screen 2 ...
Page 102: ...95 ...
Page 110: ...103 20 3CE Compliance RED Directive 2014 53 EU ...


