background image


©Austral Surveillance 2012 


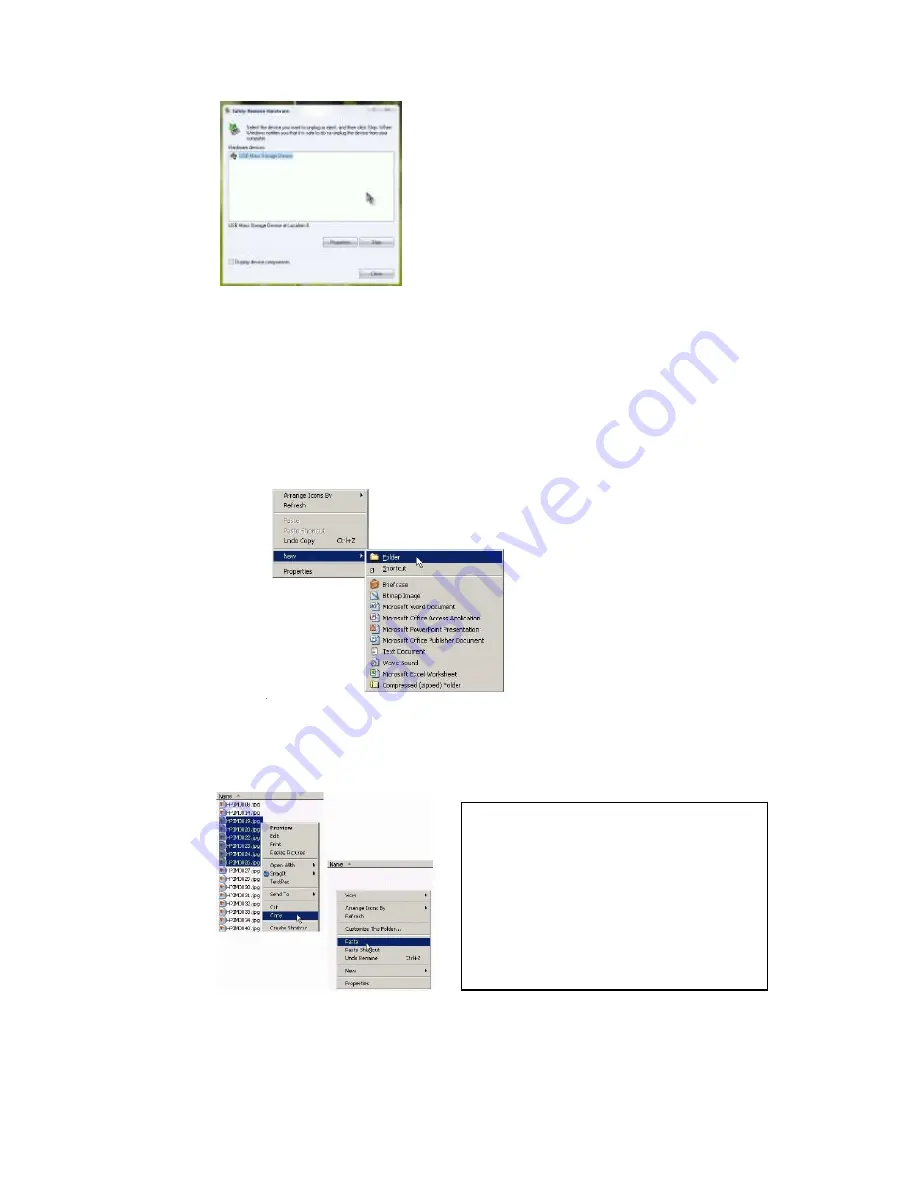
Select the option available, if there’s more than one, left double-click to see what each 
is, then on the appropriate one left click once on 

OK

 and left click once on 

Stop


f)


Troubleshooting:

 when the storage space has run out the blue and red lights will flash 

alternately for about 5 seconds before automatically saving footage and switching off. 
To maximize space, connect the camera to your computer (as shown in previous steps) 
and remove the footage from the device and put it in another location.  
To do this, when the camera is connected, find the folder you want to put the footage in 
or create one the same way you did the text document, instead clicking on 

Folder 

as 

shown

.


Once the folder has been created, go back to the folder where all the footage is saved 

and left click once on the first file so it ‘lights up’ a certain colour, press and hold 

CTRL


and continue to left click once on each file (making sure it lights up the same colour) that 
you want to move to the new folder you’ve created. 


When you’ve selected everything, let go of 

CTRL

, right click once on one of the files, then 

left click once on 

Cut.

 Open the folder you want to move them to and right click once 

anywhere in the folder, left click once on 

Paste 

and all the files should show up once 

they’ve finishing transferring.


If you click on Copy instead of Cut as shown 
in the image, once you’ve pasted the files 
into the new folder, go back to the first 
folder where the footage was and delete the 
files from there. If they’re still highlighted, 
just press the delete button on your 
keyboard or right click once on any file and 
left click once on delete. 

Summary of Contents for Mini DVR Cam

Page 1: ...ideo and sound recording d USB Socket Connect the USB cable provided to charge device from your computer and also transfer data Light indicator Insert micro SD card this way with the front of the camera towards you Red light means device is switched on in video mode and ready to use Blue light after switching on means device is starting up If light is constant then photo mode is on Pink light mean...

Page 2: ... the mode button once to get into photo mode the blue light will come on which means it s ready to capture image Press the on off button once and the blue light will go off for about 4 seconds then return this means a photo has been successfully taken Note for the best photo results ensure adequate lighting and that there are no obstructions to the camera Also aim to keep a distance of at least 50...

Page 3: ...es with Removable Storage While the footage is transferring from the device to the computer the blue light will flash rapidly d Charging when in charge mode the red light will be flashing once it s finished the light will be constant Note to ensure the camera is charging to its maximum capacity for the first 5 charges leave it connected for up to an hour after it s fully charged the light is const...

Page 4: ...is left click once on File then Save or Save As and name the document Time then left click once on OK to complete saving procedure To disconnect the device right click once on the Removable Disk Icon then left click once on Eject as shown in below image Alternatively at the bottom right hand of the screen to the left of the clock there should be an icon like this or this Right click once on it and...

Page 5: ...s been created go back to the folder where all the footage is saved and left click once on the first file so it lights up a certain colour press and hold CTRL and continue to left click once on each file making sure it lights up the same colour that you want to move to the new folder you ve created When you ve selected everything let go of CTRL right click once on one of the files then left click ...

Page 6: ...curity or longevity of files or superior quality It is advised that you frequently backup the device saving files elsewhere Optimal usage temperate is between 0 40 C and 20 80 humidity Avoid exposing camera to strong sunlight as it can damage the lens For cleaning purposes avoid using device in dusty and wet areas as it is not waterproof Clean with a tissue or glasses cleaning cloth Avoid using pr...

Reviews: