background image


©Austral Surveillance 2012 


e) Microphone and Camera: The microphone is used to capture sound; the camera is used to 
capture images. 


OPERATION 

a)


On/Off: Press button to start device, the blue light will be visible which means it’s 
starting up, once it’s ready to use the light will go red (this takes about 3-5 seconds). 
Default mode is video recording. 
To switch device off, press and hold on/off button for 5 seconds, the lights will go off 
and any footage recorded will automatically be saved. 

Note: any buttons pressed during start-up will not respond. 

b)


Mode:  
- The default is video mode, make sure light is red which means the device is ready to 
use then press the on/off button once to start recording. You’ll know it’s recording when 
the red light ‘blinks’ slowly. To stop recording, press the on/off button once again. 

Note: the device will automatically save footage every 30 minutes whilst continually 
recording. Also, the motion detect in video mode requires the most optimal light 
settings to work effectively so it’s advised that you don’t rely on it for acquiring 
footage. 

- Press the mode button once to get into photo mode, the blue light will come on which 
means it’s ready to capture image. Press the on/off button once and the blue light will 
go off for about 4 seconds then return; this means a photo has been successfully taken. 

Note: for the best photo results ensure adequate lighting and that there are no 
obstructions to the camera. Also, aim to keep a distance of at least 50cm between the 
device and photo subject. 

- Press the mode button again to get into sound mode, this time a pink light will come on 
which means it’s ready to record. Press the on/off button once to record sound, the light 
will stay constant during recording, press on/off again to stop sound recording. 

In Summary: default mode – video record, press mode once – photo mode, press 
mode twice – sound mode, press mode 3 times – back to default mode. 

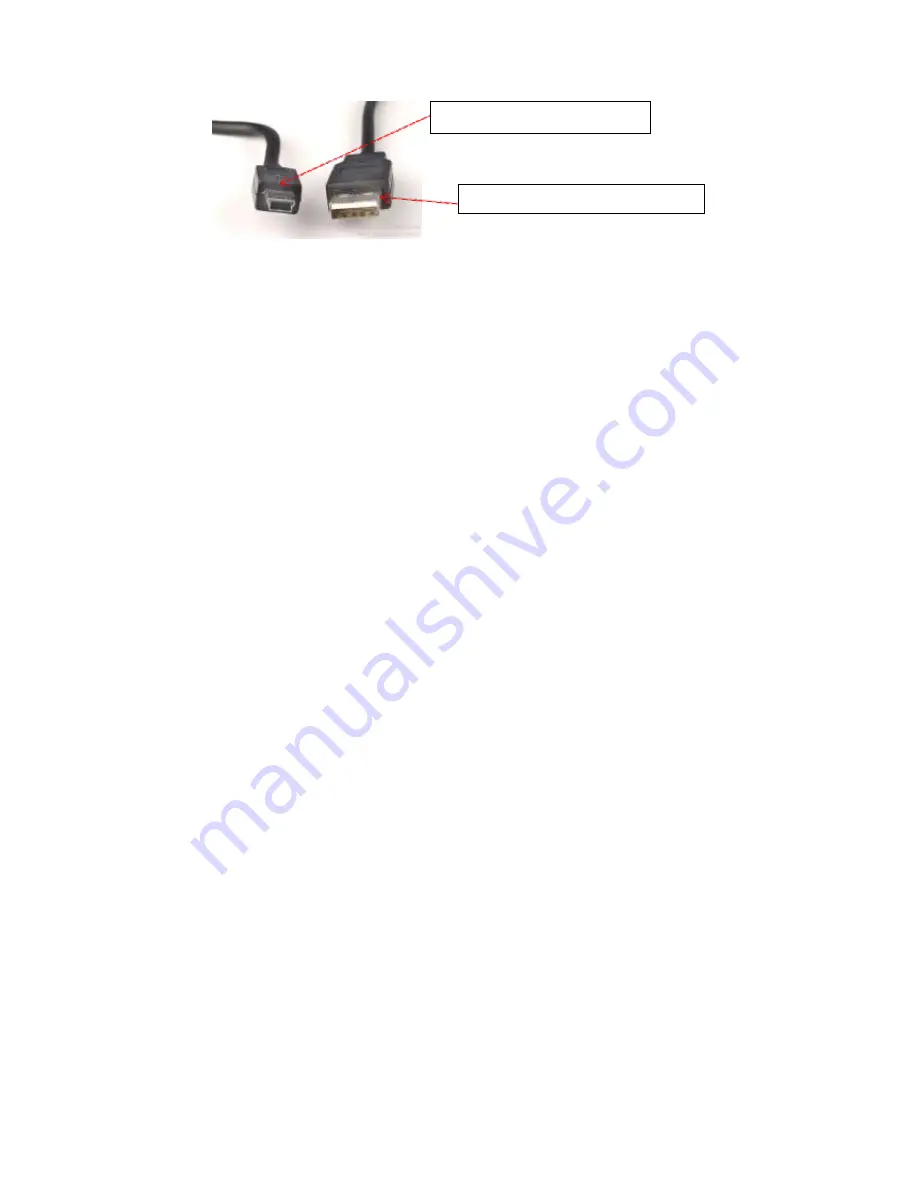
- To access webcam mode connect the camera to your computer via the USB cable 
supplied ensuring the device is switched on then wait for your computer to recognize 
that the camera has been connected. If it doesn’t, use the CD also provided to install the 
driver necessary for this feature to work. If the computer fails to recognize the camera, 
disconnect and reconnect the USB. 

Insert this side into the camera 

Insert this side into the computer 

Summary of Contents for Mini DVR Cam

Page 1: ...ideo and sound recording d USB Socket Connect the USB cable provided to charge device from your computer and also transfer data Light indicator Insert micro SD card this way with the front of the camera towards you Red light means device is switched on in video mode and ready to use Blue light after switching on means device is starting up If light is constant then photo mode is on Pink light mean...

Page 2: ... the mode button once to get into photo mode the blue light will come on which means it s ready to capture image Press the on off button once and the blue light will go off for about 4 seconds then return this means a photo has been successfully taken Note for the best photo results ensure adequate lighting and that there are no obstructions to the camera Also aim to keep a distance of at least 50...

Page 3: ...es with Removable Storage While the footage is transferring from the device to the computer the blue light will flash rapidly d Charging when in charge mode the red light will be flashing once it s finished the light will be constant Note to ensure the camera is charging to its maximum capacity for the first 5 charges leave it connected for up to an hour after it s fully charged the light is const...

Page 4: ...is left click once on File then Save or Save As and name the document Time then left click once on OK to complete saving procedure To disconnect the device right click once on the Removable Disk Icon then left click once on Eject as shown in below image Alternatively at the bottom right hand of the screen to the left of the clock there should be an icon like this or this Right click once on it and...

Page 5: ...s been created go back to the folder where all the footage is saved and left click once on the first file so it lights up a certain colour press and hold CTRL and continue to left click once on each file making sure it lights up the same colour that you want to move to the new folder you ve created When you ve selected everything let go of CTRL right click once on one of the files then left click ...

Page 6: ...curity or longevity of files or superior quality It is advised that you frequently backup the device saving files elsewhere Optimal usage temperate is between 0 40 C and 20 80 humidity Avoid exposing camera to strong sunlight as it can damage the lens For cleaning purposes avoid using device in dusty and wet areas as it is not waterproof Clean with a tissue or glasses cleaning cloth Avoid using pr...

Reviews: