background image

SETTING UP THE TUNER 

Channel Setup 

Press the “Power” button on the remote control to turn the tuner on. When powering on for the first time, you will be 

prompted to scan and memorize all available channels from your RF input signal. To start this process, press the 

“Menu” button on remote control to display the MENU banner. 

Auto Scan 

Depending upon the RF input signal, you will need to scan for either off air 

(antenna) or cable channels. 


Off Air Scan 

1. 

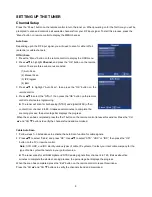
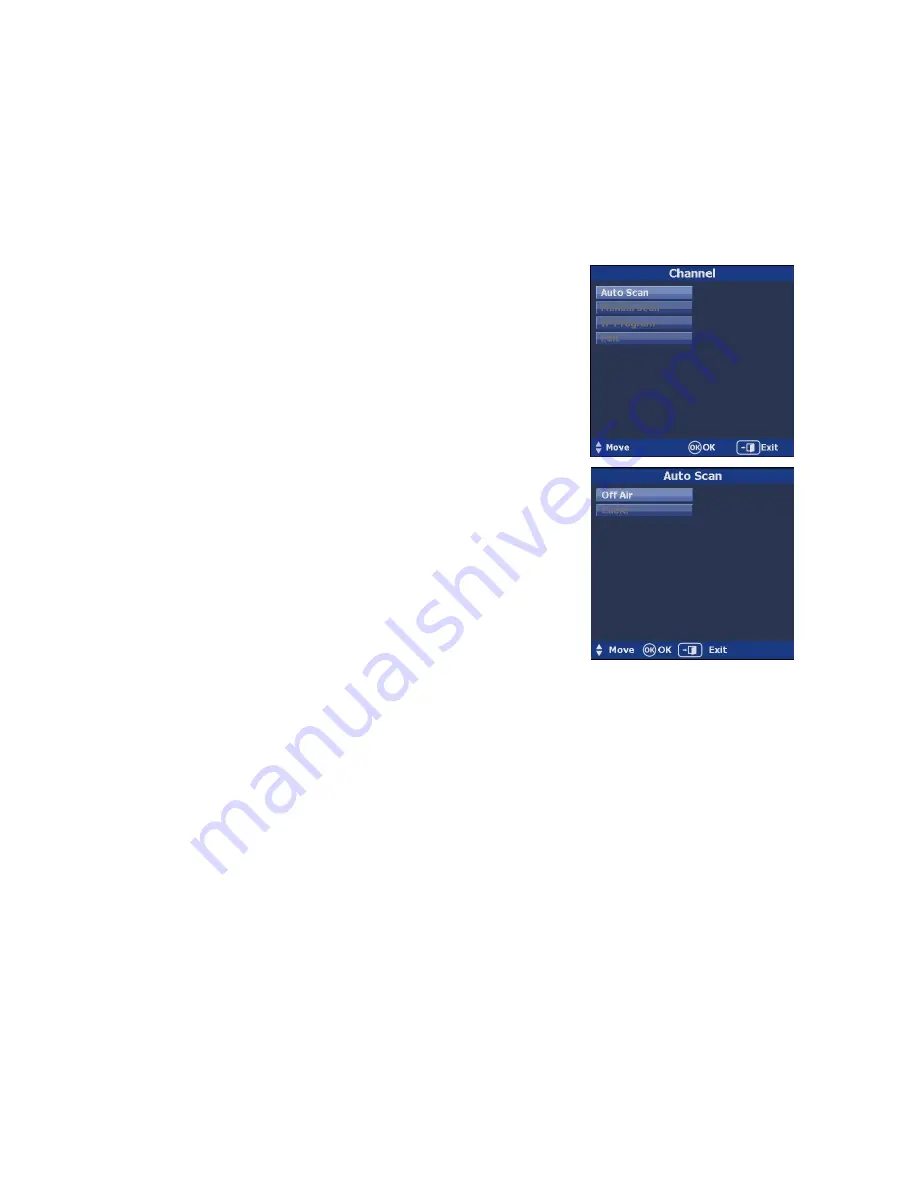
Press the “Menu” button on the remote control to display the OSD menu. 

2. Press




 to highlight 

Channel

, and p

ress the “OK” button on the remote 

control. There are three sub-menus are listed. 

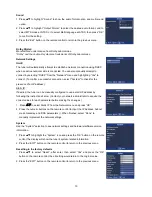
        (1) Auto Scan 

        (2) Manual Scan 

        (3) IP Program 

        (4) Edit 

3. Press 




to  highlight  “Auto  Scan”,  then  press  the  “OK”  button  on  the 

remote control. 

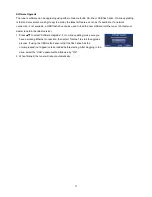
4. Press 




to select the “Off Air”, then press the “OK” button on the remote 

control to start auto-programming. 

  The tuner will scan for both analog (NTSC) and digital (ATSC) off-air 

content from channel 2 to 69. It takes several minutes to complete the 

scanning process; the percentage bar displays the progress. 

When the scan had completed

, press the “Exit” button on the remote control to leave this window. Press the “CH 

” and “CH 

” buttons to verify the channels found and memorized.


Cable Auto Scan 

1.  Follow steps 1~3 listed above to activate the Auto Scan function for cable signals. 

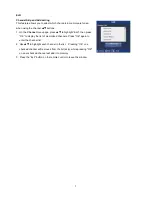
2.  Press 




to select “Cable” and press “OK”. Use 




to select “STD”, “HRC” or “IRC”, then press the “OK” 

button on the TV or remote control. 

Note

: STD, HRC, and IRC identify various types of cable TV systems. Contact your local cable company for the


type of cable system that exists in your particular area. 

  The tuner scans for all QAM digital and NTSC analog signals from channel 2 to 125. It takes about five 

minutes to complete the whole scanning process; the percentage bar displays the progress. 

When the scan has 

completed, press the “Exit” button on the remote control to leave this window.   

Pr

ess the “CH 

” and “CH 

” buttons to verify the channels found and memorized. 

Summary of Contents for V-Tune Pro VPH-100

Page 1: ...Manual Number 120223...

Page 2: ...y Also be sure that the power has been turned off before connecting any of the RF connectors Also follow these precautions Ventilation Do not block the ventilation slots on the tuner or place any heav...

Page 3: ...n 9 OSD Opacity 9 I Plate 9 Power Saving 9 Time Zone 9 Sound 10 Network Settings 10 System 10 Resetting to the factory defaults 10 Software Upgrade 11 Parental Control Setting 12 Explanation of the MP...

Page 4: ...ss to change channels or highlight items on the On Screen Display OSD menu screen Volume and System Reset Press to adjust volume or highlight items on the OSD menu Press to exit to previous menu scree...

Page 5: ...o video switchers or displays Choices are in order of signal quality Component YPbPr S Video composite Video Note S Video and composite are 480i only S PDIF OUT Digital audio outputs optical and RCA t...

Page 6: ...Select output format For analog output connect the YPbPr S VIDEO or VIDEO outputs to the AV INPUT jacks on your display switcher or router Connect the L R AUDIO outputs for audio For multichannel digi...

Page 7: ...angle of the lighting on the tuner or operate the remote control unit closer to the tuner Button Description Power Turns tuner ON and OFF Numeric Buttons For entering channel number or password Mute P...

Page 8: ...for both analog NTSC and digital ATSC off air content from channel 2 to 69 It takes several minutes to complete the scanning process the percentage bar displays the progress When the scan had complete...

Page 9: ...to select Scan then OK to scan for and load the channel The scanned channels will appear if the desired scanning channel has been searched successfully 2 When finished press the Exit button on the re...

Page 10: ...press to highlight Edit then press OK to display the list of memorized channels Press OK again to enter the channel list 2 Use to highlight each channel in the list Pressing OK on a checked channel wi...

Page 11: ...ed Caption font size Small Medium Large 3 Font Press buttons and the OK button to select the desired Closed Caption font Font1 Font7 4 Font Color Press buttons and the OK button to select the desired...

Page 12: ...ignal source resolution and if available programming data on the screen upon channel changes To see or hide I Plate 1 Press to change the I Plate display to On or Off mode 2 Press the Exit button on t...

Page 13: ...sired the tuner can be manually configured to use a static IP address by following the instructions below Contact your network administrator to acquire the correct values for each parameter before mak...

Page 14: ...e used to load the new software into the tuner Contact your dealer to obtain the latest version 1 Press to select Software Upgrade For on line updating make sure you have a working Ethernet connection...

Page 15: ...young audience including children from ages two six USTV FCC Content Category V Violence S Sexual content L Offensive language D Dialogue sexual innuendo FV Fantasy or cartoon violence MPAA Rating Sy...

Page 16: ...ssage Channel is blocked will appear on the TV screen Advanced Rating 1 Press buttons to highlight Parental and press OK and enter the default password of 0000 Press OK to confirm 2 Press buttons to h...

Page 17: ...igital Cable Network Standard For optimal performance on a cable system following the published standards will usually lead to the best results and the least headaches More detailed documents are avai...

Page 18: ...longer than 4 5 microseconds may not be measured reliably Therefore micro reflections longer than 4 5 microseconds shall be considered under item 4 of this table as a contributor to C N I 14 Burst No...

Page 19: ...a Check whether the tuner output and the TVs input are properly set b Check whether the video connectors are properly connected c Scan this channel again by using Auto Scan and see if the video servi...

Page 20: ...olume on the V Tune Pro HD RPC Command method Send_Command cmd VOL024 password 0000 Will set the volume on the V Tune Pro HD to 24 RPC Command method Get_Status cmd VOL password 0000 Will query the cu...

Page 21: ...VER CR Version Query responds with VER 1 00 CR if version 1 00 was present CC1 CR Closed Caption 1 selection CC2 CR Closed Caption 2 selection CCOFF CR Closed Caption Off selection CC CR Query Closed...

Page 22: ...8Mbs MPEG2 individual stream up to 30Mbs Protocol RTP Real time Transport Protocol or UDP Interface AV Interface F Type Connector x 1 HDMI Digital Output Type A Connector x 1 Component Video Output R...

Page 23: ...nd transmission of an Audio Video Program EIA Electronic Industries Alliance ES Elementary Stream A generic term for a stream of data of one particular type Typically these streams are of Video or Aud...

Page 24: ...phase and amplitude modulation RF Radio Frequency Used to describe the part of the electromagnetic frequency spectrum that is used to transmit video audio and data over the air or via coaxial cable RT...

Page 25: ...nt other than supplied by manufacturer in determination of manufacturer shall have affected the performance safety or reliability of the product F Part s are no longer available for product In the eve...

Page 26: ...23...

Reviews: