


- 3 -
CATC/2WSI Installation and Connection Guide
- 3 -
Both JP1 and JP2 should be configured the same way for proper operation.
Certain models of Escient Fireball
®
will need to have the jumpers at JP2 removed completely. If you have
problems with your unit locking up, please remove these jumpers.
Please see the Audioaccess website for any additional information regarding your specific installation.
Note: Please consult your manufacturer’s information to determine the correct connection of the below
pins for proper send and receive of RS-232 data.
Our research has shown that if you are using a straight through serial cable (not null modem) you will
need to have the jumpers in the Top (DTE) position for:
•
Connecting to your PC for firmware updates
•
Audio ReQuest Music Servers
•
Escient Fireball Servers
•
Audioaccess aDock
Our Research has shown that if you using a straight through serial cable (not null modem) you will need
to have the jumpers in the Bottom (DCE) position for:
•
Lutron Homeworks
•
Russound ST2
Serial Port Pin #
Interface Board in DTE position
Subsystem
Pin 2
TxD (TOP)
RxD
Pin 3
RxD (TOP)
TxD
Interface Board in DCE position
Subsystem
Pin 2
RxD (BOTTOM)
TxD
Pin 3
TxD (BOTTOM)
RxD
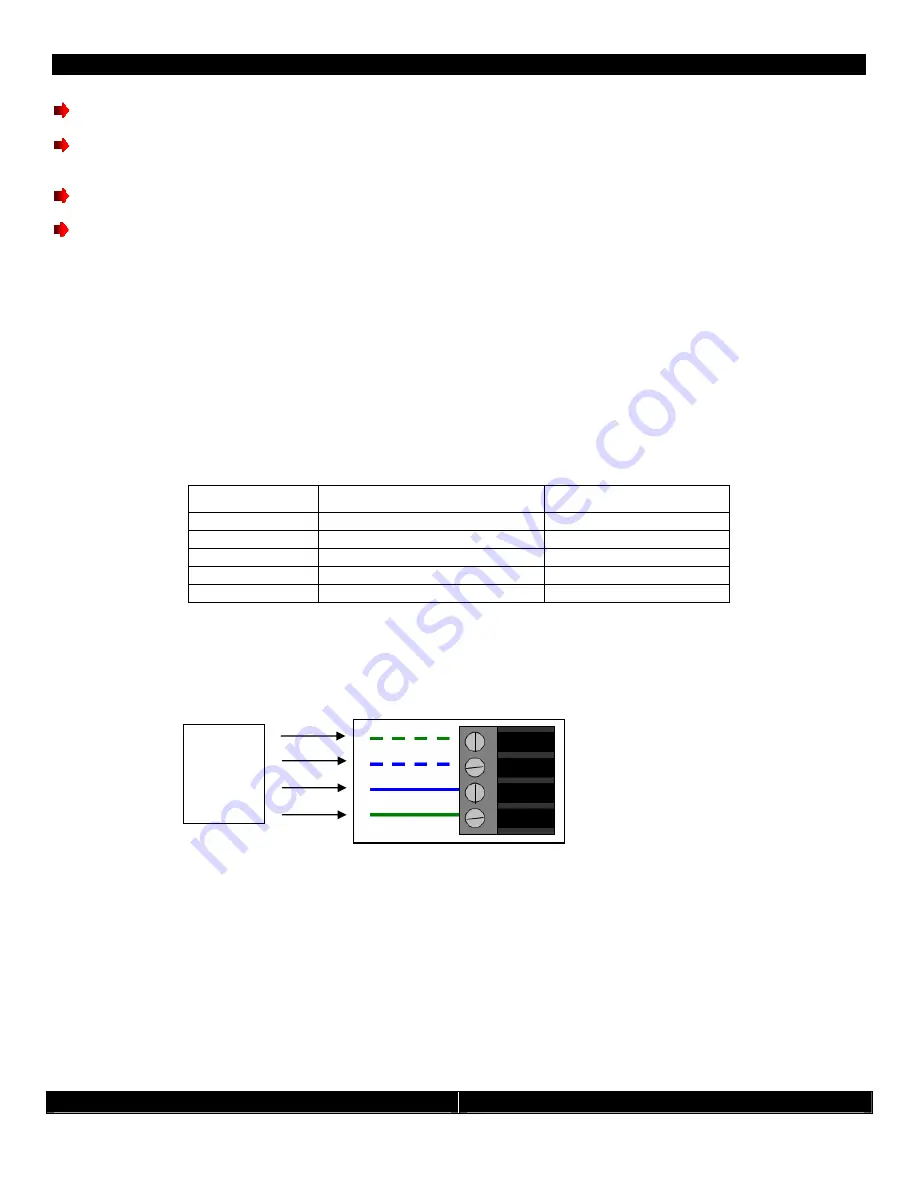
Connection to Audioaccess
®
Bus
Connect the four wire phoenix connector using the standard four wire keypad wiring. From top to bottom the
connections are:
Optional 12 Volt Power Connection
Select an AC to DC adaptor of at least 12VDC @ 500mA with a mono 3.5mm (1/8
”
mini) plug, tip positive. Insert the
mini plug into J1 on the CATC/IB and the adaptor into an unswitched outlet. Do NOT use the switched outlet on the
PX-700!
If you are using the CATC/2WSI with the optional power, you may still be able to use the touchscreens to access the
attached devices if the PX-700 becomes nonfunctional, or needs to be removed for service. This would be most useful
for non-audio control such as Lutron Lighting systems. This optional power connection can also be used to power the
unit during a firmware update if you do not have a PX-700 to supply power to the unit.
Power
Data 1
Data 2
Ground


