5
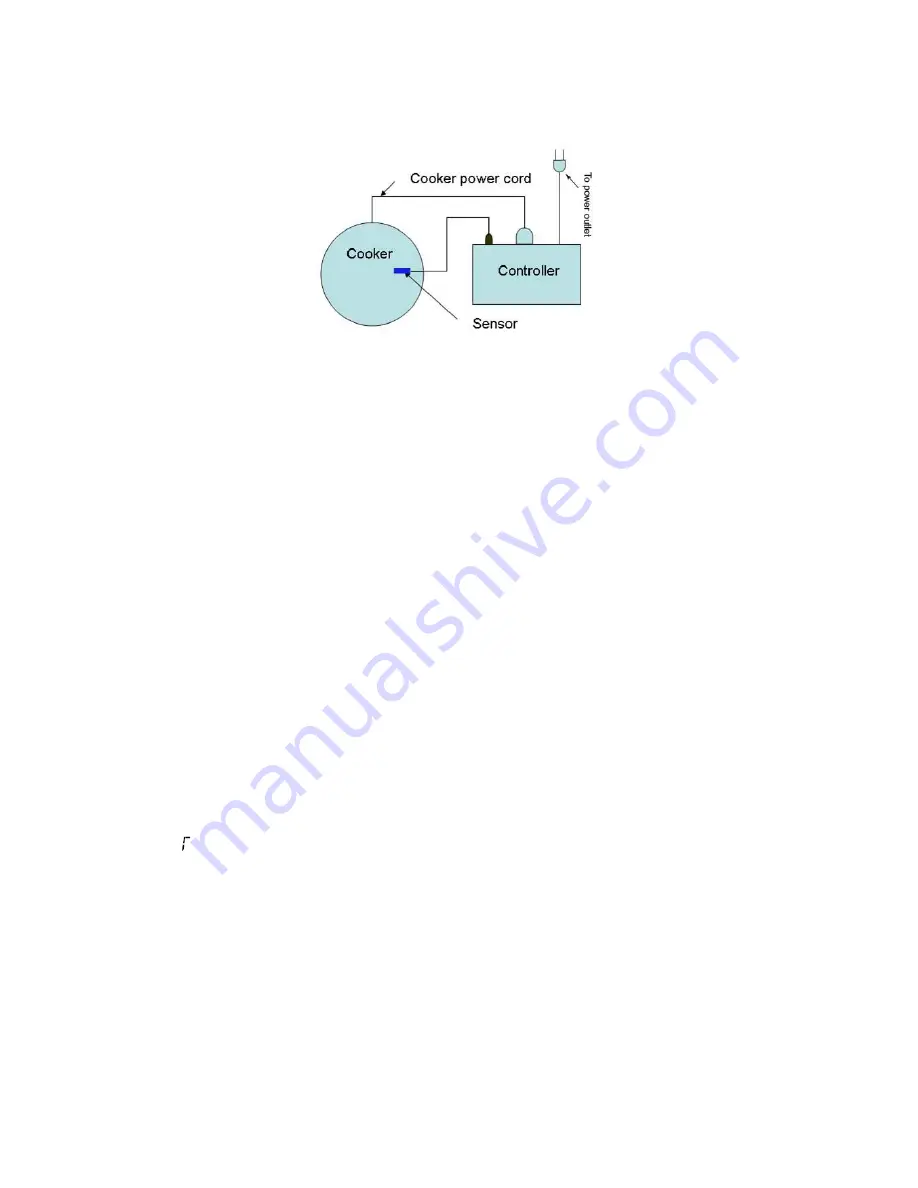
Fig 3. Typical connection between the controller and the heating device (in this example,
the cooker).
The connection of controller should be done in the following steps.
Plug the temperature sensor to the back of the controller.
Plug the power cord to the back of the controller and the other end to the power
outlet on the wall.
Turn on the controller to make sure the controller powers up properly. The
temperature display is in the range expected. Then, turn off the controller.
Plug the heater to the back of the controller. If the heater has a switch, put it in the
off position.
Put the sensor inside the container to be controlled
.
Turn on the controller.
Turn on the heating device.
3) Programming the smoking temperature profile.
A total of 6 steps can be programmed for this controller. Each step contains the
temperature (C0X) and time duration (T0X) setting. They are represented by the symbol
C0X and T0X, where “X” is the step number (e. g. Step 4 temperature is represented by
C04 and step 4 time is repres
ented by T04). The character, “T”, is displayed as the
symbol, “ ”. Time is defined as the duration between the last step and the next step.
Please make sure the time is long enough for the heater to heat up the smoker. If the
time is set too short, the temperature may not be able to reach the current step
temperature setting, before it jumps to the next step. The time unit is in hours with 0.1
hour resolution. Each 0.1 hour equals to 6 minutes. If the recipe only needs one step,
you can program the time of the rest of the steps to zero.
To program the temperature profile, press SET key once. The display will show C01 for
one second and then display the temperature setting for step 1.
Use “+” and “-“ keys to
change the setting. When finished, press the SET again to confirm the change. The


