


16-Channel Digital Video Recorder
29
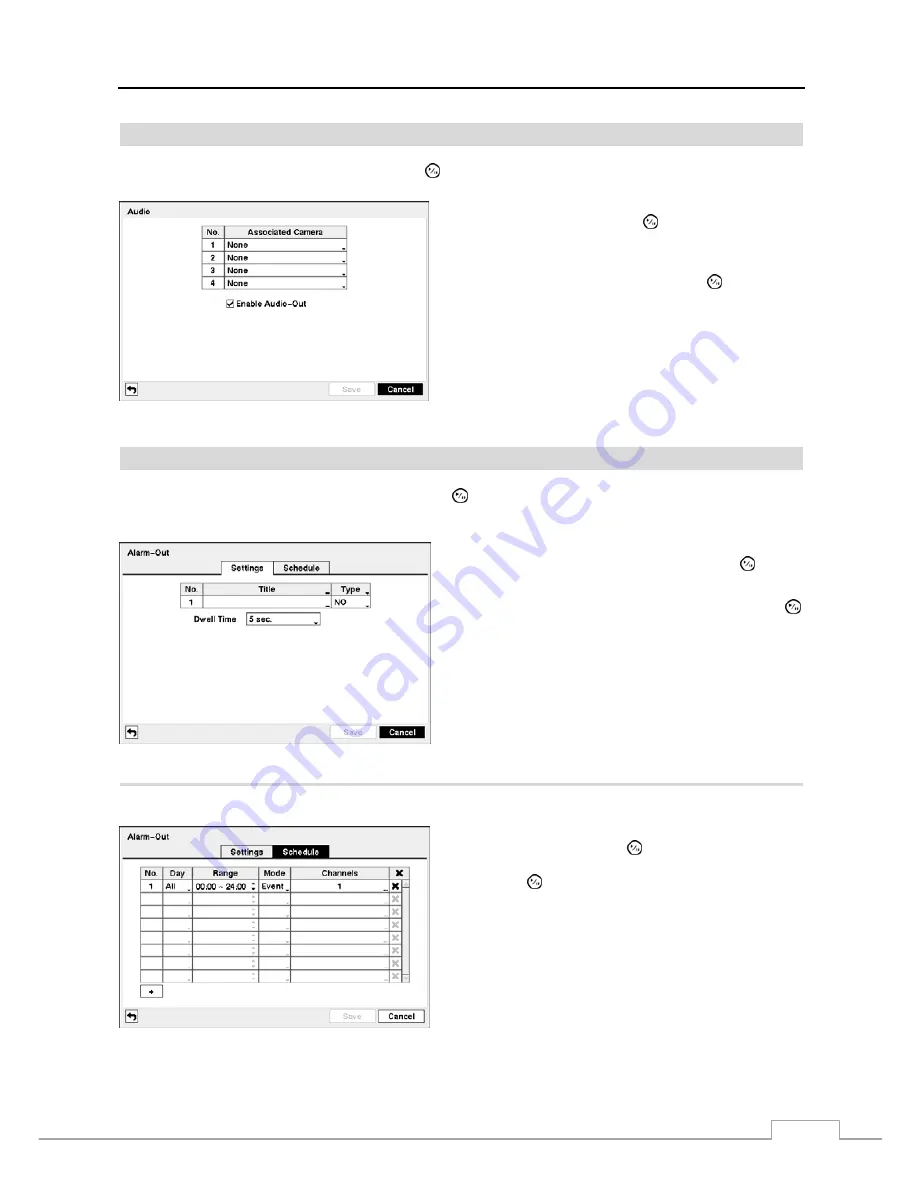
Audio
Highlight
Audio
in the Devices menu and press the button. The
Audio
setup screen appears.
The DVR can record up to four audio inputs. Highlight the
box beside the input and press the button. A list of cameras
appears, and you can select which camera you want associated
with that audio input.
Highlight
Enable Audio-Out
and press the button. This
toggles between enabling and disabling audio out.
Figure 31 — Audio setup screen.
Alarm-Out
Highlight
Alarm-Out
in the Devices menu and press the button. The
Alarm-Out
screen allows you to change the
settings and establish a schedule for the alarm output from the DVR.
The alarm output can be given its own title by highlighting
the box under the
Title
heading and pressing the button.
A virtual keyboard appears allowing you to enter the title.
Highlighting the box beside
Dwell Time
and pressing the
button allows you to set the dwell time of the alarm output.
Dwell times range from 5 seconds to 30 minutes.
Figure 32 — Alarm-Out Settings screen.
Highlighting the
Schedule
tab causes the Schedule screen to display.
You can add and edit alarm output schedules on this screen.
Highlight the
+
and press the button to add a schedule.
Highlighting the boxes under the
Column
heading and
pressing the button allows you to edit the information in
those boxes.
The
Day
box allows you to select the days that the alarm
schedule will be active. The choices are: Sun, Mon, Tue, Wed,
Thu, Fri, Sat, M~F, Hol and All.
The
Range
box allows you to set the time that the alarm
schedule will be active in 15-minute increments from 00:00
to 24:00.
Figure 33 — Alarm-Out Schedule screen.
Summary of Contents for VLDVR Series
Page 1: ......
Page 9: ...User s Manual 2 Figure 1 Typical DVR installation...


