6
ATTO Technology Inc. FibreBridge Installation and Operation Manual
3.0 Configure the FibreBridge
To configure the ATTO FibreBridge, use ATTO ExpressNAV. Default values are appropriate for most
configurations, but may be modified.
The best way to access the FibreBridge to view
and change settings is to use ATTO ExpressNAV
System Manager, a browser-based graphical
interface. Other methods are also available. Refer to
Interface options
on page 8.
Help is available from within ExpressNAV for many
configuration settings. Mouse over a field name, which
will turn into a selectable link if help is available. Click
on the link to display help in a pop-up window. For
more information on any of these parameters, refer to
the specific CLI command in
Command explanations
on page iv of the Appendix.
You may make changes to several pages before
going to the Restart page and restarting the
FibreBridge to save the changes.
Preliminary steps
1
If you are in the ExpressNAV interface welcome
screen, complete the following substeps;
otherwise, go to step 2.
a. Click on
Enter
here
.
b. Type in the default user name and
password, then click
OK
.
Note
The default values are user name
root
and
password
Password
. The user name is case
insensitive and the password is case sensitive.
It is best practice to change the default user
name and password. Refer to
Modify
passwords
on page 6.
Result: The ExpressNAV FibreBridge Status page
appears. Go to step 3.
2
If you are not already in the ExpressNAV
interface, complete the following substeps:
a. Type in the IP address of your FibreBridge
in a standard browser as found in
Using
ExpressNAV System Manager
on page 8.
b. Click on
Enter
here
.
c. Type in the default user name and
password, and then click
OK
.
3
The
Status
page appears. Choose one of
the following options:
• View all settings to ensure they are appropriate
for your configuration.
• Keep the automatic
settings created when you
powered up your
FibreBridge and do
nothing, accepting all the
default settings for all
ports.
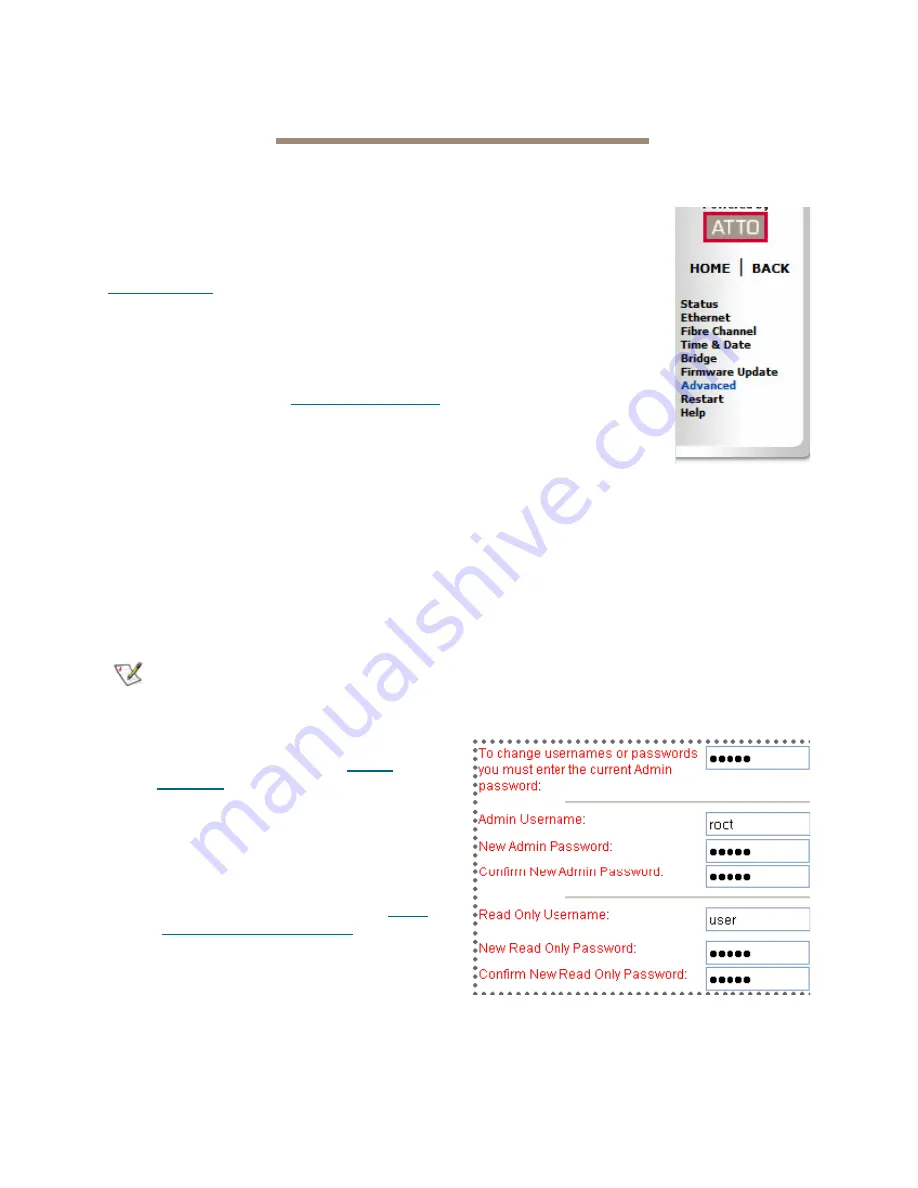
• Use the individual pages
listed on the side menu to
make changes or use
other features such as
Time & Date as needed.
Port configurations
1
Follow the Preliminary
steps.
2
Click on the port you wish to configure on the
left hand menu:
Ethernet
or
Fibre Channel
.
3
Select the parameters you wish to change.
4
Click
Submit
.
5
If you have completed all changes for this
session, go to the
Restart
page and restart the
FibreBridge.
Modify passwords
1
Follow the Preliminary steps.
2
From the side menu select
Bridge
. The
Bridge
Configuration
page is displayed.
The Administrator user name that you are
currently logged in with and the current read
only user name, if present, are displayed in
their text boxes.


