How to Use the Software
6-2
STK100 Starter Kit User Guide
6.2
Configuring the
Software
1.
The first step is to choose the type of hardware connection, using the drop-down
list at the top right of the screen. Choose STK100 (serial port) or STK100 (paral-
lel port), depending on your requirements. Ensure that the board is connected to
the correct port – serial or parallel.
2.
Now select the “Programmer - Options” menu choice. A dialog box appears
where you can pick the correct port setting. If parallel port had been selected in
stage 1, then this dialog box gives parallel port choices (LPT1, LPT2, LPT3);
otherwise, it gives serial port choices (COM1, COM2, COM3, COM4).
3.
Next, select the required device in the drop-down list at the top left of the screen.
The memory sizes, fuse availability and other device-specific features are set
automatically.
4.
Set the level of programming security required in the third drop-down list in the
center of the screen.
6.3
Loading Data
1.
To load data to be programmed, choose the “File - Load” menu choice. A further
menu fly-out allows you to select Flash or EEPROM memory as the target for the
load operation.
Note:
Only Intel hex files can be used.
2.
Select the file and it will be opened in the correct buffer window. If an error occurs
during the load operation because the file cannot be found, the file is not Intel
hex, the file is too big, etc., then the status light at the bottom left of the screen
turns red and a warning message is displayed. If the operation was successful,
this indicator light stays green. The light is yellow when the operation is taking
place – this behavior is the same for all operations. Clicking the mouse on the
error message opens the status window where more information may be given.
3.
When a file has been loaded into the Flash memory, and the EEPROM memory
if required, the programmer is ready for programming operations. EEPROM data
(or Flash data) can be typed directly into the buffer windows instead of being
loaded from a file. The data can be entered as ASCII characters or as hexadeci-
mal numbers.
6.4
Programming
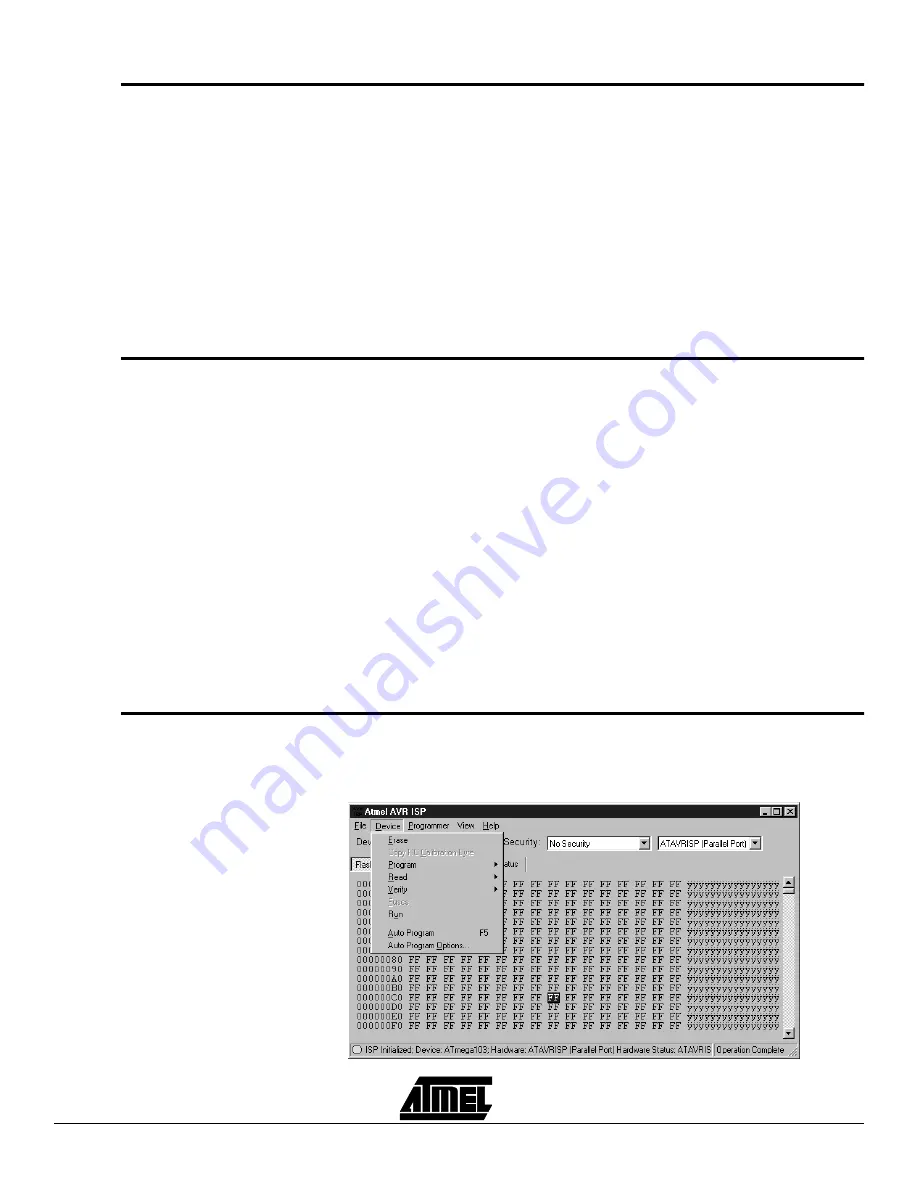
The programming operations are listed in the “Device” menu. The programmer must be
configured before programming can be undertaken, and for the program operation, data
must be loaded into the buffer windows.
Figure 6-2.
Summary of Contents for AVR STK100
Page 1: ...R STK100 Starter Kit User Guide December 1999...
Page 5: ...Introduction 1 2 STK100 Starter Kit User Guide...
Page 15: ...Device and Jumper Information 4 6 STK100 Starter Kit User Guide...
Page 17: ...Installing the Software 5 2 STK100 Starter Kit User Guide...
Page 21: ...How to Use the Software 6 4 STK100 Starter Kit User Guide...
Page 25: ...Menu and Option Descriptions 7 4 STK100 Starter Kit User Guide...
Page 32: ...Appendix A STK100 Schematics STK100 Starter Kit User Guide 9 5...
Page 33: ...Appendix A STK100 Schematics 9 6 STK100 Starter Kit User Guide...


