


AT-JUNO-451
14
Installation
IP Configuration
The AT-JUNO-451 is shipped with DHCP enabled. Once connected to a network, the DHCP server (if available),
will automatically assign an IP address to the unit. Use an IP scanner, along with the MAC address on the back of
the unit, to identify both the unit and its IP address on the network. If a static IP address is desired, the unit can be
switched to static IP mode. Use one of the following procedures to switch between DHCP and static IP mode.
The default static IP address of the AT-JUNO-451 is
192.168.1.254
.
If the AT-JUNO-451 is unable to detect a DHCP server within 15 seconds, then the unit will set all IP settings to zero.
1. Make sure the AT-JUNO-451 is powered.
2.
Connect an Ethernet cable between the LAN port of the AT-JUNO-451 and the Local Area Network (LAN).
3.
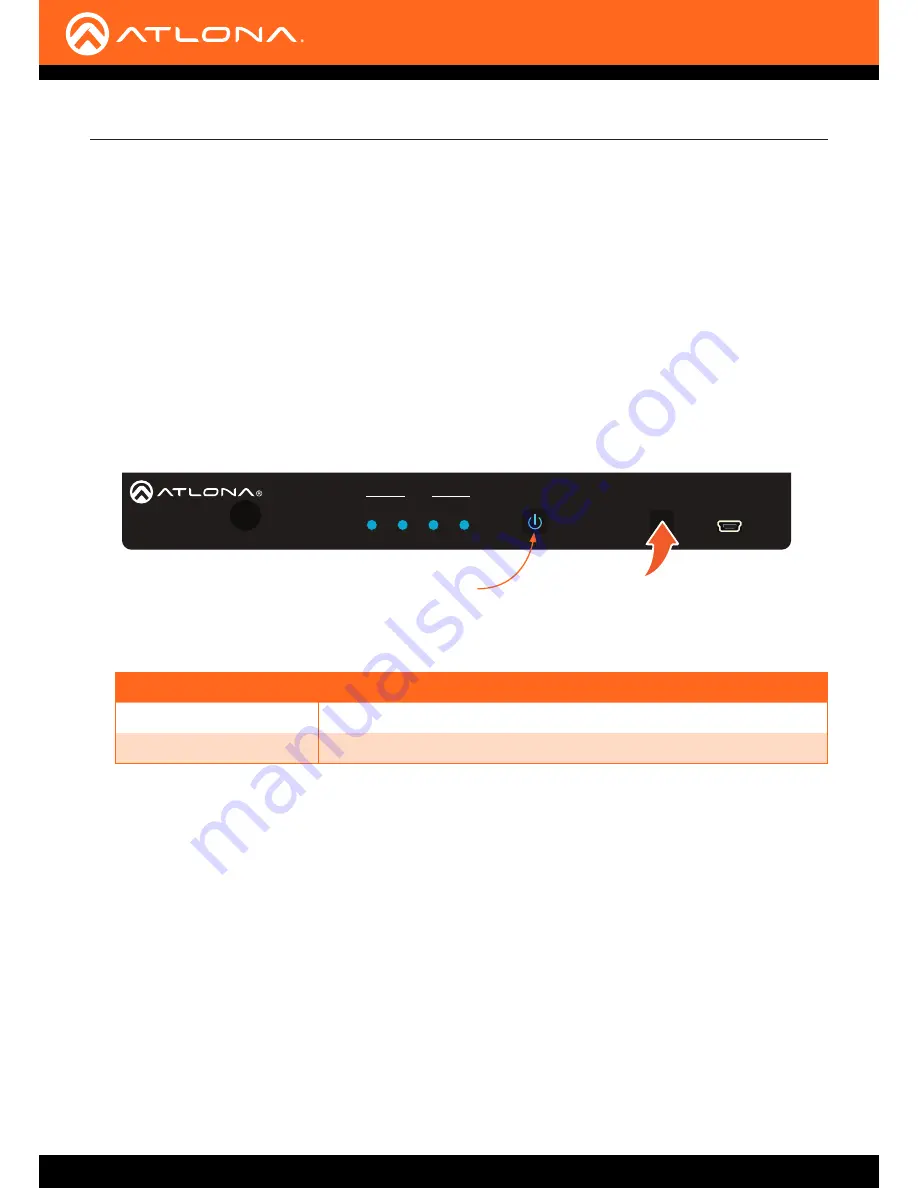
Press and hold the
INPUT
button on the front panel for approximately 10 seconds. Release the
INPUT
button
once the
POWER
button begins to flash blue and red. The number of flashes will indicate the currently selected
IP mode.
POWER button flashes
Description
Two
Static IP mode
Four
DHCP mode
POWER button
Setting the IP Mode
HDMI OUT
LAN
OPTICAL
RS-232
RX TX
S
IR IN
DC 5V
AT-JUNO-451
INPUT
1
2
3
4
POWER
INPUT
FW
1
2
3
4
INPUT
AT-JUNO-451
J
UNO
X
TM
Use the
IPStatic
and
IPDHCP
commands to switch between DHCP and IP mode through RS-232 or Telnet. Refer to
API documentation for more information. All commands and their arguments are case-sensitive.
• Setting static IP mode
1. Connect to the AT-JUNO-451 using RS-232 or Telnet.
2. At the command line, execute the
IPDHCP
command using the
off
argument, as shown.
IPDHCP off
Setting the IP Address Using Commands


