


AT-HDVS-200-TX-WP / AT-HDVS-200-TX-WP-BLK
14
Installation
3. Execute the
command. This command requires three arguments: the desired IP address of the
AT-HDVS-200-TX-WP, the subnet mask, and the gateway address. All arguments must be entered in dot-
decimal notation. The following is an example:
IPStatic 192.168.1.112 255.255.255.0 192.168.1.1
• Setting DHCP mode
1. Connect to the AT-HDVS-200-TX-WP using RS-232 or Telnet.
2. At the command line, execute the
command using the
on
argument, as shown. All characters are
case-sensitive.
IPDHCP on
Once DHCP is enabled, the unit will be assigned an IP address by the DHCP server (if present).
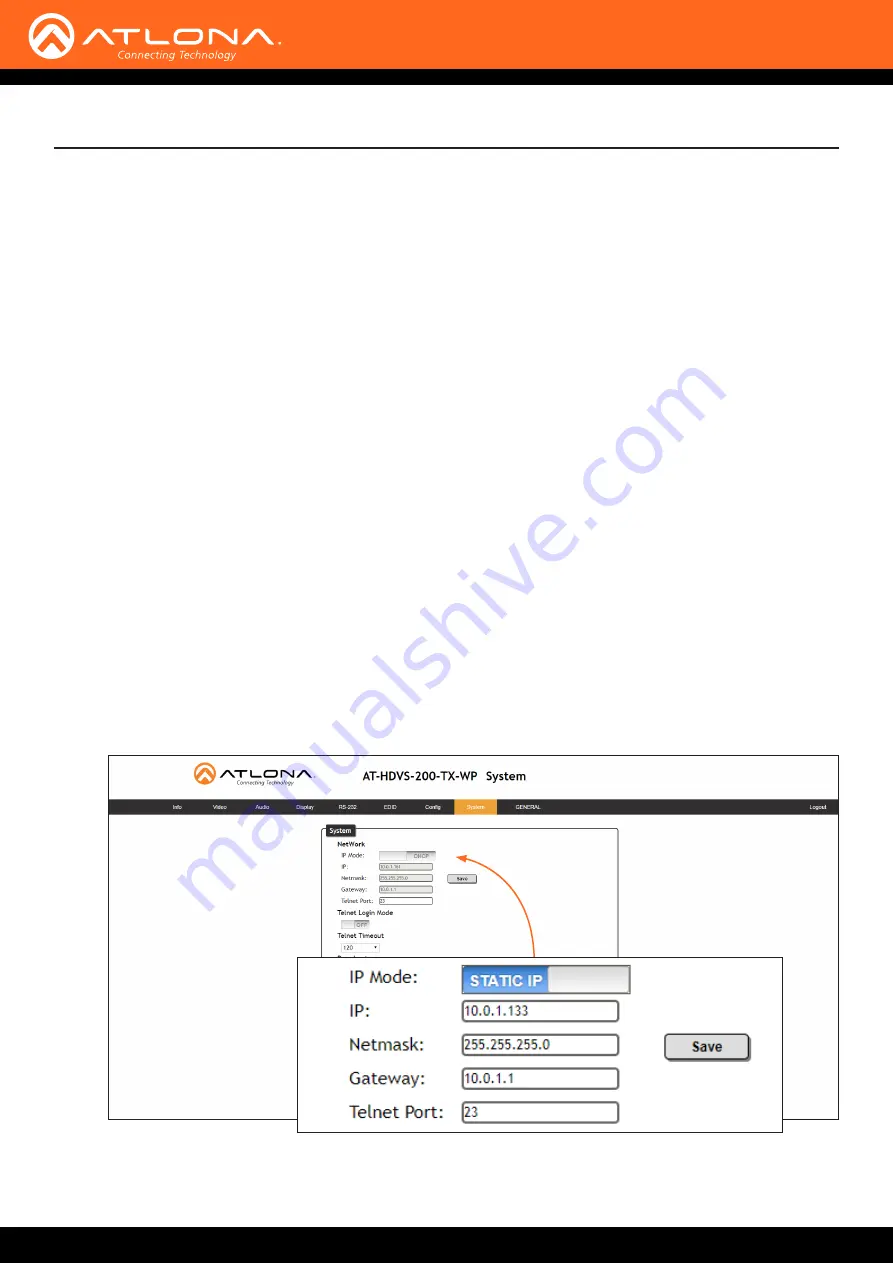
Using the Web GUI
, in the web GUI, allows the AT-HDVS-200-TX-WP to use either DHCP or static IP
mode. In order to access the web GUI, the IP address of the AT-HDVS-200-TX-WP must be known.
1.
Open the desired web browser and enter the IP address of the AT-HDVS-200-TX-WP.
2.
Log in, using the required credentials. The factory-default username and password are listed below:
Username:
root
Password:
Atlona
3. Click the
System
tab.


