Technical Manual & Parts Lists
14
Basic Machine Operation (Panel Mode)
Note: The puller roller has sharp edges. Keep hands and fingers away from
the puller roller while loading the material under the presser foot.
Switch the Panels / Frames switch to Panels mode (up).
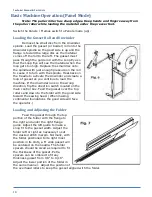
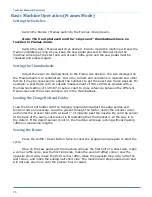
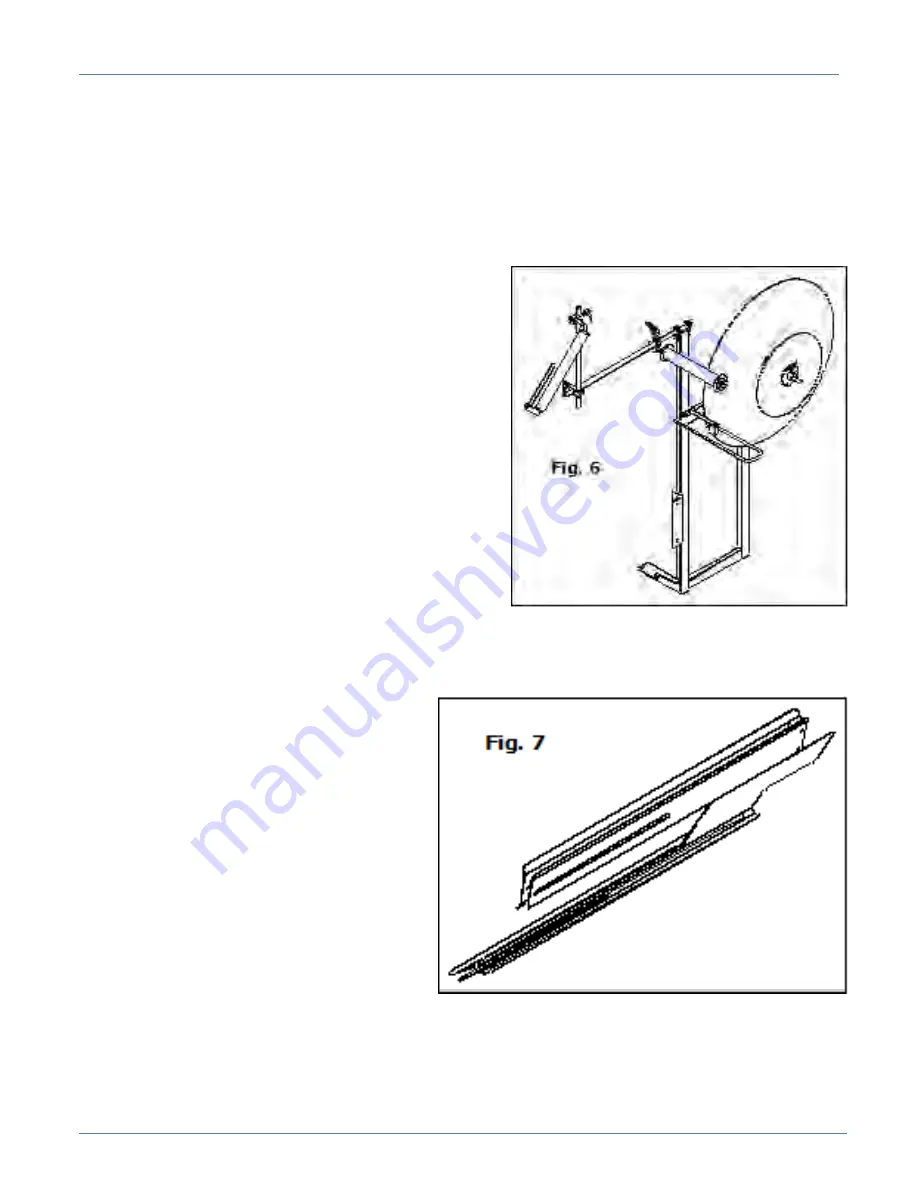
Loading the Gusset Roll and Unwinder
Remove the small disc from the Unwinder
spindle. Load the gusset (or border) roll onto the
Unwinder spindle so the good side is up and the
flange is toward the large disc as the material
comes off the roll to the left. The gusset must
pass through the guide rod with the Loop Eye so
that the Loop Eye will see the material when the
loop gets too high. Replace the small disc onto
the spindle with just enough pressure on the roll
to cause it to turn with the spindle. Heal back on
the treadle to activate the Unwinder and create a
loop of gusset as you continue to load the
machine. If the Unwinder runs in the wrong
direction, flip the direction switch located on the
main control box. Feed the gusset over the top
rollers and down to the folder with the good side
toward the sewing head. (When making
continental foundations the good side will face
the operator.)
Loading and Adjusting the Folder
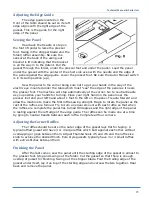
Feed the gusset through the top
portion of the folder with the flange to
the right and under the right flange
guide. Adjust the left guide to make a
snug fit to the gusset width. Adjust the
folder left or right as necessary to set
the desired stitch margin. Normally, with
the folder positioned to its right most
position in its slots, a 6" wide gusset will
be centered on the needle. The folder
spacers should be sized as required to fit
the thickness of the gusset. Extra
spacers can be ordered to fit any
thickness gusset from 1/8" to 9/16".
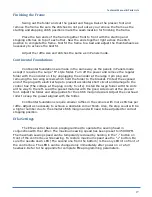
Adjust the lower portion of the folder in
the same manner. Adjust the position of
the overhead rollers to keep the gusset aligned with the folder.
Summary of Contents for 1335MDS
Page 2: ......
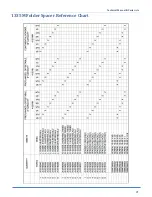
Page 27: ...Technical Manual Parts Lists 21 1335M Folder Spacer Reference Chart ...
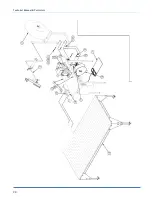
Page 30: ...Technical Manual Parts Lists 24 ...
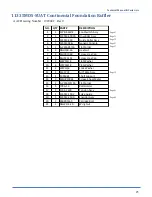
Page 32: ...Technical Manual Parts Lists 26 ...
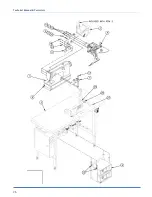
Page 34: ...Technical Manual Parts Lists 28 ...
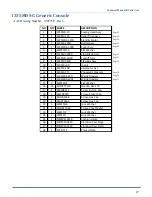
Page 36: ...Technical Manual Parts Lists 30 ...
Page 38: ...Technical Manual Parts Lists 32 ...
Page 40: ...Technical Manual Parts Lists 34 ...
Page 42: ...Technical Manual Parts Lists 36 ...
Page 44: ...Technical Manual Parts Lists 38 ...
Page 46: ...Technical Manual Parts Lists 40 ...
Page 48: ...Technical Manual Parts Lists 42 ...
Page 50: ...Technical Manual Parts Lists 44 ...
Page 52: ...Technical Manual Parts Lists 46 ...
Page 54: ...Technical Manual Parts Lists 48 ...
Page 56: ...Technical Manual Parts Lists 50 ...
Page 58: ...Technical Manual Parts Lists 52 ...
Page 60: ...Technical Manual Parts Lists 54 ...
Page 62: ...Technical Manual Parts Lists 56 ...
Page 66: ...Technical Manual Parts Lists 60 ...
Page 68: ...Technical Manual Parts Lists 62 ...
Page 70: ...Technical Manual Parts Lists 64 1335M 2400 Ball Screw and Nut Assembly 9000982 ...
Page 74: ...Technical Manual Parts Lists 68 ...
Page 76: ...Technical Manual Parts Lists 70 1335M PD Pneumatic Diagram 125618C ...
Page 77: ...Technical Manual Parts Lists 71 1335MDS PD Pneumatic Diagram 125670C ...
Page 78: ...Technical Manual Parts Lists 72 1335MDS WD Wiring Diagram 125650C ...
Page 79: ...Technical Manual Parts Lists 73 1335MDS WD1 Wiring Diagram 125573B ...
Page 80: ...Technical Manual Parts Lists 74 1335MDS WD2 Connection Diagram 125576B ...


