A-6
Appendix
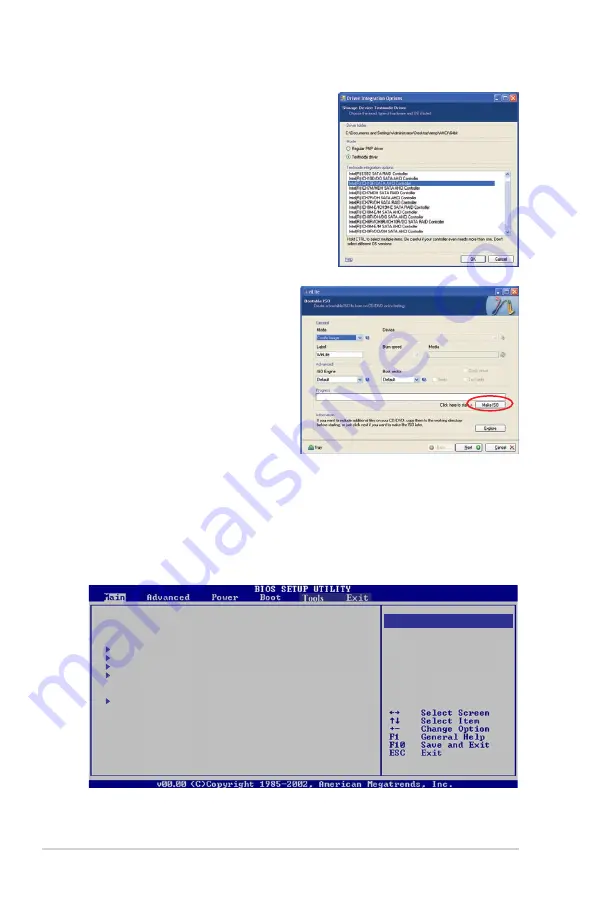
7. Click
Insert
>
Multiple driver folder
to
select the AHCI folder, then click
OK
.
Select the driver path and click
OK
. Select
Intel(R) ICH10R SATA AHCI Controller
and click
OK
, then click
Next
. From the
confirmation message, click
Yes
. When
the process is finished, click
Next
.
8. From the Mode dropdown list, select
Create Image
and click the
Make
ISO
button, then select the place
you what to save this ISO file to
and key in a name for the ISO file.
Click
Save
when done. When nLite
is finished creating the ISO image.
Click
Next
.
9. Click
Finish
to exit nLite.
10. Enable AHCI mode in BIOS settings, before installing Windows
®
XP.
Press <DEL> during the Power-On Self-Test (POST) to enter the BIOS setup.
From the Main menu, select
Configure SATA as
, then press <Enter>. Select
AHCI and press <Enter>. Press <F10> to save changes and exit BIOS setup.
System Time
[04: 49 : 02]
System Date
[Wed 07/09/2008]
SATA1
: [Not Detected]
SATA2
: [Not Detected]
SATA3
: [Not Detected]
SATA4
: [Not Detected]
Configure SATA as
[AHCI]
System Information
Options
IDE
AHCI
Summary of Contents for T-P5G43
Page 20: ...1 10 Chapter 1 System introduction ...
Page 54: ...3 16 Chapter 3 Starting up ...
Page 98: ...5 36 Chapter 5 BIOS setup ...


