


ASUS MAXIMUS VIII HERO
3-5
Chapter 3
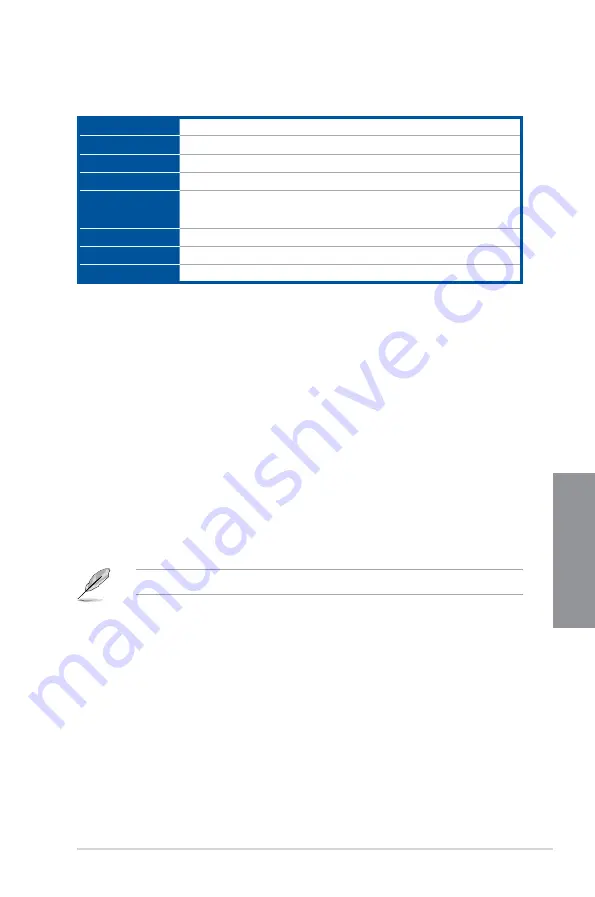
Menu bar
The menu bar on top of the screen has the following main items:
My Favorites
For saving the frequently-used system settings and configuration.
Main
For changing the basic system configuration
Extreme Tweaker
For changing the overclocking settings
Advanced
For changing the advanced system settings
Monitor
For displaying the system temperature, power status, and changing
the fan settings.
Boot
For changing the system boot configuration
Tool
For configuring options for special functions
Exit
For selecting the exit options and loading default settings
Menu items
The highlighted item on the menu bar displays the specific items for that menu. For example,
selecting
Main
shows the Main menu items.
The other items (My Favorites, Extreme Tweaker, Advanced, Monitor, Boot, Tool, and Exit)
on the menu bar have their respective menu items.
Submenu items
A greater than sign (>) before each item on any menu screen means that the item has a
submenu. To display the submenu, select the item and press <Enter>.
Language
This button above the menu bar contains the languages that you can select for your BIOS.
Click this button to select the language that you want to display in your BIOS screen.
MyFavorite(F3)
This button above the menu bar shows all BIOS items in a Tree Map setup. Select frequently-
used BIOS settings and save it to MyFavorite menu.
Refer to section
My Favorites
for more information.
Qfan Control(F6)
This button above the menu bar displays the current settings of your fans. Use this button to
manually tweak the fans to your desired settings.
EZ Tuning Wizard(F11)
This button above the menu bar allows you to view and tweak the overclocking settings of
your system. It also allows you to change the motherboard’s SATA mode from AHCI to RAID
mode.
Summary of Contents for Maximus VIII Hero
Page 1: ...Motherboard MAXIMUS VIII HERO ...
Page 16: ...xvi ...
Page 58: ...1 42 Chapter 1 Product Introduction Chapter 1 ...
Page 64: ...2 6 Chapter 2 Basic Installation Chapter 2 To uninstall the CPU heatsink and fan assembly ...
Page 65: ...ASUS MAXIMUS VIII HERO 2 7 Chapter 2 2 1 4 DIMM installation To remove a DIMM ...
Page 66: ...2 8 Chapter 2 Basic Installation Chapter 2 2 1 5 ATX Power connection OR OR ...
Page 67: ...ASUS MAXIMUS VIII HERO 2 9 Chapter 2 2 1 6 SATA device connection OR OR ...
Page 76: ...2 18 Chapter 2 Basic Installation Chapter 2 ...
Page 136: ...3 60 Chapter 3 BIOS Setup Chapter 3 ...
Page 161: ...ASUS MAXIMUS VIII HERO 4 25 Chapter 4 Casting Enhancer ...
Page 171: ...ASUS MAXIMUS VIII HERO 4 35 Chapter 4 Function Keys Shortcut ...