ASUS Hummingbird
6-9
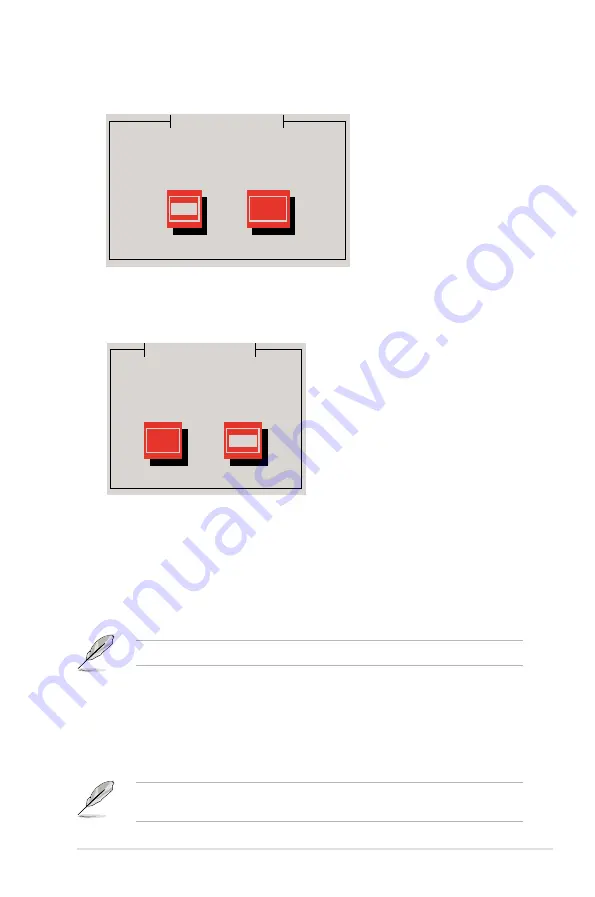
7. When asked if you will load additional RAID controller drivers, select
No
, then
press <Enter>.
6. Insert the Red Hat
®
Enterprise RAID driver disk to the floppy disk drive, select
OK
, then press <Enter>.
The drivers for the RAID card are installed to the system.
Insert Driver Disk
Insert your driver disk into /dev/sda
and press “OK” to continue.
OK
Back
8. Follow the onscreen instructions to finish the OS installation.
9. When the installation is completed, DO NOT click
Reboot
.
Press <Ctrl> + <Alt> + <F2> to switch to the command-line interface from
graphic user interface.
10. Type the following commands when using a USB floppy.
cat /proc/partitions
Write down the
Major
and
Minor
number before
sd<x>
for later use.
mknod /dev/sd<x> b [major number] [minor number]
chroot /mnt/sysimage
mount /dev/sda /media
sh /media/post.install
umount /media
exit
More Driver Disks?
Do you wish to load any more
driver disks?
Yes
No
The sd<x> device name varies depending on the numbers of installed USB
devices.
Summary of Contents for Hummingbird
Page 1: ...Motherboard Hummingbird ...
Page 22: ...2 6 Chapter 2 Hardware information 2 2 3 Motherboard layout Hummingbird ...
Page 23: ...ASUS Hummingbird 2 7 Hummingbird Lite ...
Page 76: ...4 32 Chapter 4 BIOS setup ...
Page 111: ...ASUS Hummingbird A 3 A 1 Hummingbird block diagram ...
Page 112: ...A 4 Appendix A Reference information A 2 Hummingbird Lite block diagram ...


