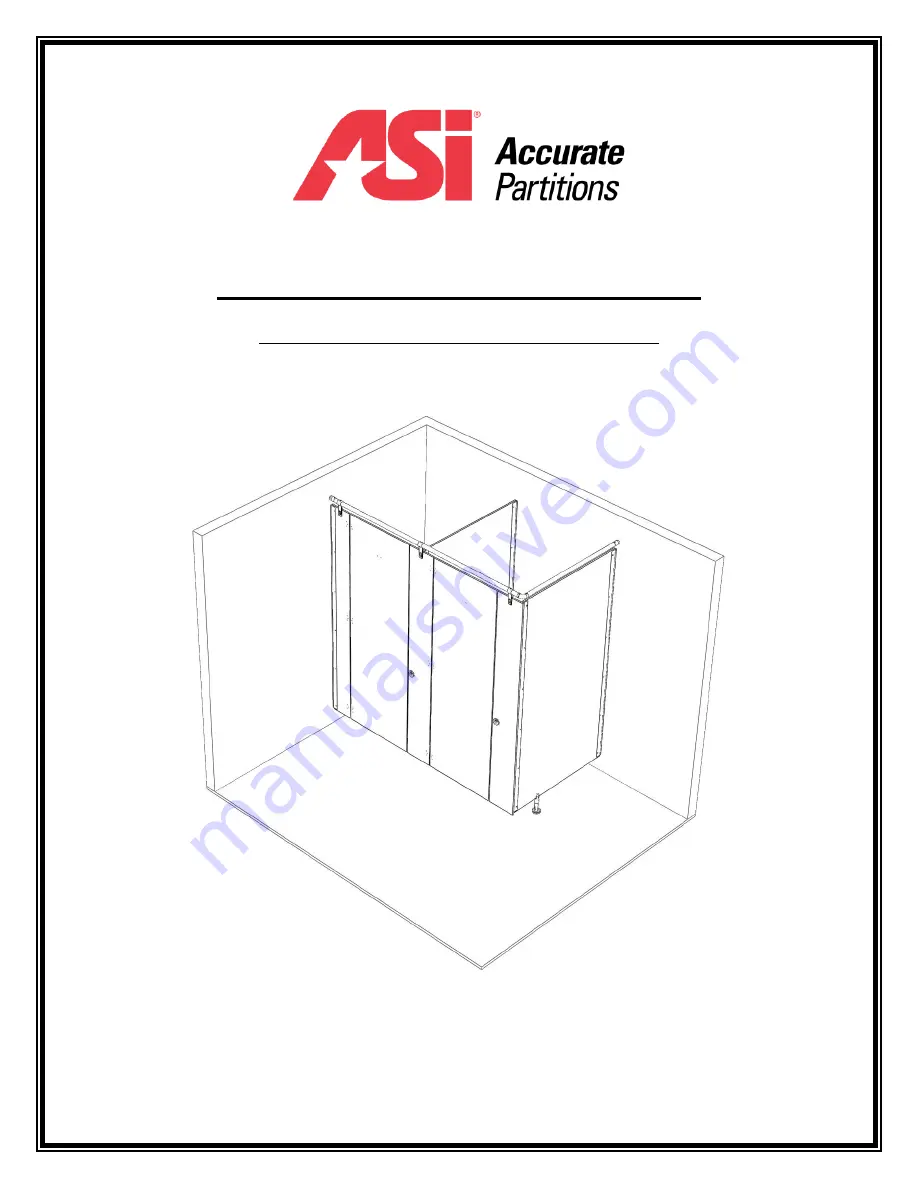
INSTALLATION INSTRUCTIONS FOR
ALPACO ELEGANCE PARTITIONS
160 Tower Drive
, Burr Ridge,
IL 6052
7
Phone: (708) 442-6800 Fax: (708) 442-7439
www.asi-accuratepartitions.com
Page 1: ...INSTALLATION INSTRUCTIONS FOR ALPACO ELEGANCE PARTITIONS 160 Tower Drive Burr Ridge IL 60527 Phone 708 442 6800 Fax 708 442 7439 www asi accuratepartitions com...
Page 2: ...Tools Power Drill T 27 Pin Torx Driver 1 4 19 and 25 Drill Bits and others as needed Drill Bit Stop 4 or longer Level 6 or 9 if required Support Important The components for this project have been cu...
Page 3: ...s as templates The bottom of the bracket should sit at 6 or 9 if required above the floor E If installing an alcove please see page 7 for details STEP 2 FIGURE 2 WALL BRACKETS A Drill 1 4 diameter x 2...
Page 4: ...to the layout based on that label Align the U brackets in position on rear of pilasters Refer to layout drawings and make sure U brackets are in alignment with wall brackets B Mark U bracket holes usi...
Page 5: ...ther pilaster D Mark and drill floor and panel for each pedestal Attach pedestal to the floor and the panel E Remove the support device STEP 6 FIGURE 6 HEAD RAIL A Plumb each pilaster B Verify door op...
Page 6: ...ed with a 1 4 drill bit through the panel B Plumb pilaster and fasten pilaster to panel using through bolts with barrel nuts FIGURE A FIGURE B HARDWARE LIST PICTURE DESCRIPTION QTY 10 24 x 3 8 NUT 12...
Page 7: ...vel before continuing B Fasten pilaster to wall bracket using through bolts HARDWARE LIST PICTURE DESCRIPTION QTY 12 x 2 5 WALL SCREW 6 RED PLASTIC SHIELD 6 U BRACKET 1 10 24 x 3 8 NUT 6 10 24 x 1 2 B...
Page 8: ...details see pages 8 and 9 HARDWARE LIST PICTURE DESCRIPTION QTY ALCOVE BRACKET 2 10 24 x 3 8 NUT 24 10 24 x 1 2 BOLT 24 12 x 2 5 WALL SCREW 12 RED PLASTIC SHIELD 12 U BRACKET 2 160 Tower Drive Burr R...
Page 9: ...oles for the coat hook should be drilled to a depth of 7 16 with a 19 drill bit Note please see page 12 for latch installation details HARDWARE LIST PICTURE DESCRIPTION QTY HINGE ASSEMBLY WITH COVER P...
Page 10: ...th both spacers on the inside of the compartment F The holes for the coat hook should be drilled to a depth of 7 16 with a 19 drill bit Note please see page 12 for latch installation details FIGURE A...
Page 11: ...wall brackets with 2 5 wall screws C Place urinal screen on a support device at desired height D Drill holes through the urinal screen to facilitate through bolts Set the urinal screen into wall brac...
Page 12: ...URE DESCRIPTION QTY INDICATOR COVER WITH INSERT 1 CENTER SHAFT 1 INDICATOR DIAL 1 INDICATOR DIAL PLACEMENT SLEEVE 1 LATCH HANDLE 1 10 24 x 3 8 NUT 2 10 24 x 1 2 BOLT 2 160 Tower Drive Burr Ridge IL 60...
Page 13: ...For maximum protection periodic application of any standard furniture wax will be beneficial WARNING Under no circumstances should these components be subjected to Abrasive powders or pads Bathroom c...