3.2. The Toolbar
The plug-in GUI (Graphical User Interface) has the usual Arturia toolbar that runs across
the top edge, with the Arturia logo / plug-in name on the left (the colored part), followed by
the Library button, the Library selection filter button, the Preset name on the center, and the
MIDI button on the right. This toolbar is common to all current Arturia plug-ins, and gives
access to many important functions. Let’s look at them in detail.
The first seven of these options can be found by clicking on the Arturia TridA-Pre button at
the top left-hand corner of the plug-in window. Since these options are also common to all
current Arturia plug-ins, they may be already familiar to you.
3.2.1. Save
This option will overwrite the active preset with any changes you have made, so if you
want to keep the source preset also, use the Save As option instead. See the next section for
information about this.
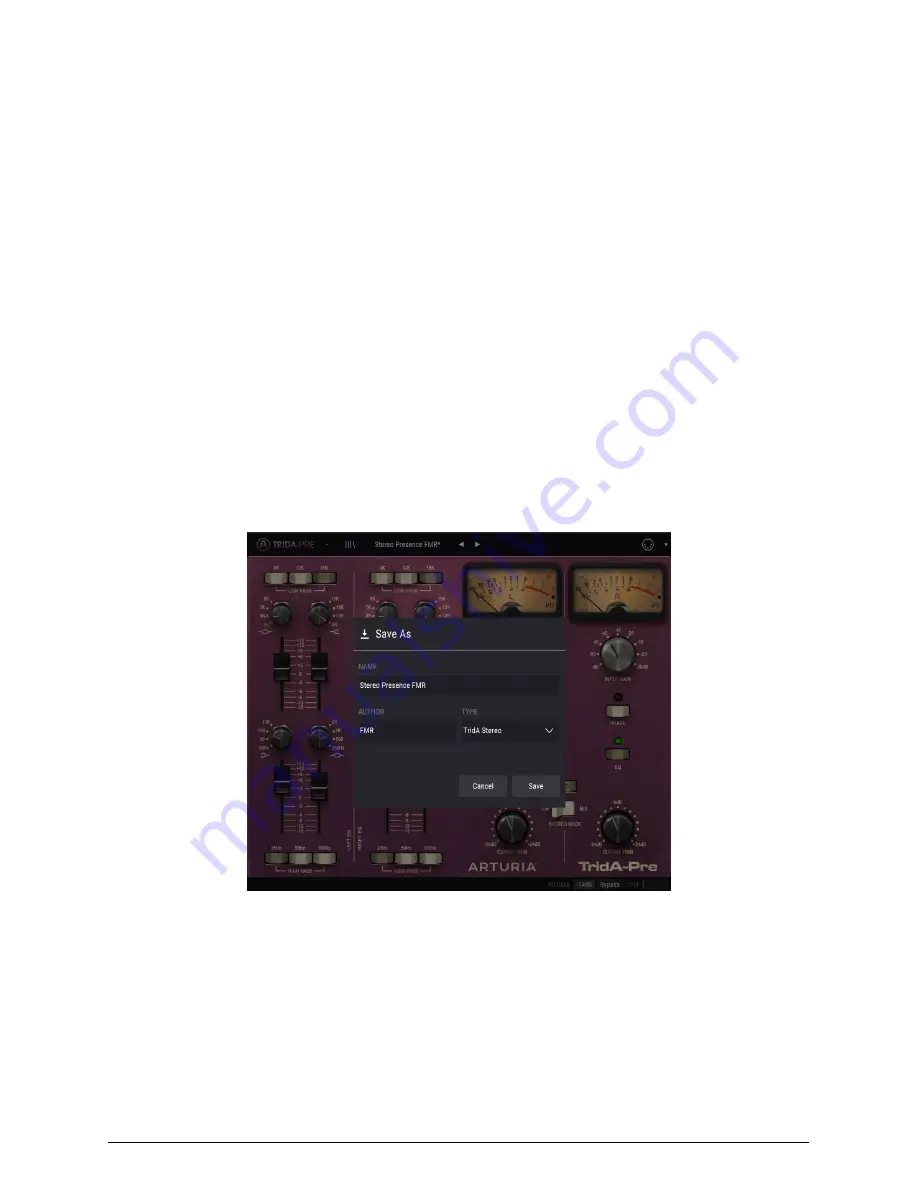
3.2.2. Save As…
If you select this option, you are presented with a window where you can enter information
about the preset. In addition to naming it, you can enter the Author name, and select a Type.
You can even create your own Type, by entering custom names in the respective place. This
information can be read by the preset browser and is useful for searching the preset later.
3.2.3. Import Preset
This command lets you import a preset file, which can be either a single preset or an entire
bank of presets. Both types are stored in .taprx format.
After selecting this option the default path to these files will appear in the window, but you
can navigate to whichever folder you are using to store presets.
10
Arturia - User Manual TriA-Pre - USER INTERFACE
Summary of Contents for TridA-Pre
Page 1: ...USER MANUAL...


