


ARTURIA – ORIGIN – USER’S MANUAL
19
-
The [
Volume 1…3
] knobs control the return volume or dry/wet balance of the three
effects.
(For more details, refer to chapter 7.3.2)
-
The [
Edit 1…3
] buttons jump directly to the “Fx1…3” slot on the [Effect] page.
-
The [
On/Off
] mute or bypass the selected effect.
(For more details refer to chapter
7.3.2)
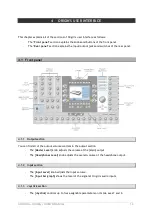
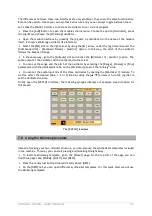
4.1.9
[Sequencer] section
In this panel, you can find all of the real-time
controls concerning the sequencer.
-
The [
Play/Stop
] button toggles the step sequencer on or off. When set to on, the
step sequencer starts running when a note is pressed and stops when the last note is
released.
-
The [
Hold
] button toggles hold on or off. When hold is on, are active and new notes
are held until the hold button is switched off again.
NOTE
: You can also use this function when the sequencer is not playing.
-
The [
Seq1…3 Act
] buttons activate or deactivate sub-sequence 1…3.
-
The [
Edit> Seq1… Seq3, Pattern
] button selects the corresponding sequence for
editing or, when [pattern] is selected, activates pattern selection mode.
-
The [
Assign
] button opens the “assign” pop-up of the selected sub-sequence.
-
The [
Hold
] button locks the currently playing sequencer step. The sequencer is
stopped and keeps sending its current modulation values until the lock button is
pressed again.
-
The [
Trig
] button activates the key trigger on the current step of the selected sub-
sequence.
-
The [
Accent
] button triggers the accent envelope on the current step of the
selected sub-sequence.
-
The [
Slide
] button activates the slide function on the current step of the selected
sub-sequence. It changes smoothly from the current value to the value of the next
step in the sequence.
-
The [
1…16
] encoders set the value of step 1…16 (or 17…32).
-
The [
1…16
] buttons have two functions: in [Edit Seq1…3], they select step 1…16 (or
17…32). In [Pattern] selection mode, these buttons select a pattern preset 1…16.
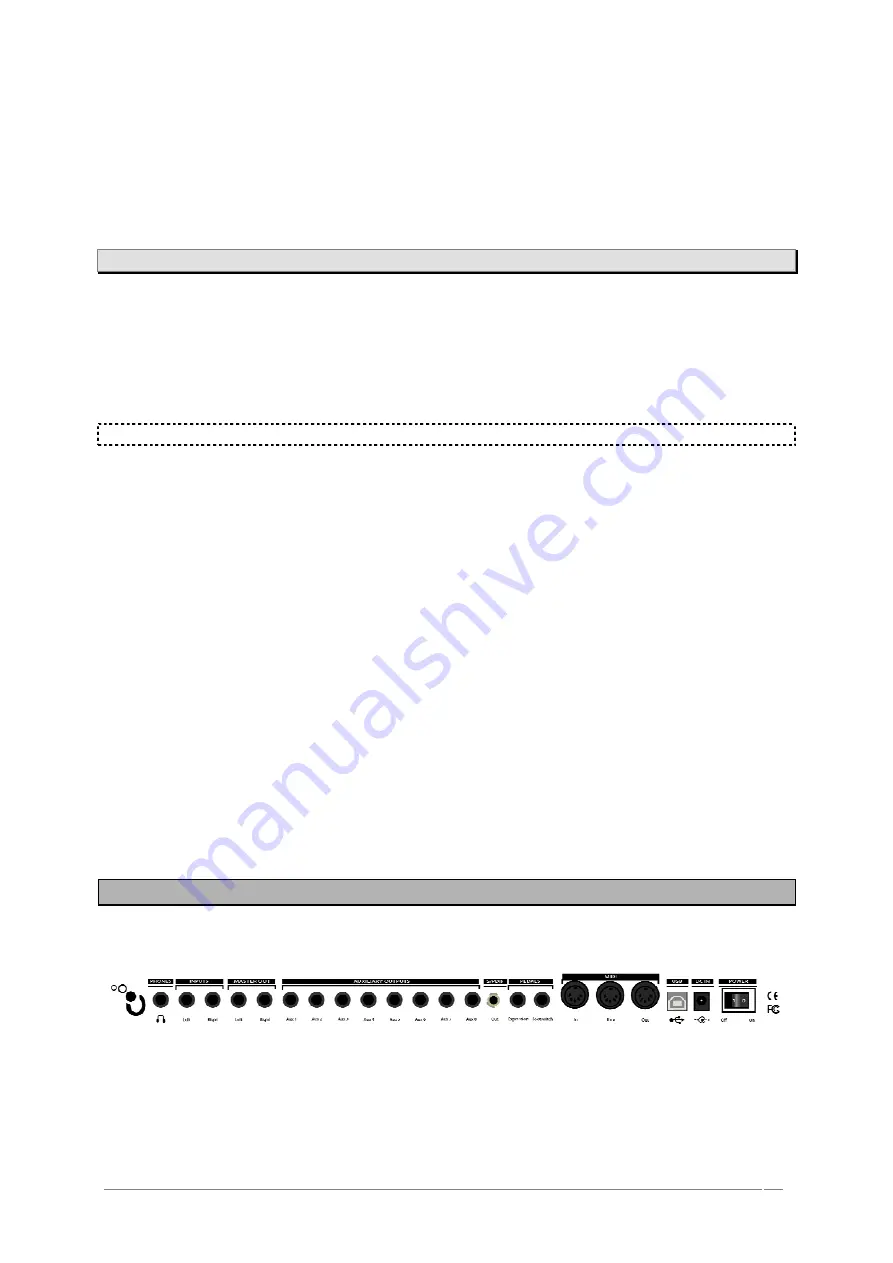
4.2
Rear panel
On this panel, you can find all the power, audio and MIDI connections.
From right to left you can see:
-
The [
Power
] button allows to turns the power on/off
.
-
[
DC IN
] Connection for the included AC/DC 6.5V power adaptor.
-
[
USB
]: Input for connection with a computer. It can be used for MIDI IN and OUT
communications or for data transfer (e.g. preset dump, software updates…)