background image

Page 17

Remotely Control ScanDo HD 

Remotely Control ScanDo HD 

Control via Ethernet

When ScanDo HD is connected to the network via ethernet, 

you may take control via the Graphical User Interface (GUI) . 

A web browser with  Java version 1 .6 (JRE 6) or later is required to utilize the GUI .  

For more information about browser requirements please refer to the “Browser 

Requirements” section below .

To connect to the GUI, you will need to know the IP address of the ScanDo HD you 

wish to communicate with . If you do not have this information, please follow the 

instructions on page 14 of this manual .

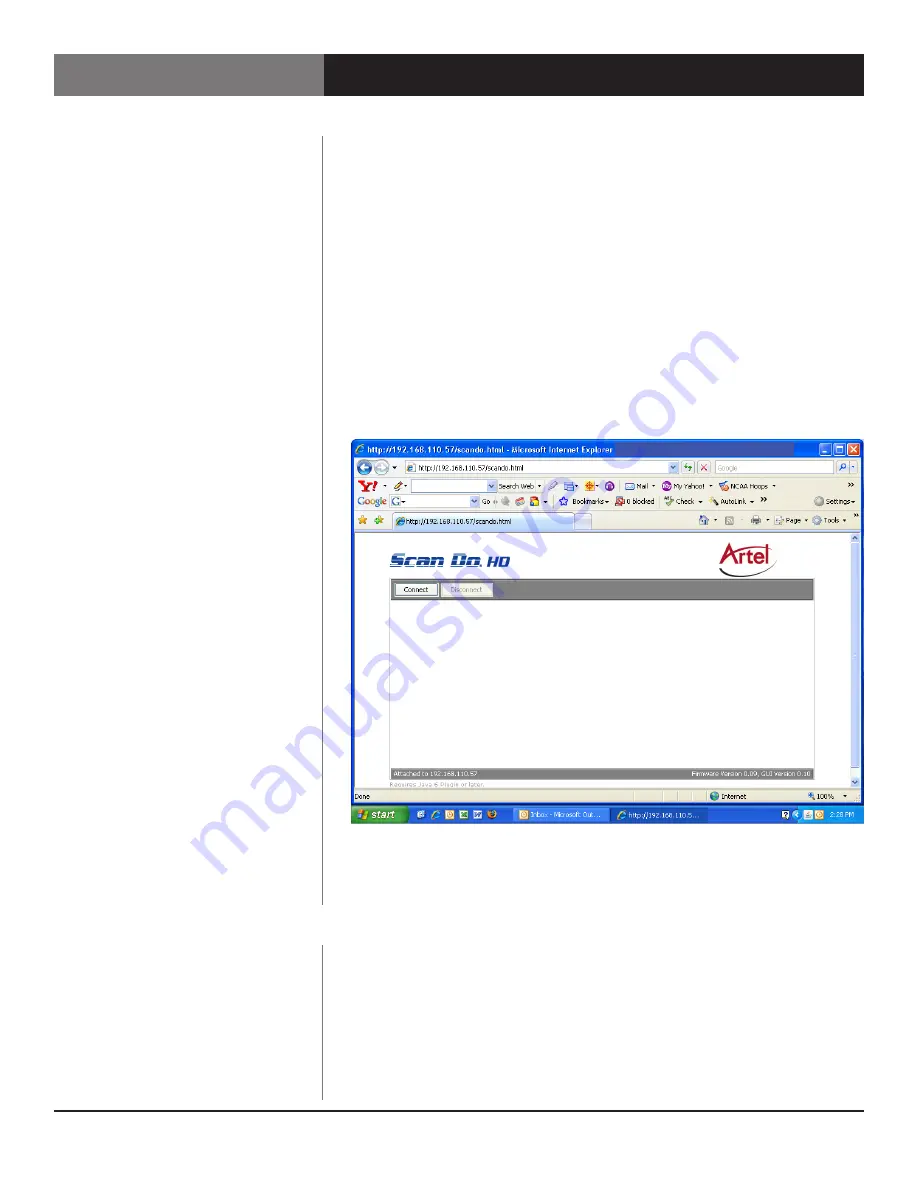
Connect by entering your ScanDo HDs IP address into your browser . 

For example: http://192 .168 .1 .57 

After entering the IP address, you will receive the following screen:

Click “Connect” to connect to your ScanDo HD . 

Note: 

You may receive a message stating “The Applications Digital Signature 

Cannot Be Verified .” To continue, select “Run” . To prevent this dialog box from 

appearing each time you connect, you should select, “Always  trust content from 

this provider .”

ScanDo HD is designed to work with standard software commonly 

available on most modern PC’s and Macs:

Internet Explorer 6 or later .

Firefox 1 .5 or later .

Safari 2 .0 or later . 

Netscape 8 or later .

Java Runtime Environment version 1 .6 (JRE 6) or later .

Connecting to the GUI

( Graphical User Interface )

Browser Requirements

Summary of Contents for SCANDO HD

Page 1: ...WWW ARTEL COM MANUAL DVI and Analog RGB Computer Video to 3G HD SD SDI Scan Converter with Genlock Input and Fiber Optic Output Installation and Operations Manual REMOTELY CONTROL SCANDO HD...

Page 2: ...ure 14 Control via Ethernet 16 Getting the IP Address 16 Setting the IP Address 16 The Graphical User Interface Connecting to ScanDo HD with a browser 17 Graphical User Interface Overview 18 Graphical...

Page 3: ...uitive GUI For RS 232 instructions please see page 8 of this manual For ethernet GUI instructions please see page 10 of this manual The Preset function stores the current settings based on the current...

Page 4: ...TE The following communication parameters should be observed when connecting to the ScanDo HD via the RS 232 port 19200 Baud 8 data bits no parity 1 stop bit generic TTY no flow control The following...

Page 5: ...ompile time Good command no data back Good command data back xx zz Good command address with data back xx yy zz Illegal 2 letter command E1 Parameter out of range E2 Syntax Error E3 Not valid with cur...

Page 6: ...Centers the output image in the horizontal direction write cp7 none 1 Erases Preset 1 write 2 Erases Preset 2 3 Erases Preset 3 4 Erases Preset 4 5 Erases Preset 5 6 Erases Preset 6 cv5 none none Cen...

Page 7: ...frame PsF 2 Input scan format is progressive P is none 0 Input automatically selected with a preference given to the digital input read write 0 1 Input forced to digital 2 Input forced to analog la n...

Page 8: ...0psf 29 97 Hz 22 1080p 25 Hz 23 1080psf 25 Hz 24 1080p 24 Hz 25 1080psf 24 Hz 26 1080p 23 98 Hz 27 1080psf 23 98 Hz op none 0 Turn the optical output off read write 0 1 Turn the optical output on pc 0...

Page 9: ...decimal number that must be converted to a binary number in order to decode the individual bits pn 5 0 1 5 Pans output image up by 1 2 3 4 or 5 step s at a time write 1 1 5 Pans output image down by...

Page 10: ...age to move to its limit 3 An E4 error message received after sending this command means that the output format is currently being set from the ScanDo HD front panel and the command will not be proces...

Page 11: ...ds are structured to follow the syntax of a user write command with parameters and values where the string being accessed is the parameter and the number of ASCII characters in that string is the valu...

Page 12: ...hen sends the string The string can contain any ASCII character including a carriage return 4 The ScanDo HD counts the number of characters specified in the initial storage command and if the incoming...

Page 13: ...r sends the retrieve command with the particular string to be retrieved 2 The ScanDo HD returns the command the selected string the number of characters in the string followed by an equal sign and the...

Page 14: ...user will contain the preset name along with the output format and input resolution of the preset This information is separated by the delimiter The format is rn x yy preset name aa bbbb cccc x the p...

Page 15: ...Page 15 Remotely Control ScanDo HD Remotely Control ScanDo HD This page intentionally left blank...

Page 16: ...s press the ALTERNATE FUNCTION button and then the CANCEL button Note If no keys are pressed for 30 seconds ScanDo HD will exit Edit Mode without saving your changes Connecting to the Ethernet Port Vi...

Page 17: ...this manual Connect by entering your ScanDo HDs IP address into your browser For example http 192 168 1 57 After entering the IP address you will receive the following screen Click Connect to connect...

Page 18: ...l ScanDo HD Control via Ethernet The GUI at a Glance Once you have connected to your ScanDo HD you should see the GUI interface represented below Use the key on the next page for GUI functionality des...

Page 19: ...ily select your Antiflicker level Generate test patterns Allows you to force the input as digital or analog Allows you to freeze the output image Zoom Controls See Page 18 for more instructions Pan Co...

Page 20: ...button for fine increments GUI Configuration The GUI Configuration dialog box allows you to add and remove functionality from the GUI interface This is useful when you wish to hide functionality from...

Page 21: ...r Use these buttons for coarse increments Use these button for fine increments Use these buttons to automatically snap your image to the top left top right bottom left or bottom right of the output ra...

Page 22: ...n to recall the configuration A deactive numerical preset button indicates that no preset has been saved Press Save Config to save a configuration Pressing this button will allow you to save your curr...

Page 23: ...rom the pull down menu To complete the erasure of your preset click OK Your preset has now been erased Pressing this button will restore your ScanDo HD to its factory default settings Note If you are...

Page 24: ...ring the update process Return to ScanDo HDs GUI and click Upgrade Firmware or Upgrade GUI After downloading and extracting the updates return to the ScanDo HD GUI If you wish to upgrade your firmware...

Page 25: ...our server to view our website With Domain Name Servers we can assign the IP address an alias or name in this case scandohd tv This same technology can be applied to your ScanDo HD units This allows y...

Page 26: ...al location Contact your IT department to ensure that you have access to the network Verify that your browser is compatible with ScanDo HD and that you are using the correct version of Java Please rev...

Page 27: ...Page 27 Remotely Control ScanDo HD Remotely Control ScanDo HD...

Page 28: ...support available Proven Products Unrivaled Service and Great Support Artel Video Systems Corp 5B Lyberty Way Westford MA 01886 USA T 978 263 5775 F 978 263 9755 sales artel com customercare artel co...

Reviews: