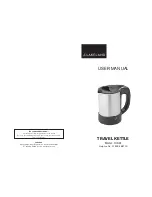
4
1
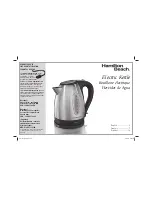
• Las partes de plástico de la pava se calientan durante el uso
y tardan un tiempo en enfriarse. Use siempr
e la manija para
mover la pava hasta que se haya enfriado por completo.
3
2
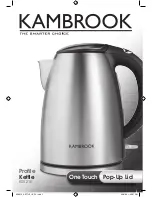
CÓMO HERVIR AGUA
PRECAUCIÓN
Coloque la base sobre una
super
fi
cie, nivelada, estable y seca.
Cierre la tapa y pr
esione
fi
rmemente
hasta que quede bien trabada. Al
cerrarse escuchará un “clic”.
Para abrir, levante la traba de la
manija. Llene con agua. El nivel
de agua debe estar entre los
indicadores “Mín” y “Máx” mar
cados
en la ventana de nivel de agua.
Compruebe que el
fi
ltro
desmontable esté bien colocado y
trabado dentro de la pava eléctrica.
5
• La pava no funcionará corr
ectamente si el
fi
ltr
o no está bien
colocado y trabado. Vea las instrucciones sobr
e cómo colocar el
fi
ltr
o en la sección “COLOCACIÓN DEL FILTRO DESMONT
ABLE”
en la
página 8
.
• La acumulación de sarr
o en el calentador puede deteriorar
el funcionamiento. Si se acumula sarro, siga los pasos en
“ELIMINACIÓN DE LOS DEPÓSITOS MINERALES” en la
página 9
.
NOTA
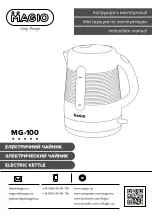
5
4
1
• The plastic body of the kettle will become hot during use and
remain hot for sometime after.
Always use the handle when
moving the kettle until it has cooled completely.
3
2
TO BOIL WATER
CAUTION
Place power base on a sturdy, level
and dry surface.
Close the lid and press down on it
fi
rmly, ensuring it locks into place.
The lid will lock with an audible
“click.”
Pull up on the lid release grip to
open. Fill with water through the
lid opening. Water must be
fi
lled
between the “Min” and “Max” levels
marked on the water level window.
Make sure the removable
fi
lter is
fi
rmly attached inside the electric
kettle. See the “INSERTING THE
REMOVABLE FILTER” on page 8 for
details on how to attach it.
• The kettle will not work properly if the
fi
lter is not attached or
attached incorrectly. See the “INSERTING THE REMOVABLE
FILTER” on
page 8
for details on how to attach it.
• Scale build-up on the heating element may cause the kettle to work
improperly. If scale build-up occurs, follow the steps in “REMOVING
MINERAL DESPOSITS” on
page 9
.
NOTE