ARMIGA User Guide v0.8
6.3.
Floppy disk controller (only for Armiga with FDD)
For
programming
the
PIC
you’ll
need
Microchip’s
MPLAB-X
(
http://www.microchip.com/pagehandler/en-us/family/mplabx/
)
● Make sure your Armiga is turned off and fully disconnected.
● Turn your Armiga upside down on a clean stable surface.
● Unscrew the Phillips screws (star screws) on the bottom of your Armiga to open it
(
do not unscrew the slotted ones, as they hold the FDD in place
).
● Hold both parts of the case firmly and turn it upside again.
● Carefully remove the top of the case to reveal the FDD, controller and main
board.
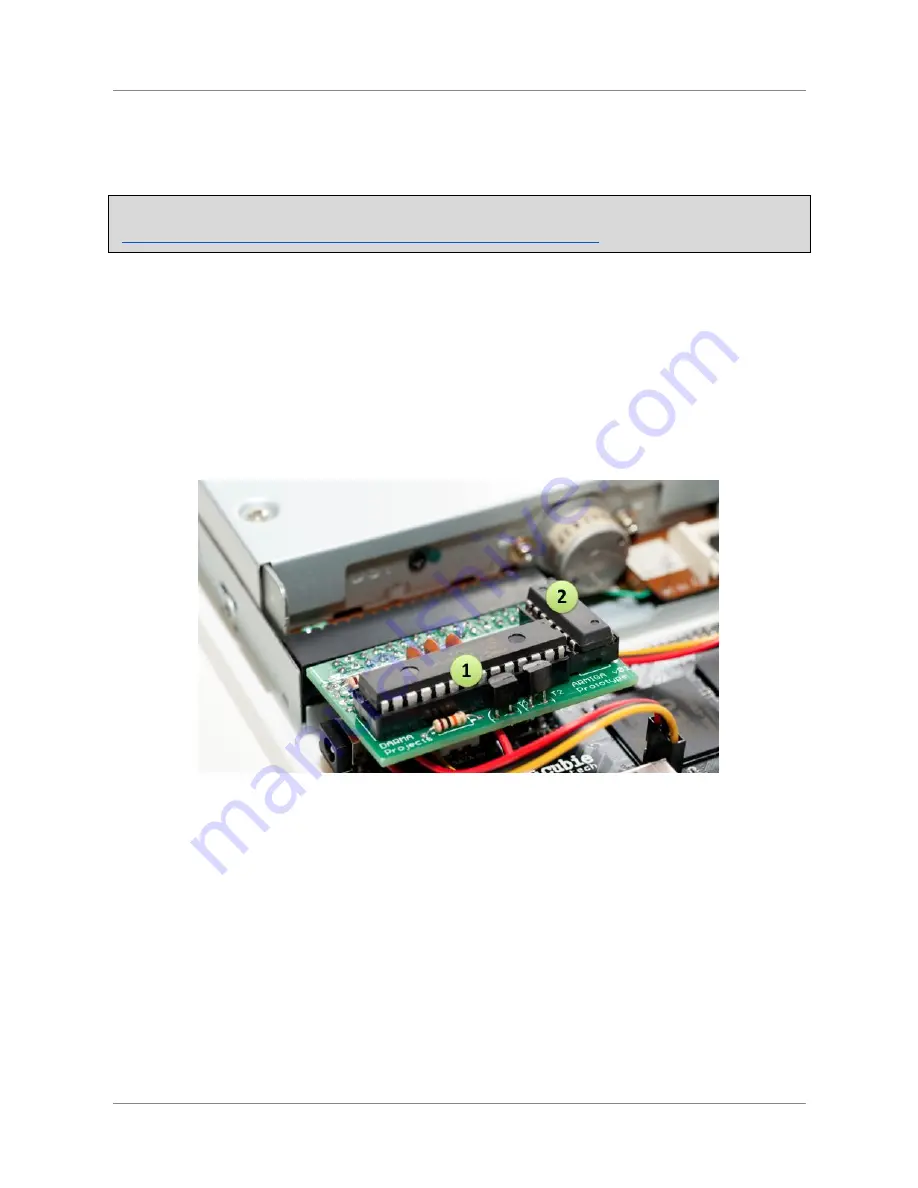
● Locate the FDD controller, which connects the FDD and the mainboard and looks
like this picture:
1.PIC microcontroller
2.Auxiliar inverter chip
The controller can be on either side of the FDD, depending on its model
● Remove the PIC from the controller:
○ To ease the extraction, first extract the
chip marked with a 2
on the
picture:
■ Using a flat, preferably non metallic tool, insert it on one side,
between the chip and the socket and slightly twist it.
■ Do the same on the other side of the chip.
■ Repeat the process until the chip is released from the socket.
■ Keep the chip in a safe place.
○ With the first chip extracted, do the same procedure on the PIC (
chip
marked as 1 on the picture
).
31


