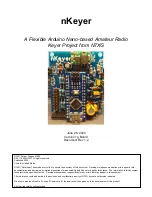


nKeyer
Page 11 of 15
Version 1g
By N7XG / KI6TMF
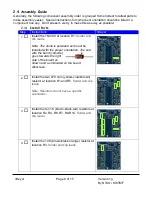
Step
Instructions
nKeyer
13
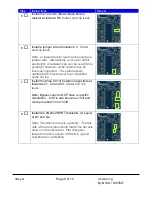
Install the 220uf 16V electrolytic
capacitor at location C5. Solder
and clip leads.
Note: Be sure that the (+) lead is
installed in the hole marked with a “+”
symbol. The (+) lead is usually longer
than the (-) lead, and the (-) lead is usually
identified by a black or white stripe on the
capacitor.
14a
-OR-
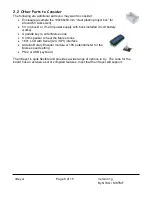
If your input voltage is 7-24v (like a 9v battery),
install the Mini-360 buck converter at indicated
buck location. Solder.
Note: The buck converter has a specific
orientation and should match the silkscreen
diagram. It can be mounted using either single
male header pins at the four corners, OR with
scrap wires such as the trimmings from the
resistors, or with other wire. Please note that
you will need to set the buck to output 5v
during test so be sure the Nano is NOT
installed before you set it to 5v!!
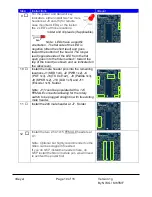
14b
If your input voltage will be clean 5v DC, then
you can omit the buck converter and just place
a jumper wire across JP1.


