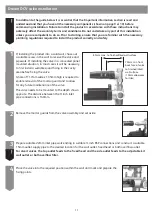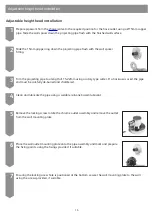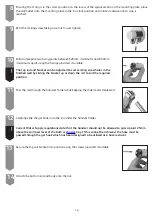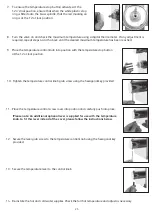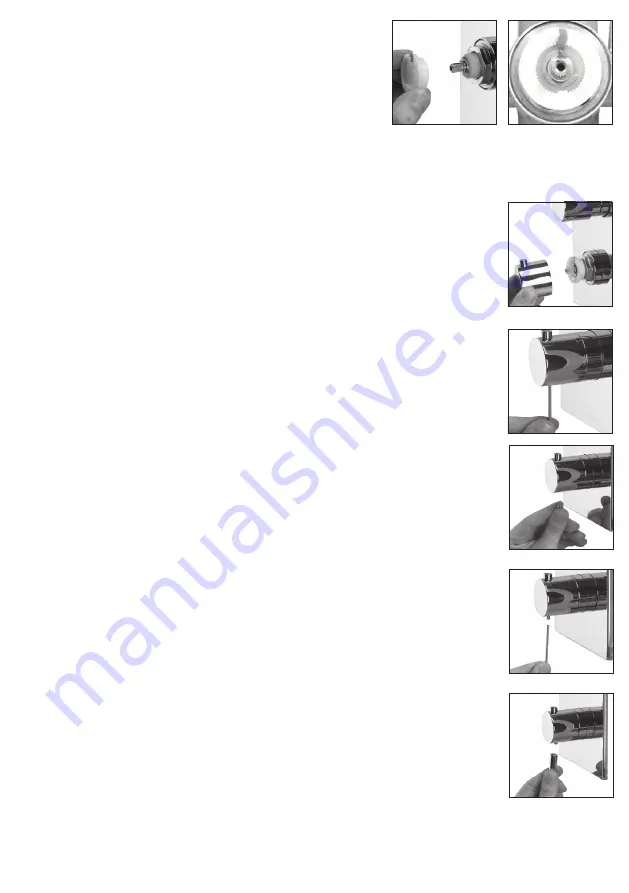
7. To ensure the temperature stop button activates at the
12 o’clock position, ensure that when the white plastic stop
ring is fitted onto the brass spindle, that the red marking on
ring is at the 12 o’clock position.
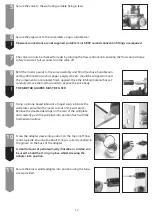
8. Turn the valve on and check the maximum temperature using a digital thermometer. If any adjustment is
required, repeat steps 4 and 5 above until the desired maximum temperature has been reached.
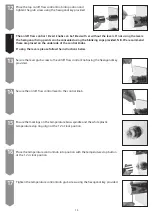
9. Place the temperature control knob into position with the temperature stop button
at the 12 o’clock position.
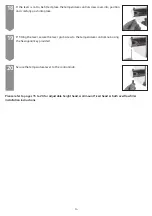
10. Tighten the temperature control knob grub screw using the hexagonal key provided.
11. Place the temperature control screw cover into position and carefully push into place.
!Please note: An additional optional lever is supplied for use with the temperature
knob, to fit this lever instead of the cover, please follow the instructions below.
12. Secure the lever grub screw to the temperature control knob using the hexagonal key
provided.
13. Secure the temperature lever to the control knob.
14. Re-instate the hot and cold water supplies. Check the full hot temperature and adjust as necessary.
25

