Service manual First stage Legend
Service Manual 1st stage Legend
Rev. 12/2011
1
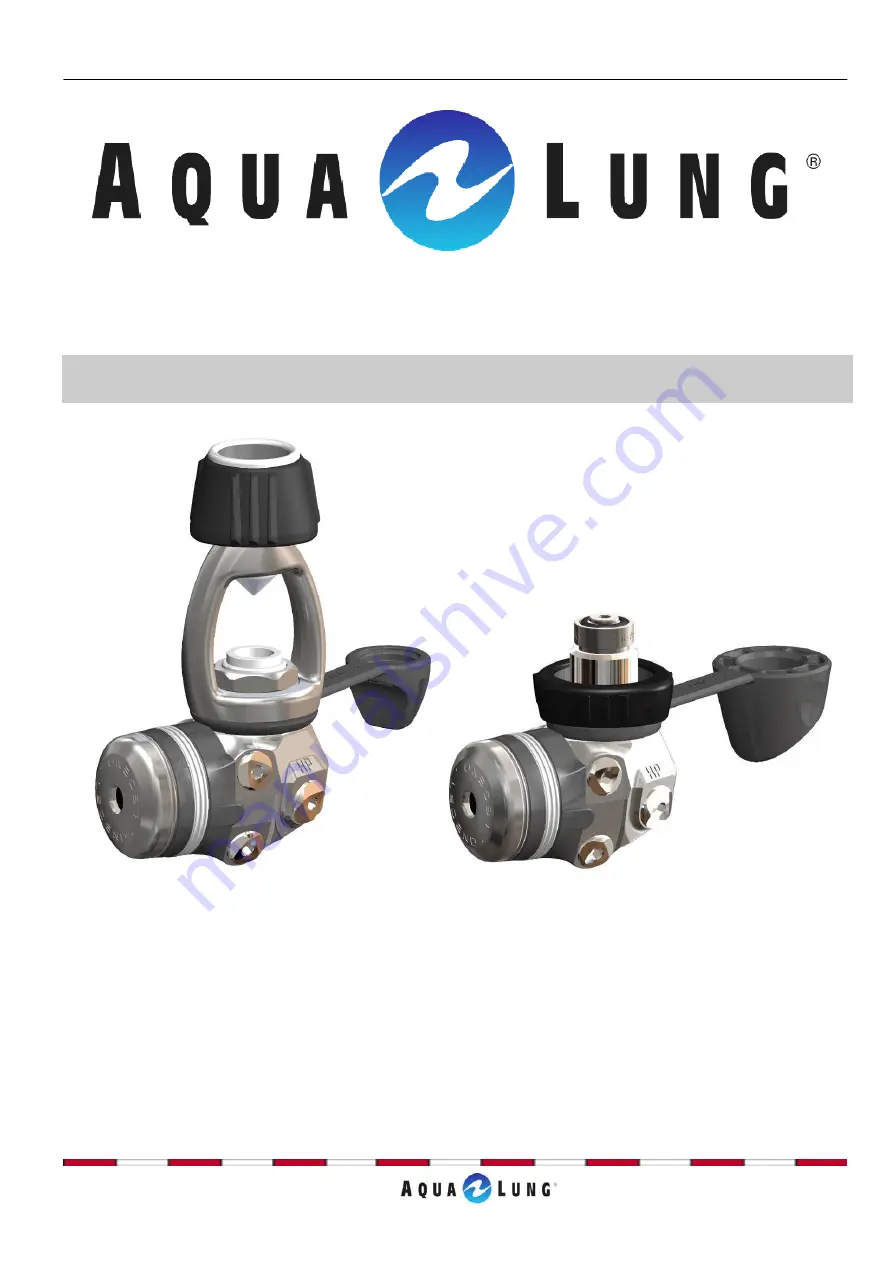
SERVICE MANUAL
FIRST STAGE
LEGEND
LEGEND LX
LEGEND LUX
Page 1: ...Service manual First stage Legend Service Manual 1st stage Legend Rev 12 2011 1 SERVICE MANUAL FIRST STAGE LEGEND LEGEND LX LEGEND LUX...
Page 2: ...PROCEDURE 5 REASSEMBLY PROCEDURE 10 ADJUSTINF THE FIRST STAGE 15 FINAL ASSEMBLY 17 Table 1 Troubleshooting guide 18 Table 2 List of tools and service kits 19 Table 3 Recommended cleaners and lubrican...
Page 3: ...ontact an Aqualung service consultant before undertaking any operation WARNINGS ATTENTION NOTES Certain icons have been used to facilitate the reading and understanding of this manual They have the fo...
Page 4: ...Use only spare parts from Aqualung service kits Never replace an Aqualung part with one from another manufacturer even if it appears similar 6 Never re use regulator parts which should be replaced on...
Page 5: ...text that the regulator has seen little use since its manufacture or since its last service 2 Use an 8mm Allen key to unscrew the plug 129603 129701 129744 Remove the ribbed washer 129611 and the ring...
Page 6: ...o unscrew the dry chamber from the body Remove the spring pad 127565 and the diaphragm 119159 Remove the body from the vice 7 Turn the regulator over and allow the pin A02002 to fall out into your han...
Page 7: ...s in contact with the seat Hold the tool at a slight angle and press down to remove the seat 127585 Remove the O ring 124704 from the seat the regulator is an yoke version go to step 11 If it is a DIN...
Page 8: ...isassemble the w the valve Place and Unscrew completly th a 3 mm Allen key the shu Remove the o ring 473056 Then remove the Remove the o ring 1 03 inside the groove of th 129716 129207 using a 3mm All...
Page 9: ...o ring 129213 the handwhee 129619 129722 and the cap 129608 d unscrew the filter holder 129214 vice so that the DIN connection is upward Remove the dust cap 129608 adapter p n 12523 and thread it onto...
Page 10: ...ports except one HP port and tighten them using a 4mm Allen key 2 Fit a new lubricated O ring 124704 on to the seat 127585 Slide the seat onto the tool 116236 with the sealing crown of the seat again...
Page 11: ...you Insert the pin A02002 into the central hole Place the pin support 129121 over the pin Press several times on the pin support It should feel like a push button 8 Fit a new diaphragm 119159 into the...
Page 12: ...ad of the screw is still visible If the regulator is an yoke version go to step 14 If it is a DIN version go to step 15 12 Assembling the yoke a Fit a new o ring 124703 in the groove of the shutter cr...
Page 13: ...sembly on a cylinder valve equipped with an insert Tighten the shutter valve up to 3Nm by turning counter clockwise Remove the assembly from the cylinder valve g Fit a non lubricated O ring 124703 ins...
Page 14: ...non lubricated O ring 124703 inside the filter holder 129214 then fit the filter 129209 c Fit a new lubricated O ring 444243 into the ACD DIN screw 129213 d Screw the filter holder 129214 into the bo...
Page 15: ...eds 9 5bar then this indicates a HP leak Close the cylinder valve immediately and purge the regulator Refer to Table 1 Troubleshooting Guide 3 After checking that there is no leak adjust the MP by tur...
Page 16: ...the piston 129606 inside the dry Insert the diaphragm 129126 inside the groove of the dry 129602 3 Using a Hex8 torque wrench tighten the Dry chamber plug 129604 129709 129746 on the dry chamber up to...
Page 17: ...r pressure Immerse the first stage completely in water to check that there are no leaks Note Do not mistake any bubbles which are trapped in the regulator with a leak If there is a leak there will be...
Page 18: ...Replace the O rings 2 the diaphragm 129126 is worn or damaged 2 Replace the diaphragm external leaks 3 The diaphragm 119159 is worn or damaged 3 Replace the diaphragm 4 On the body the sealing area of...
Page 19: ...a N C Allen Key 4mm IP and HP plugs DIN shutter valve 129202 or 129714 n a N C Allen Key 8mm IP adjustment remove the plug 129604 or 129709 or 129746 n a N C Hex 8mm socket Plug 129604 or 129709 or 12...
Page 20: ...l parts Household stores Washing up liquid diluted with hot water Degreases brass and stainless steel parts general cleaning of plastic and rubber parts Household stores Attention Silicone parts do no...
Page 21: ...omoclean TP108 diluted at 5 3 Rinse in demineralised water Soak for 10 min 4 Dry in the open air in a clean and dust free atmosphere Place the parts on a white cloth allow to dry and check after dryin...
Page 22: ...4 Shutter valve 0 3 m Kg 129213 DIN screw 2 5 m Kg Table 5 Checking specifications TEST CONSIGNES SPECIFICATIONS Test d tanch it 160 bar Pression de service 200 bar Pas de fuite Moyenne Pression 160 b...
Page 23: ...Service Manual 1st stage Legend Maintenance Notes Service Manual 1st stage Legend Rev 12 2011 23...
Page 24: ...Service manual First stage Legend Exploded view Legend ACD Service Manual 1st stage Legend Rev 12 2011 24...
Page 25: ...Service Manual 1st stage Legend Exploded view Legend ACD DIN Service Manual 1st stage Legend Rev 12 2011 25...
Page 26: ...Service manual First stage Legend Exploded view Legend LX ACD Service Manual 1st stage Legend Rev 12 2011 26...
Page 27: ...Service Manual 1st stage Legend Exploded view Legend LX ACD DIN Service Manual 1st stage Legend Rev 12 2011 27...
Page 28: ...Service manual First stage Legend Exploded view Legend ACD Supreme Service Manual 1st stage Legend Rev 12 2011 28...
Page 29: ...Service Manual 1st stage Legend Exploded view Legend ACD Supreme DIN Service Manual 1st stage Legend Rev 12 2011 29...
Page 30: ...Service manual First stage Legend Legend LX ACD Supreme Service Manual 1st stage Legend Rev 12 2011 30...
Page 31: ...Service Manual 1st stage Legend Legend LX ACD Supreme DIN Service Manual 1st stage Legend Rev 12 2011 31...
Page 32: ...Service manual First stage Legend Legend LUX ACD LUX ACD Supr me Service Manual 1st stage Legend Rev 12 2011 32...
Page 33: ...Service Manual 1st stage Legend Legend LUX ACD DIN LUX ACD DIN Supreme Service Manual 1st stage Legend Rev 12 2011 33...
Page 34: ...Service manual First stage Legend Legend Supreme NITROX O2 Service Manual 1st stage Legend Rev 12 2011 34...
Page 35: ...Service Manual 1st stage Legend Service Manual 1st stage Legend Rev 12 2011 35 1ere Avenue 14e rue BP 148 06513 CARROS cedex France 00 33 0 4 92 08 28 88 FAX 00 33 0 4 92 08 28 99...