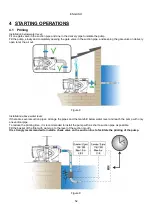
ENGLISH
54
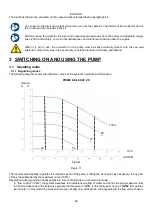
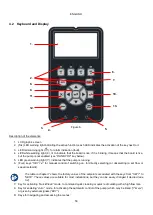
•
the “
ENTER”
key allows you to access the menus and the items on which you are positioned;
•
the “
arrow”
keys allows you to move about on the display or in the active menu, and to select an item;
they also allow you to change the value of the selected item.
10. “
OK”
key, to confirm and to leave without saving the changes made.
11.
“
ESC”
key, to cancel any changes and leave (without saving).
12. “
Reset
” key, to cancel the alarms (
faults
) that may be in progress.
13. “
RUN/STOP
” key, to enable or disable running of the pump; the pump enabled status is indicated by the steady
lighting of the white LED , which blinks if running of the pump is disabled.
When the pump is running (green LED lit), the pump stops if “RUN/STOP” is pressed, whatever the
operating condition, in both “Manual” and “Auto” mode.
However the “RUN/STOP” control is not direct starting control, but only an enabling: if it is pressed with
the pump stopped (green LED off), the pump starts only if a mode is active that contemplates switching
on at the current moment.
In STOP condition, when the white LED is blinking, the pump can never stop until “RUN/STOP” is pressed.
The only exceptions:
- the “Antifreeze” function can start the pump even in STOP status, to avoid breakages due to frost (see
paragraph 5.6);
- the “Antilock” function can start the pump even in STOP status, to avoid metchanical blocking of the
impeller after long inactivity (paragraph 5.6).
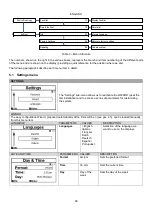
The keyboard can be blocked with a (
“Password”
; in this way access to the functions can be restricted, to avoid
undesired intervention. See paragraph 5.1.
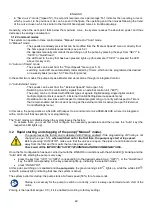
4.3 Guided configuration (WIZARD)
When switched on for the first time, the device proposes to perform the WIZARD easy configuration, which guides the
user in a fast and easy setting of the most important parameters.
It is necessary to perform the WIZARD: the initial system status is that of the factory configuration, and in
that the language and the units of measure may not be those used in your country, the weekly clock starts
at a random time, and the other parameters may not be suitable for your system.
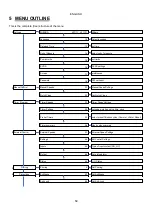
If you need to revise all these parameters quickly at a later date, you can reload the WIZARD by selecting
a specific item on the menu (paragraph 5.1).
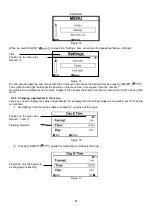
The WIZARD presents the following pages in sequence:
1. Select Language
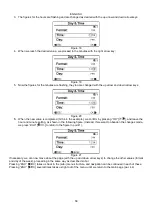
2. Select time display mode (
24h
or
am/pm
)
3. Set current time
4. Set current day
5. Set Unit of measure of head
6. Set Unit of measure of flow
7. Set Unit of measure of temperature
8. Selecting Regulating Mode
9. Setting the maximum limit of head (Hmax)
10. Select maximum limit of flow (Qmax)
11. Final confirmation
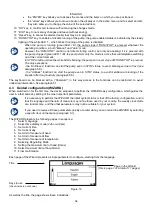
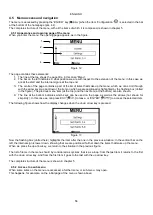
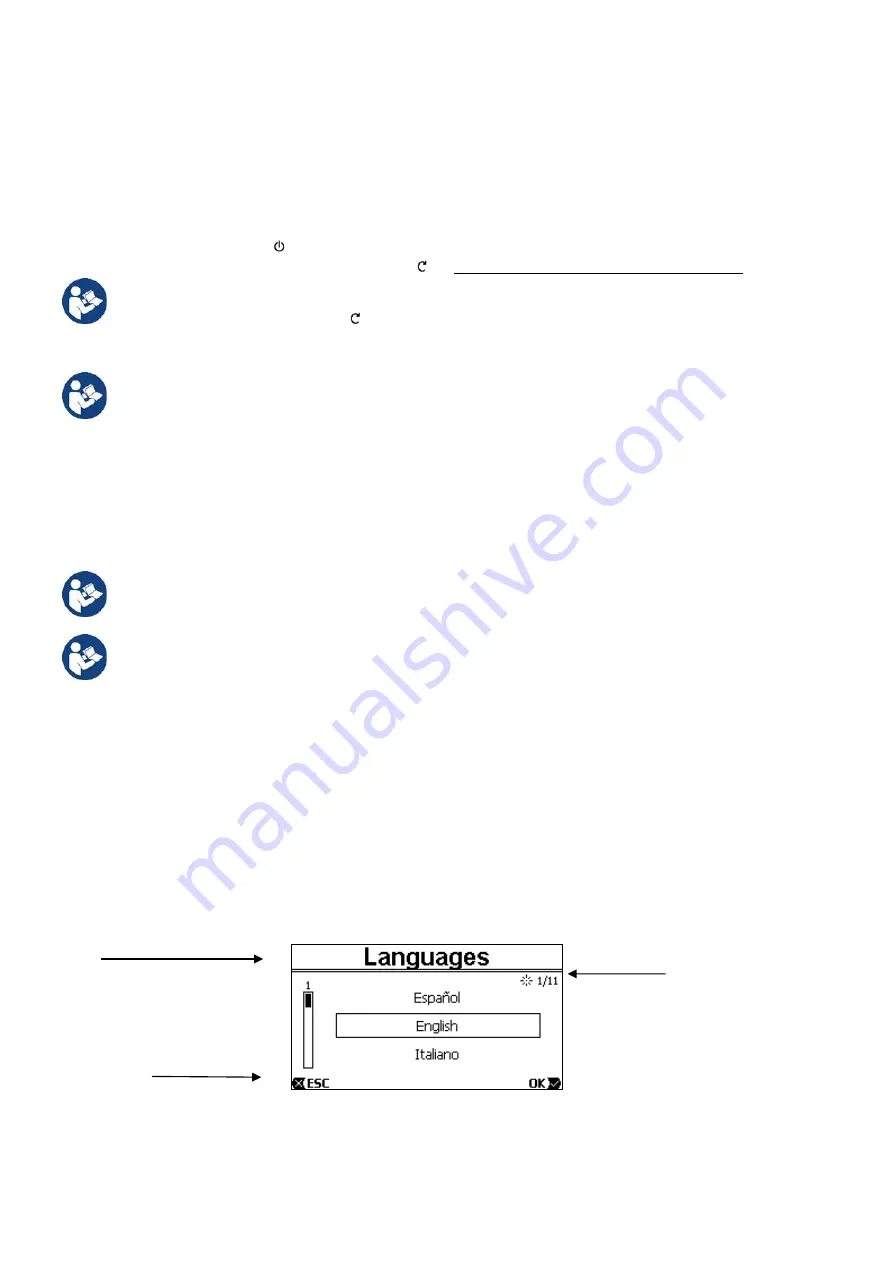
Each page of the Wizard presents a single parameter to configure, starting from the language.
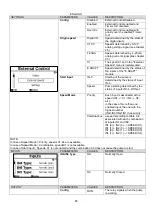
Title
Page in the Wizard
(this is page 1 of a total of 11 pages)
Keys to use
(the
arrows
are not shown)
Figure 10
As well as the title, the page shows these indications:

