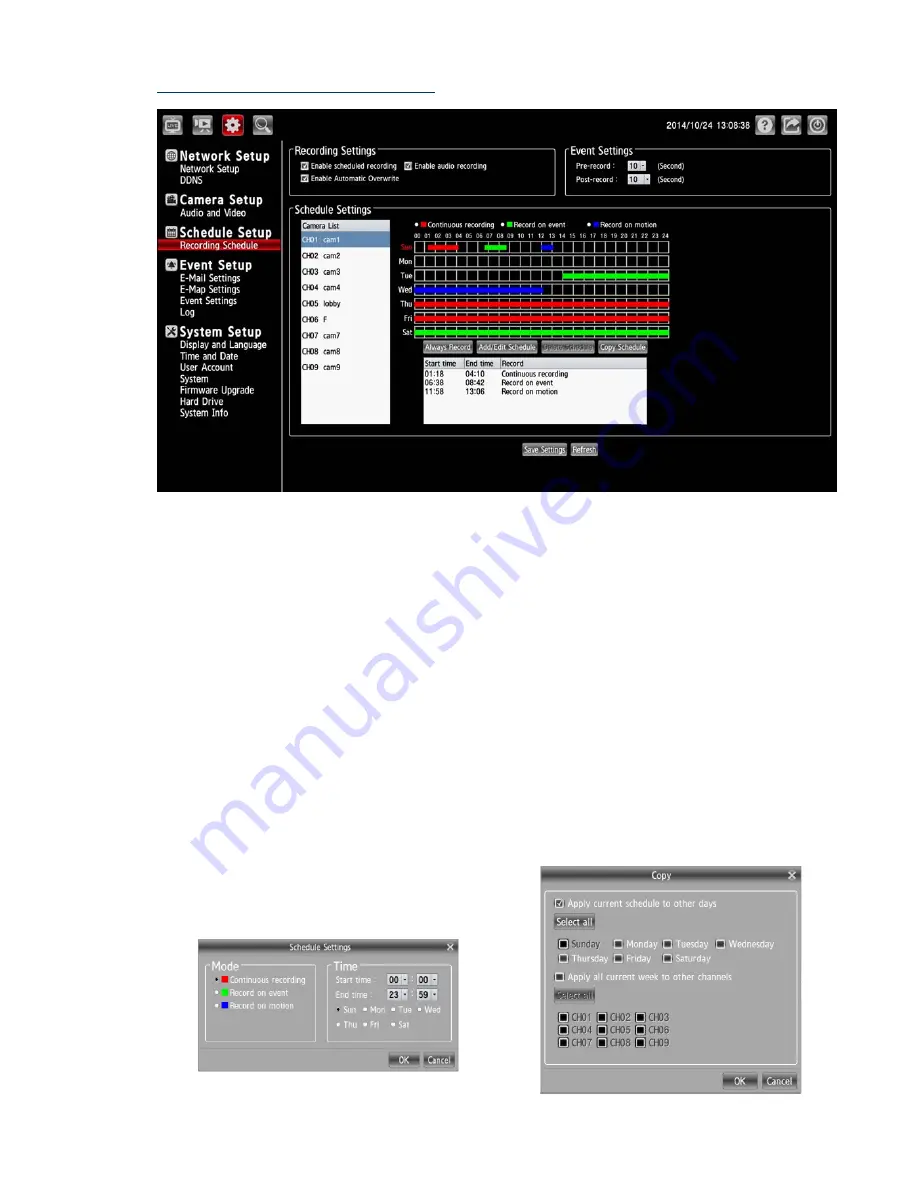
III. Schedule Setup – Recording Schedule
The schedule setting will help the user to setup the schedules of actions, such as recording or alarm
triggering.
1.
Select a camera on the Camera List for advanced schedule settings.
2.
Checkmark to activate the “Enable schedule recording”, the “Enable audio recording” or the
“Enable automatic overwrite” functions on the Recording Settings column.
3.
The Pre-record and Post-record time control how long surveillance footage is recorded before
and after motion detection is detected by a camera. Use the drop-down list to adjust these times
on the Event Settings column.
4.
Select the recording type.
Delete Schedule: Select a recording
schedule from the list then press the
button to delete it.
Always Record: Click to start the 24x7
continuous recording of the selected
camera.
Copy Schedule: Set to apply a current
schedule to other days and channels.
Add/ Edit Schedule: Click to open the
Schedule Settings dialog. Select the
recording mode then set the time period
and the weekday/ weekend. Then press
OK.
17
5.
Click Save Settings to activate the setting.


