background image

09. SEQUENCE LENGTH PAGE

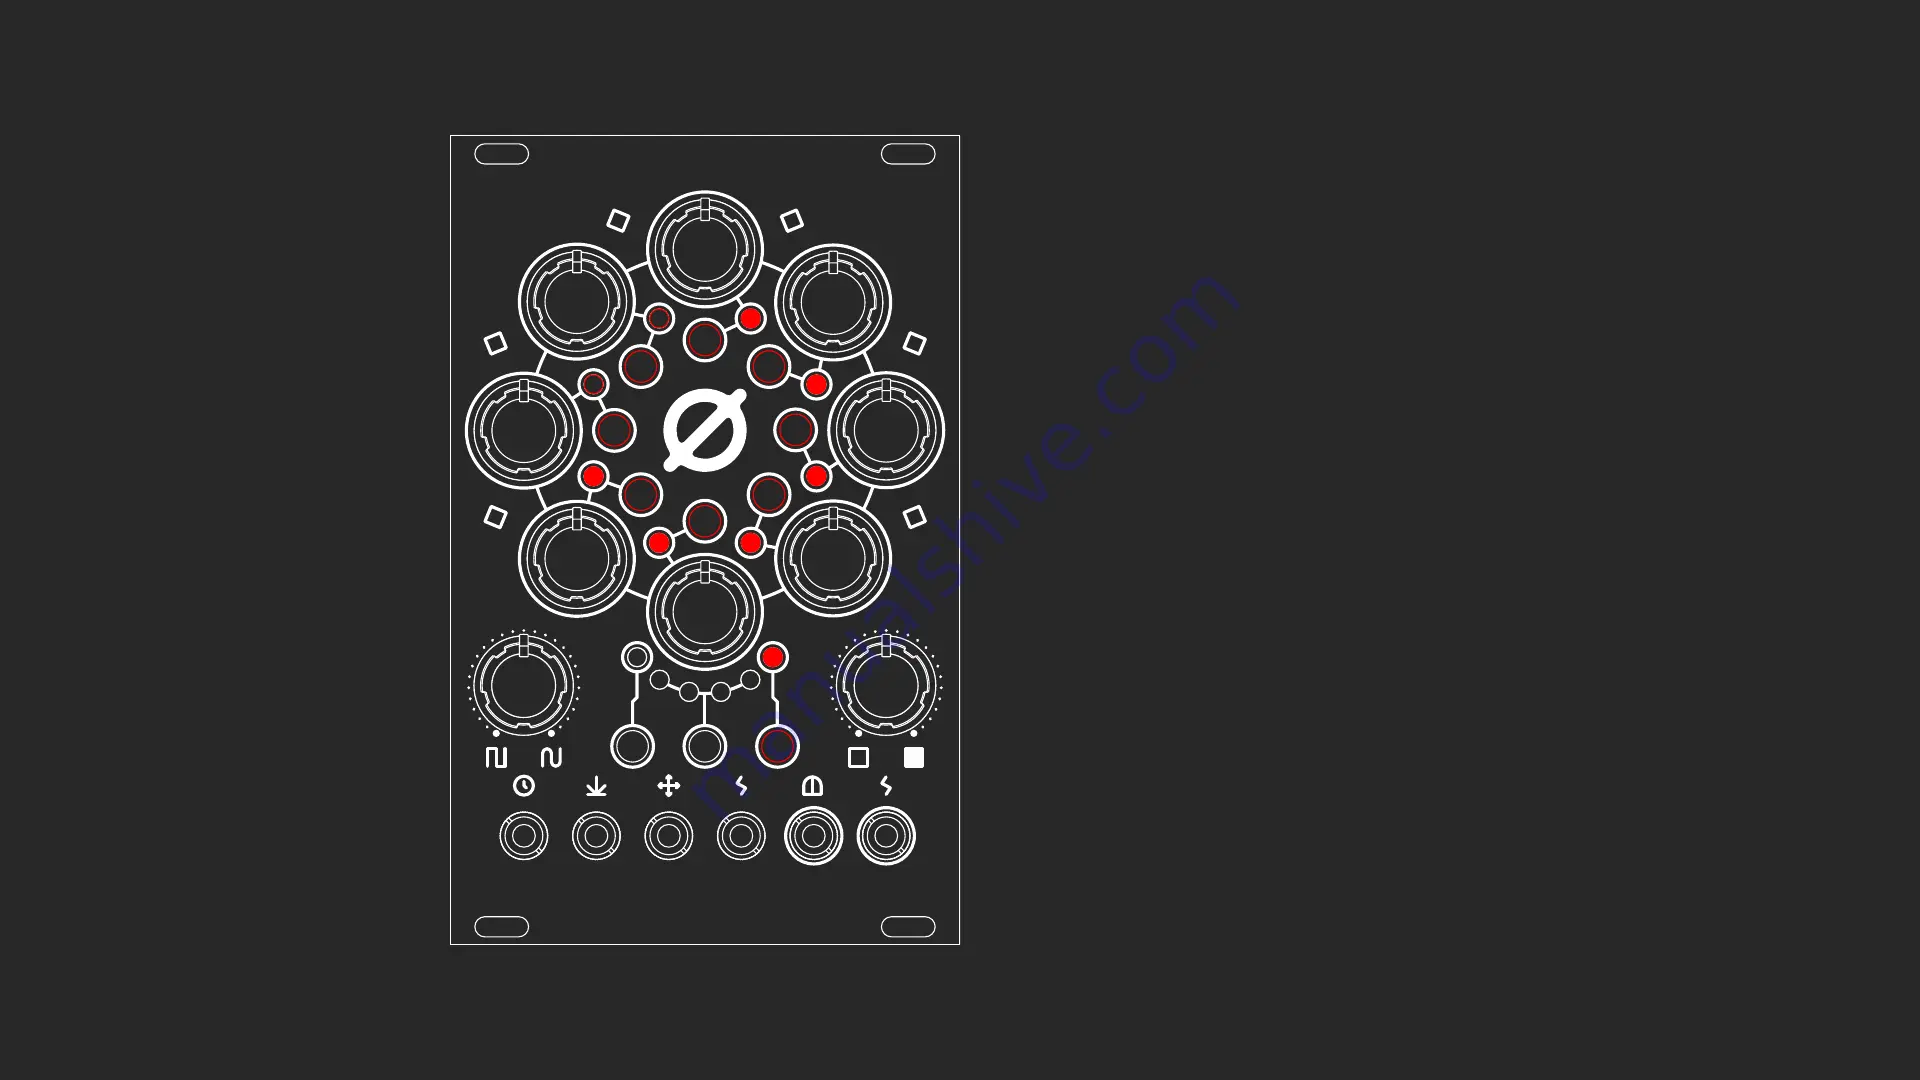
Sequence length page is accessed by pressing button C, 
and is indicated by LED C lighting up.

On this page you can set the length of your sequence by 
pressing the step buttons. After the last selected step, 
the sequence will start again from step 1.

Summary of Contents for ROT8

Page 1: ...ANTUMBRA ROT8 MANUAL ...

Page 2: ... 6 04 SEQUENCE 7 05 DIRECTION 8 06 GATE PAGE 9 07 STEP SETTINGS 10 08 GATE MODE 11 09 SEQUENCE LENGTH PAGE 12 10 SEQUENCE RESET PAGE 13 11 TUNE PAGE 14 12 GATE LENGTH PAGE 15 13 ASSIGN MENU 16 14 SLEW 17 15 RESET TO DEFAULT 18 16 SOFTWARE MODIFICATIONS 19 ...

Page 3: ...NK YOU Thank you for purchasing the Antumbra ROT8 module In this documentation you can find information about the installation and use of the module also an assembly in struction if you bought the DIY version ...

Page 4: ...he power cable header pins but BE CAREFUL with the orientation of the cable The RED STRIPE should be on the BOTTOM of the module indicated by the white line below the header pins By doing otherwise you can potentially harm the module or even your whole system Power off your eurorack system and connect the other end of the cable to the power source here also pay attention to the PSU manufacturer s ...

Page 5: ...On the back there are two jumpers that can be set The top one selects the maximum voltage that goes in the pots to the output this can be set to 5V or 12V The bottom one enables or disables the jack lights 101 ...

Page 6: ...tton 1 etc 9 SLEW POT 10 ASSIGNABLE POT 11 CLOCK IN JACK 0 12V 12 RESET IN JACK 0 12V 13 DIRECTION CV IN JACK 0 5V 14 ASSIGNABLE CV IN JACK 0 5V 15 GATE OUT JACK 0 5V 16 CV OUT JACK 0 5V or 0 10V A C BUTTONS plus LEDs A B1 4 and C 1 2 3 4 5 6 7 8 9 10 A B C 11 12 13 14 15 16 ...

Page 7: ...CE The sequence is set by potentiometers 1 8 the value of the active step indicated by green LED on LEDs 1 8 is output on the CV out jack The output path is fully analog so there s no quantization on the output ...

Page 8: ...dicated by LEDs B1 4 and are cycled by pressing the B button or feeding CV into the direction CV in jack The directions from left to right are the following B1 Forward clockwise B2 Backward counter clockwise B3 Pendulum B4 Random ...

Page 9: ...ate per step by pressing buttons 1 8 Active gates are represented by red LEDs on each step When the sequence reaches a step with a gate set to on it ll output a gate signal on the gate output jack It s length is based on the gate length setting which will be explained later in the manual ...

Page 10: ...of repeats on the selected step from 1 8 this allows you to expand the sequence to more than 8 steps To exit the step settings press the selected value one more time Now in the gate page the steps with repeat enabled are going to blink slowly if gate is not enabled on the step and will blink quickly if it is For gate settings see the next page ...

Page 11: ...d on the gate page The four gate modes are B1 SINGLE TRIGGER default There is a single gate output on the step repeats after it won t produce gates B2 TRIGGERS All triggers of the clock will produce gates B3 HOLD Gate will go high and will be held open till the last repeat B4 RANDOM Gates are randomly on or off on each repeat ...

Page 12: ...length page is accessed by pressing button C and is indicated by LED C lighting up On this page you can set the length of your sequence by pressing the step buttons After the last selected step the sequence will start again from step 1 ...

Page 13: ...D C blinking If repeats are enabled the sequence can go beyond 8 steps and will likely consist of even steps On the se quence reset page you can constrain the sequence to the following measures with the step buttons no constrain 4 8 16 32 64 128 256 Step numbers Step count 1 2 3 4 5 6 7 8 1 1 1 1 2 3 4 4 ...

Page 14: ...g When you access the tune page the sequence is paused and you can change steps by pressing the step buttons This is great if you want to tune the knobs to certain po sitions You can leave this page by pressing button A again When you leave this page the sequence will continue from the last selected step ...

Page 15: ...on C and is indicated by LED C blinking Here you can set the gate length with the step buttons Gate length is a percentage value calculated from the time between two clock inputs The values selectable from this page are the following 1 5 2 13 3 25 4 38 5 50 6 63 7 75 8 88 ...

Page 16: ...y long pressing on button B again On both pages you can set which parameter is controlled by CV coming in on the CV input jack and pot 10 If both of them are assigned to the same parameter pot 10 acts as an offset to the CV signal Assignable parameters 1 Step 0 8 sets the current step to given value 2 Gate length 1 95 sets gate length 3 Sequence length 0 8 sets sequence length 4 Pause 0 1 pauses s...

Page 17: ...the output Slew smooths the transition between two values creating glides Full counter clockwise there is no glide effect at all while fully clockwise the transition between two steps is slowed down You probably want to turn this off if you want to use the output with a quantizer NORMAL SLEW ...

Page 18: ...default settings long press button A and C till the B LEDs blink Default settings are Gate steps cleared Repeats 0 Gate mode single trigger Sequence length 8 steps Sequence reset no reset Gate time 50 CV assign gate length Pot assign sequence length ...

Page 19: ...sibility for damaged microcontrollers if you proceed from here I as sume you know what you are doing If you are unsure of what you are doing please contact Antumbra in email at antumbramodular gmail com Use the 6 pin SPI header on the back to upload code to the module You will need an AVR programmer for this 101 SPI header ...

Page 20: ...ROT8 is designed by David Szebenyi under Antumbra www antumbra eu Manual by David Szebenyi www aman hu 2017 All rights reserved ...

Reviews: