


4-13 Saving Verification Data
Using the 2300-580-R Software with VectorStar ME7838G
4-36
PN: 10410-00327 Rev. D
3659 0.8 mm Cal/Ver Kit & 2300-580-R PVS UG
4-13 Saving Verification Data
If the
Save Data
button on the
Main Menu
tab was selected, the save data dialogs described below appear.
When the save data procedure is completed, the program returns to the main menu as described previously in
Section 4-9 “Application Interface – Main Menu Tab” on page 4-25
.
The default directory path and file names are:
•
C:\mmdcsvc\Data\Matched Thru Low.dat
•
C:\mmdcsvc\Data\Mismatched Thru Low.dat
•
C:\mmdcsvc\Data\Matched Thru High.dat
•
C:\mmdcsvc\Data\Mismatched Thru High.dat
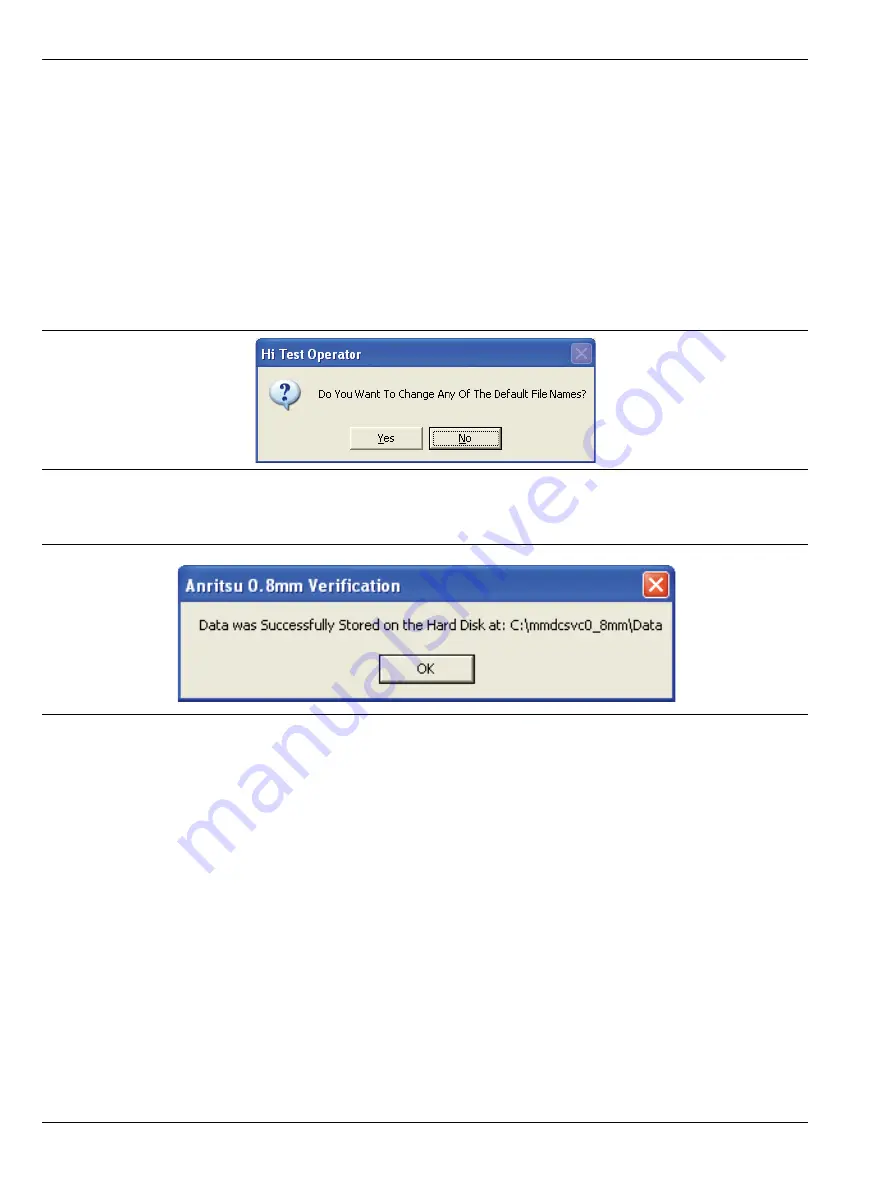
If the default file names should be changed, select
Yes
and enter the new file names. Otherwise, select
No.
The following dialog is shown when the files are successfully saved to disk.
4-14 Restart for Alternate Frequency Band
After the
Matched Thru
and
Mismatched Thru
tests have been successfully completed and the data saved, it is
necessary to restart the program and test the other frequency band. For example, if you tested for
40 MHz to
80 GHz Frequency Range
on your first calibration pass, on the second pass, select the
80 GHz to 145 GHz
Frequency Range
.
Procedure
1.
Ensure that the verification results of the previous test have been saved to the
C:\mmdscvc\Data
.
2.
To perform the verification tests for the second frequency range, on the
System Verification Software Main
Menu - Main Menu Tab,
select the
Restart
button. The main menu is described in
Interface – Main Menu Tab” on page 4-25
above.
3.
The
Choose The Restart Method
dialog box appears. If you selected
Full Restart
, the calibration process
starts again and the procedure steps are the same as the procedures described previously starting in
Section 4-5, “Running the Verification Software”
,
4.
On the
Setup Menu
, repeat the data entry for the following items. Click
OK
when ready to proceed to the
next step.
Figure 4-48.
Confirmation Dialog
Figure 4-49.
Information Dialog


