EVAL-AD7177-2SDZ User Guide
UG-849
Rev. 0 | Page 3 of 14
EVAL-AD7177-2SDZ
QUICK START GUIDE
RECOMMENDED QUICK START GUIDE
Follow these steps to set up the evaluation board:
1.
Disconnect the SDP-B board from the USB port of the
PC. Install the
AD7177-2
evaluation software from the
enclosed CD. Restart the PC after installation.
2.
Connect the
EVAL-SDP-CB1Z
board to the
EVAL-
AD7177-2SDZ
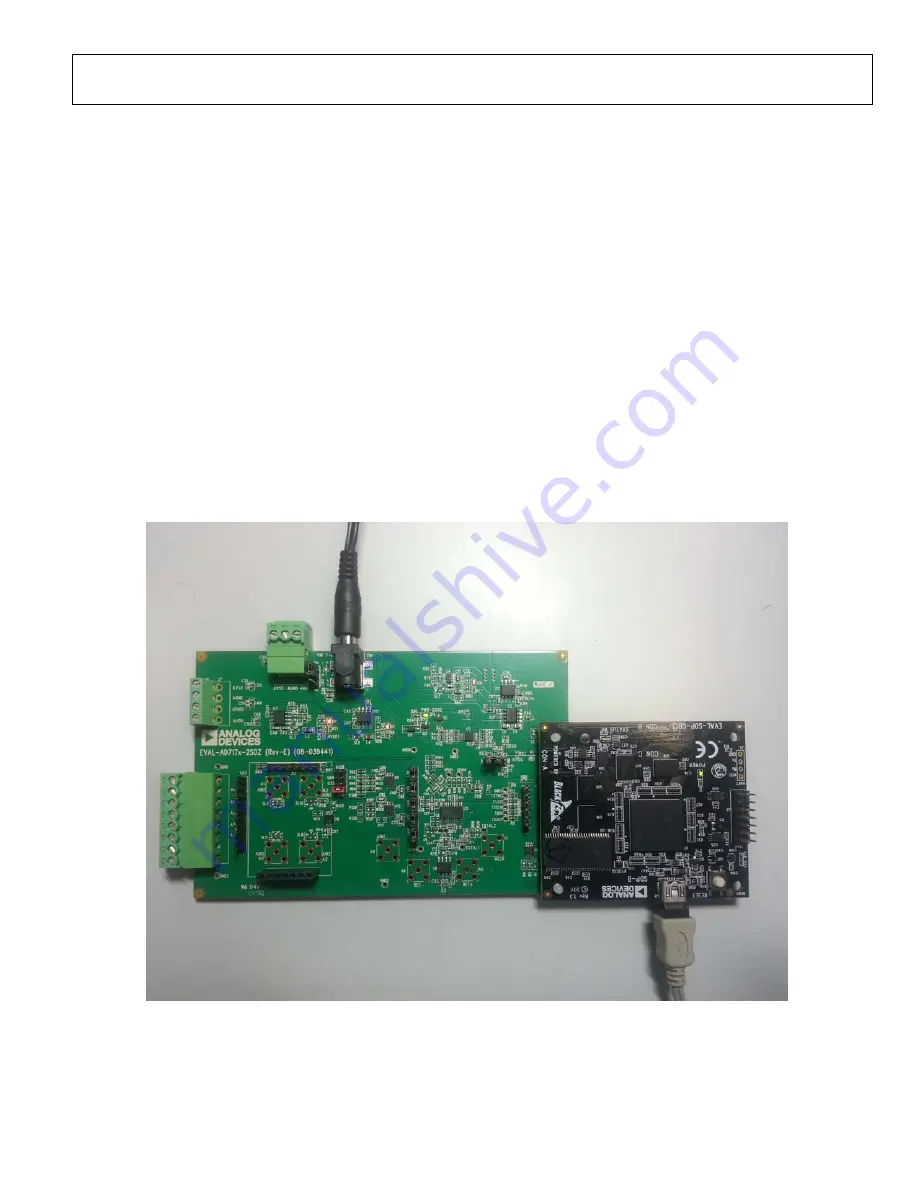
evaluation board, as shown in Figure 2.
3.
Fasten the two boards together with the enclosed plastic
screw washer set.
4.
Connect the external 9 V power supply to Connector J5 of
the evaluation board as shown in Figure 2. Set Link LK2 to
Position B.
5.
Connect the SDP-B board to the PC via the USB cable.
For Windows XP, search for the SDP-B drivers. Choose to
automatically search for the drivers for the SDP-B board if
prompted by the operating system.
6.
Launch the
AD7177-2
evaluation software from the
Analog Devices
subfolder in the
Programs
menu.
QUICK START NOISE TEST
Use the following procedure to quickly test the noise performance:
1.
Insert Link LK8 to Link LK12 to initiate the noise
performance test mode. In this mode, analog input
channels short to the REFOUT pin.
2.
Click
Start Sampling
to acquire samples from the ADC
(see Figure 7).
The
Samples
numeric control in the top right corner of the
main window sets the number of samples collected in each
batch (see Figure 7).
132
82-
0
02
Figure 2. Hardware Configuration, Setting Up the
EVAL-AD7177-2SDZ
Evaluation Board


