background image

User Manual - VPX-1401

3

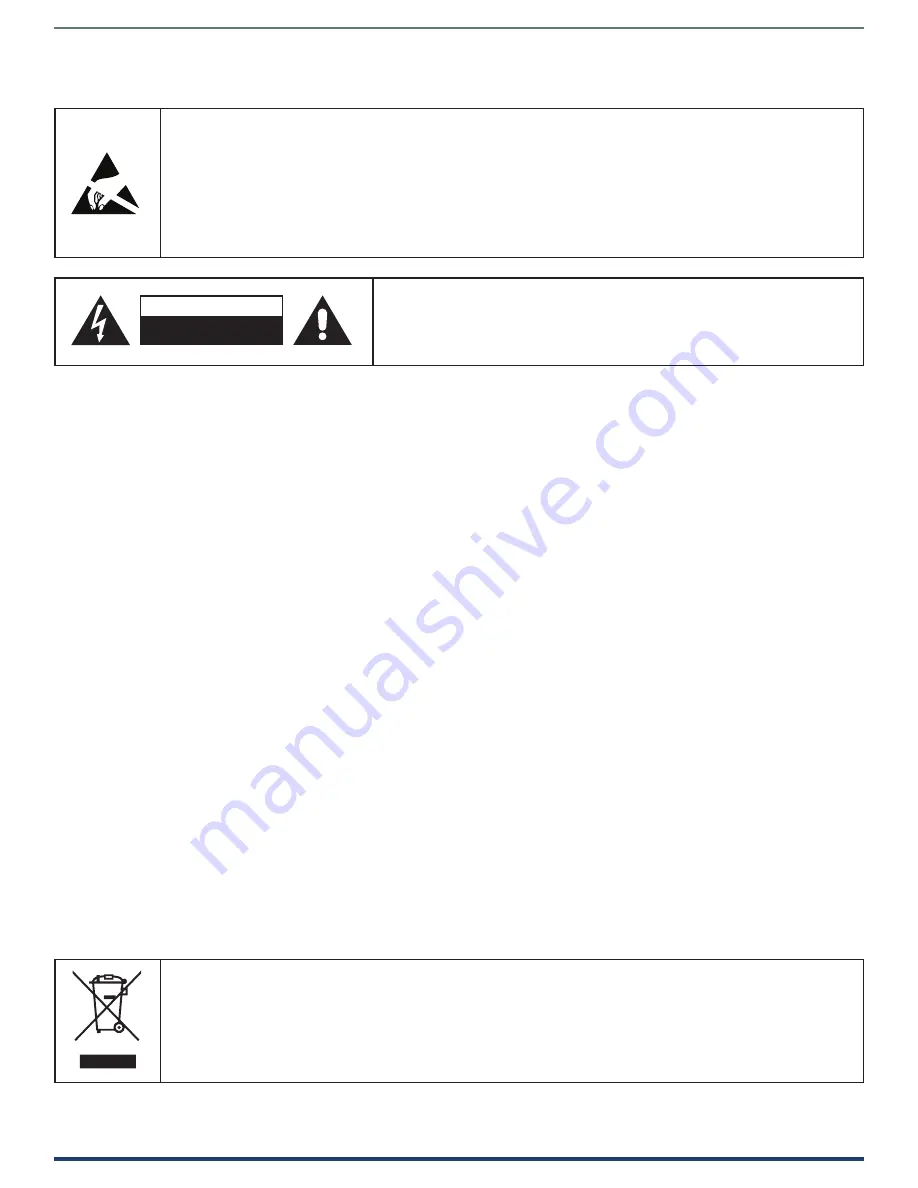
To avoid ESD (Electrostatic Discharge)  damage to  sensitive components, make sure  you are  properly grounded before 

touching any internal materials.  

When working with any equipment manufactured  with electronic devices, proper  ESD grounding procedures  must  be 

followed to make sure people, products, and tools are as free of static charges as possible. Grounding straps, conductive 

smocks, and conductive work mats  are specifically designed for this purpose. These items should not  be manufactured 

locally, since they are generally composed of highly resistive conductive materials to safely drain static discharges, with-

out increasing an electrocution risk in the event of an accident.  

Anyone performing field maintenance on AMX equipment should use an appropriate ESD field service kit complete with at 

least a dissipative work mat with a ground cord and a UL listed adjustable wrist strap with another ground cord.  

WARNING

Do Not Open! Risk of Electrical Shock. Voltages  in this equipment 

are hazardous to life. No user-serviceable parts inside. Refer all servicing to 

qualified service personnel.  

Place the equipment near a main power supply outlet and make sure that you 

can easily access the power breaker switch.  

ESD WARNING


WARNING

This product is intended to be operated ONLY from the voltages listed on the back panel or the recommended, 

or included, power supply of the product. Operation from other voltages other than those indicated may cause irre-

versible damage to the product and void the products warranty. The use of AC Plug Adapters is cautioned because it 

can allow the product to  be plugged into  voltages in  which the product was not designed to operate. If the product is 

equipped with  a detachable power cord, use only the type provided with your product or by your local distributor and/or 

retailer. If you are unsure of the correct operational voltage, please contact your local distributor and/or retailer.  

FCC AND CANADA EMC COMPLIANCE INFORMATION:


This device complies with part 15 of the FCC Rules. 

Operation is subject to the following two conditions: 

(1) This device may not cause harmful interference, and (2) this device must accept any interference received, including 

interference that may cause undesired operation.  

NOTE: This equipment has been tested and found to comply with the limits for a Class A digital device, pursuant to 

part 15 of the FCC Rules. These limits are designed to provide reasonable protection against harmful interference in a 

commercial environment. This equipment generates, uses and can radiate radio frequency energy and, if not installed 

and used in accordance with the instructions, may cause harmful interference to radio communications. However, 

there is no guarantee that interference will not occur in a particular installation. If this equipment does cause harmful 

interference to radio or television reception, which can be determined by turning the equipment off and on, the user is 

encouraged to try to correct the interference by one or more of the following measures:

• 

Reorient or relocate the receiving antenna.

• 

Increase the separation between the equipment and receiver.

• 

Connect the equipment into an outlet on a circuit different from that to which the receiver is connected.

• 

Consult the dealer or an experienced radio/TV technician for help.


Approved under the verification provision of FCC Part 15 as a Class A Digital Device. 

Caution  

Changes or modifications not expressly approved by the manufacturer could void the user’s authority to operate this device. 

CAN ICES-3 (B)/NMB-3(B) 

EU COMPLIANCE INFORMATION:


Eligible to bear the CE mark; Conforms to European Union Low Voltage Directive 2006/95/EC; European Union EMC Directive 

2004/108/EC; European Union Restriction of Hazardous Substances Recast (RoHS2) Directive 2011/65/EU; European Union 

WEEE (recast) Directive 2012/19/EU; European Union Radio and Telecommunications Terminal Equipment (R&TTE) Directive 

1999/5/EC 

WEEE NOTICE:


C A U T I O N

RISK OF ELECTRIC SHOCK

DO NOT OPEN

This appliance is labeled in accordance with European Directive 2012/19/EU concerning waste of electrical and 

electronic equipment (WEEE). This label indicates that this  product should  not be disposed of  with household 

waste. It  should be deposited at an appropriate facility to enable recovery and recycling.

Summary of Contents for VPX-1401

Page 1: ...USER MANUAL VERSION V1 0 0 VPX 1401 4x1 2 Scaling Presentation Switcher A V FOR AN IT WORLD...

Page 2: ...ck or fire The exclamation point within an equilateral triangle is intended to alert the user to the presence of important operating and maintenance servicing instructions in the literature accompanyi...

Page 3: ...bject to the following two conditions 1 This device may not cause harmful interference and 2 this device must accept any interference received including interference that may cause undesired operation...

Page 4: ...4 Input Source Switching 15 Auto Switching 15 Manual Switching 15 IR Operation 16 Control the Source 16 RS232 Operation 17 NetLinx Control 18 Device Number and Ports 18 Send command to control a devic...

Page 5: ...User Manual VPX 1401 5 Network 26 System 27 Firmware Upgrade 28 Before Starting 28 Transferring KIT Files 28 Troubleshooting 30 API Command Set 31 NetLinx Commands 31 Telnet SSH Commands 41...

Page 6: ...an HDBT receiver The VPX 1401 simplifies integration and installation of a small presentation system for classrooms and small offices providing localized presentation switching support over long dist...

Page 7: ...94 60 Hz 16 9 VIC 4 1280 x 720p 59 94 60 Hz 16 9 VIC 5 1920 x 1080i 59 94 60 Hz 16 9 VIC 6 720 1440 x 480i 59 94 60 Hz 4 3 VIC 7 720 1440 x 480i 59 94 60 Hz 16 9 VIC 14 1440 x 480p 59 94 60 Hz 4 3 VIC...

Page 8: ...enix Connector Audio Output 1 x Balanced Analog Audio Output 5 pin Phoenix Connector Audio Format Supported PCM 2 0 General Operating Temperature 0 C to 50 C 32 F to 122 F Storage Temperature 10 C to...

Page 9: ...INPUT SELECT INPUT Selection button Press to manually select a source as the current source input The button function can be enabled through command control or WEB UI on NetLinx 1 VGA IN 1 2 4 HDMI IN...

Page 10: ...troller for switching among VGA and HDMI inputs 1 Select VGA IN 1 2 Select HDMI IN 2 3 Select HDMI IN 3 4 Select HDMI IN 4 Connect to Ground 8 TALLY OUT Connect pins 1 4 and to a status display device...

Page 11: ...The following figures show the pinouts of the Phoenix Connectors RS232 IR Connects to the RS232 and IR devices with the 6 pole 3 5mm captive screw connectors Audio IN OUT Connect to an audio device wi...

Page 12: ...T IN of an HDBT receiver with a Cat 5e 6 6a 7 cable 5 Connections for additional control options LAN control NetLinx Telnet Web UI Connect a Local Area Network to the LAN port of the VPX 1401 Input so...

Page 13: ...User Manual VPX 1401 13...

Page 14: ...display its IP address Follow these steps to initiate OSD 1 Press and Hold the front panel buttons Input 1 and Input 2 for at least 3 seconds 2 The IP address of the VPX 1401 will display at the uppe...

Page 15: ...the most recently selected port If the port has no active source the input will be switched to the active source with the highest priority Note When in Auto Switching Input Select buttons do not funct...

Page 16: ...display from the source location Control the Source To control the source from the display location 1 Connect an IR emitter to IR port of the VPX 1401 2 Connect a broadband IR receiver to the IR IN po...

Page 17: ...r Slave Device to the RS232 port of the VPX 1401 with an RS232 cable See Pinout Information Section for RS232 wiring 2 Connect an RS232 Slave or Master Device to the RS232 port of an HDBT receiver wit...

Page 18: ...Ports Each VPX 1401 has its own Device Number which is assigned when the unit is bound to a Control System and the following ports Port 1 VGA IN 1 AUDIO IN 1 HDMI OUT HDBT OUT AUDIO OUT Port 2 HDMI IN...

Page 19: ...rol a device Click Diagnostics on the menu bar select Control a Device A window will display as follows type the Device number Port number System and command respectively and click Send To Device For...

Page 20: ...ENT Window via User Defined Program The Telnet window opens 2 At the prompt type the Telnet command and press Enter If you select Launch TELENT Window via User Defined Program you may need to enable T...

Page 21: ...al VPX 1401 21 Web UI Control via NetLinx To configure and control the device on the Web right click the Device Number in the Online Tree Tab choose Web Control Page Launch Web Control Page via NetLin...

Page 22: ...udio s Online Tree select Web Control Page Launch Web Control Page via Default Browser or select Launch Web Control Page via NetLinx Studio The following page will pop up Enter the default password ad...

Page 23: ...ngs To reset the device to factory default settings 1 Click Factory Default button 2 Click OK to proceed A successful reset will restore all the device settings to their factory defaults and the devic...

Page 24: ...y Lock Key Lock allows locking of the buttons on the VPX 1401 to prevent accidental or unwanted switching ON Click to enable Key Lock OFF Click to disable Key Lock default setting HDCP Support HDCP Su...

Page 25: ...lick to disable the Auto Display Control Default setting DELAY TIME 1 30 min Click the down arrow to set the time for the display to power off automatically when no signal is present Example With the...

Page 26: ...resolution as required APPLY Click to set the output resolution to the desired setting Network Device IP Mode DHCP When enabled the IP address of the VPX 1401 will be assigned automatically by the co...

Page 27: ...r By default it is disabled to be configured 2 LOGIN PASSWORD LOGIN PASSWORD The Login Password can be changed Default Login Password is admin 3 TELNET SSH ACCESS TELNET SSH ACCESS is used to enable o...

Page 28: ...ected click OK Transferring KIT Files 1 In NetLinx Studio choose Tools Firmware Transfers Send to NetLinx Device to open the Send to NetLinx Studio dialog 2 Click to navigate to the target directory T...

Page 29: ...User Manual VPX 1401 29...

Page 30: ...ices Ensure picture can be shown normally when directly connecting a source to a display device 4 Cable Plug the HDMI Cat X cable in and out or connect a different HDMI Cat X cable Ensure the specific...

Page 31: ...Set NetLinx Commands Device Port Name and Port Number Model name Port name Port name VPX 1401 VGA IN 1 Audio in 1 1 HDMI IN 2 2 HDMI IN 3 3 HDMI IN 4 4 RS 232 9 IR 11 HDMI OUT 1 HOST 10 HDBT OUT 1 Aud...

Page 32: ...SABLE Command SEND_COMMAND DEV FP_LOCKOUT DISABLE Return FP_LOCKOUT DISABLE Description Set Key Lock off 4 FP_LOCKOUT To verify the Key Lock Status Command SEND_COMMAND DEV FP_LOCKOUT Return FP_LOCKOU...

Page 33: ...eturn CEC_DISP_POWER ON OFF Command SEND_COMMAND DEV CEC_DISP_POWER OFF Return CEC_DISP_POWER OFF Description Execute a display control off 9 CEC_DISP_AUTO To define the display control automatically...

Page 34: ...T Return CEC_SLEEP_TIMEOUT 5 Description Get Delay Time to control the display off when on active signal The Delay Time is 5 Minutes 13 VIDIN_PREF_EDID To Set input EDID Command SEND_COMMAND DEV VIDIN...

Page 35: ...Y Command SEND_COMMAND VIDEO_INPUT_1 VIDIN_ PREF_EDID Return VIDIN_PREF_EDID 1920x1200 60 Description the EDID of the Input is fix EDID 1920x1200 60Hz 2CH 15 VIDIN_HDCP To Set Input HDCP Compliant Com...

Page 36: ...1366x768 60 1360x768 60 1280x1024 60 1280x960 60 1280x800 60 1280x768 60 1024x768 60 800x600 60 Command SEND_COMMAND VIDEO_OUTPUT_1 VIDOUT_ RES_REF 1280x1024 60 Return VIDOUT_RES_REF 1280x1024 60 Des...

Page 37: ...D_COMMAND VIDEO_OUTPUT_1 VIDOUT_ SCALE AUTO Return VIDOUT_SCALE AUTO Description Set scale mode as auto 22 VIDOUT_SCALE Get the scaling mode for the video output port Command SEND_COMMAND DEV VIDOUT_...

Page 38: ...UT_ON ON OFF Command SEND_COMMAND SWITCHER VIDOUT_ON ON Return VIDOUT_ON ON Description Set Video on mode as on 26 VIDOUT_ON Get the video ON mode for the video output port Command SEND_COMMAND DEV VI...

Page 39: ...COMMAND dxDev AUDOUT_MUTE Return AUDOUT_MUTE disable Description Audio mute mode is disable 31 AUDOUT_MAXVOL Set the audio max vol for the audio output port Command SEND_COMMAND DEV AUDOUT_ MAXVOL val...

Page 40: ...Set the audio vol for the audio output port Command SEND_COMMAND DEV AUDOUT_ VOLUME VALUE Return AUDOUT_VOLUME VALUE Description value 0 100 Command SEND_COMMAND AUDOUT_VOLUME_1 AUDOUT_VOLUME 50 Retu...

Page 41: ...false 5 ping Ping an address Address may be an IP or URL ping 192 16 2 203 PING 192 16 2 203 192 16 2 203 56 data bytes 6 reset factory Reset configuration back to factory defaults reset factory 7 set...

Page 42: ...n MSE values length etc show vs100 stats VS100 STATS 50 13 echo Enable disable echo of typed characters echo Usage echo argument Arguments on Enable echo of typed characters off Disable echo of typed...

Page 43: ...Would you like to save this setting Y N y Setting is ok you should reboot that make it effective 20 set location It s setting location set location Please input location Old location New location 333...

Page 44: ...ew password 456 Would you like to set this password y n y Changed Saved 25 set ssh username Set ssh service login username set ssh username Enter ssh new username admin admin Would you like to set thi...

Page 45: ...conference rooms classrooms network operation command centers homes hotels entertainment venues and broadcast facilities among others AMX is part of the HARMAN Professional Group the only total audio...

Reviews: