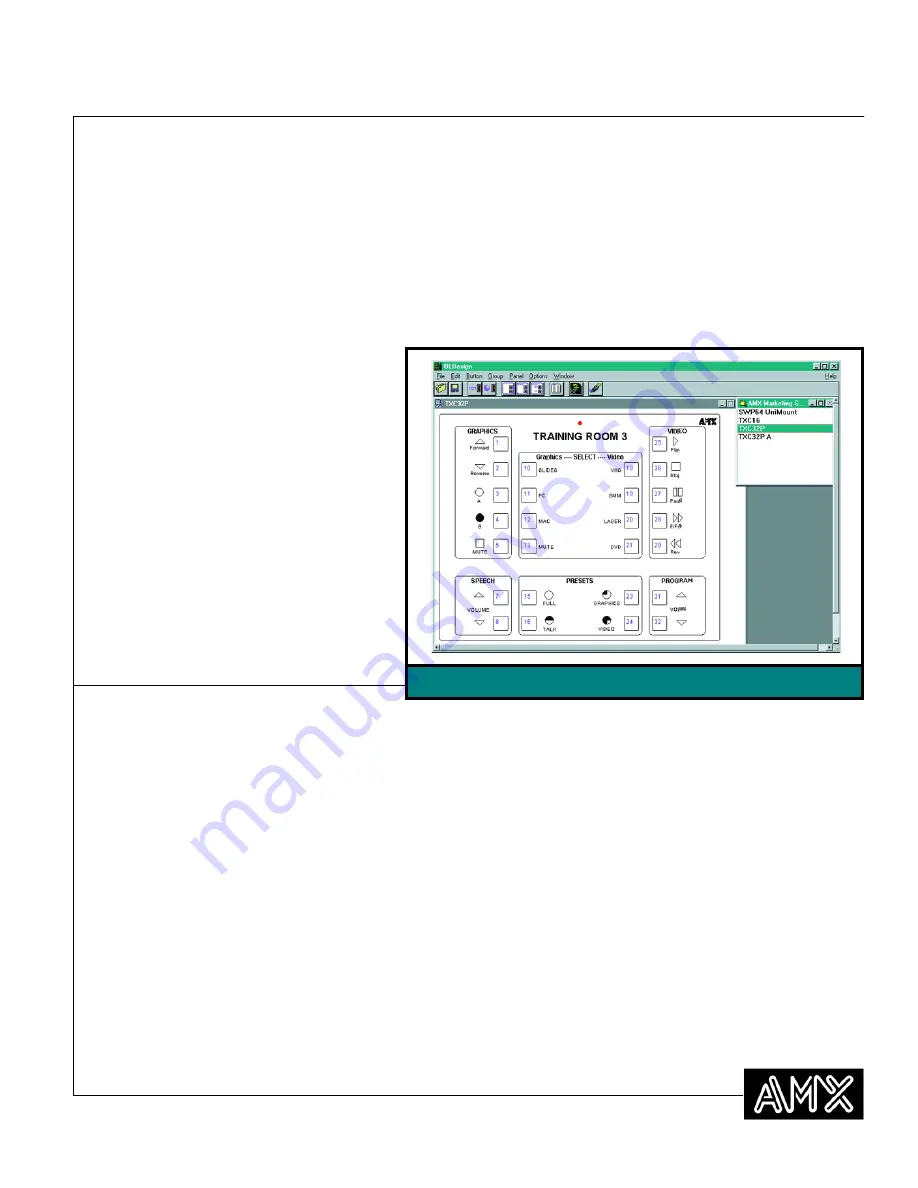
background image

2/'HVLJQ 2YHUOD\ 'HVLJQ 3URJUDP

+

9HUVLRQ

5134

RU KLJKHU

,

,QVWUXFWLRQ 0DQXDO

$0; 6RIWZDUH 3URJUDPV

Summary of Contents for OLDesign

Page 1: ...2 HVLJQ 2YHUOD HVLJQ 3URJUDP 9HUVLRQ 5134 RU KLJKHU QVWUXFWLRQ 0DQXDO 0 6RIWZDUH 3URJUDPV...

Page 2: ...tation may not apply to you CUSTOMER REMEDIES AMX s entire liability and your exclusive remedy shall be at AMX s option either a return of the price paid or b repair or replacement of the SOFTWARE tha...

Page 3: ...Editing LEDs in the bargraph 18 Removing a bargraph 19 Restoring a bargraph 20 Assigning radio codes 20 Create a DXF File 21 Printing a file 22 Previewing the print of a file 22 Saving a file 23 Addit...

Page 4: ...ob Info 30 Print 31 Print Preview 31 Print Setup 31 Exit 31 Edit Menu 32 Undo 32 Cut 32 Copy 32 Paste 32 Delete 32 Button Menu 33 Add Symbol 33 Title 33 Description 33 Set Color 33 Remove 33 Restore 3...

Page 5: ...emove Bargraph 36 Restore Bargraph 36 25 size 37 50 size 37 75 size 37 Full size 37 150 size 37 200 size 37 Options Menu 37 Preferences 37 Window Menu 38 Cascade 38 Tile 38 Arrange 38 Help Menu 38 Ind...

Page 6: ...iv Table of Contents OLDesign Overlay Design...

Page 7: ...gn and edit overlays and define the individual button functions for control panels see Figure 1 Group text Button text Button symbol Button group outline You ll create a new project file for each job...

Page 8: ...the functions for each button to assist AMX programming What s New or Changed New or changed information is indicated by a change bar in the outside margin of the effected page An example is shown to...

Page 9: ...s and define button functions OLDesign Workspace The OLDesign Workspace is shown below in Figure 2 The icons on the toolbar are described in Figure 3 A in the workspace lower left corner represents a...

Page 10: ...ou want to include in a group and choose this icon A group outline is drawn You are prompted to enter a group title Add group and button text Select the buttons you want to include in a group and choo...

Page 11: ...s when you produce a panel printout Show button by button descriptions Include the button by button descriptions when you produce a panel printout Show information for all visible buttons Display all...

Page 12: ...e New Panel dialog box Figure 5 appears prompting you to select the panel type 2 Click the type of panel for which you want to create an overlay Click the icon that represents the type of panel TXC4 P...

Page 13: ...on a UniMount overlay AXU CA CV Contains up to 16 external buttons on a UniMount overlay AXU CP LC Contains up to 16 external buttons on a UniMount overlay AXU MCA Contains up to 12 external buttons...

Page 14: ...dow under the icon when you minimize the window and in the List Panel The default name is the panel type such as SWP64 in the illustration A panel edit window Figure 7 opens This allows you to select...

Page 15: ...rmation that will identify this file for AMX Enter your dealer name the job number your AMX dealer ID number the purchase order PO number you have given AMX and the sales order SO number Then click OK...

Page 16: ...or xx large Font Select either bold or regular Roman for the typeface Direction Select the orientation for the lettering The text can run from right to left or from top to bottom of the panel Vertical...

Page 17: ...text 3 Select the font and position Then click OK The panel text Figure 10 opens 4 Select Comments from the Panel menu to enter any comments notes only not displayed about the panel The Panel Comment...

Page 18: ...d the selected buttons Figure 13 Group outline Handle 3 Adjust the size of the outline by dragging the handles 4 Click the icon The Add Group Text dialog box Figure 14 opens Figure 12 Selected buttons...

Page 19: ...the left in the center or on the right of the group Clear Nudge If you nudged text clear the nudge position replace the text where is was and use the position defined in this dialog box 5 Enter the gr...

Page 20: ...ick anywhere in the group except on the group text to create a description notes only not display of the group For example if the VCR group in Figure 15 is in a conference room you may want to add tha...

Page 21: ...the button group the button is in 2 Select the specific button s to delete 3 Press the Delete button The Panel Edit dialog box Figure 17 opens 3 Click the Yes button Defining the buttons To define the...

Page 22: ...can select a small medium or large type Font Select regular or bold type Position Select the position of the symbol in relation to the text and the button Clear Nudge If you nudged text clear the nud...

Page 23: ...keys in the Panel Edit Window Clear Nudge Select Clear Nudge to return the text or symbol that you nudged with the arrow keys back to its original placement 4 Choose a symbol Then click OK or press Ta...

Page 24: ...s in a panel bargraph 1 Click on the bargraph The Edit Bargraph dialog box Figure 22 opens 2 Click on the checkbox next to the LEDs to delete them as in the first LED in Figure 22 Click on the checkbo...

Page 25: ...anel 1 Select the bargraph in the Panel Edit Window Figure 23 2 Select Remove Bargraph from the Panel menu A Panel Edit dialog box Figure 24 opens 3 Click Yes to remove it The bargraph is removed from...

Page 26: ...log box shows all of the removed bargraphs in blue 2 Use the Restore Bargraph dialog box Figure 25 to restore a deleted or trimmed bargraph 3 Select one or more of the removed bargraphs and then click...

Page 27: ...If you select None the panel button numbering starts at 1 3 Click OK Create a DXF File Select the CreateDXF command from the Panel menu to create a DXF AutoCAD file for a panel To create a DXF AutoCAD...

Page 28: ...opens 2 Select the page range to print Then click OK The pages you select print To print blank panel pages 1 Select Add from the Panel menu or choose the from the toolbar 2 Click the panel type from...

Page 29: ...ive Then click OK or press Tab Enter Additional Functions Reopening an existing OLDesign file To reopen the file select Open from the File menu or choose the icon A list of files opens from which you...

Page 30: ...button group 1 Select the Recall command from the Group menu to open the Group Recall dialog box Figure 30 2 Select the target directory and drive location that contains the button group 3 Select the...

Page 31: ...ton with a single mouse click on the button Press the Shift key to select more than one button with a single click on the buttons You can also select a button group with a single mouse click on the gr...

Page 32: ...outline 2 Select the Delete command or press the Delete key The button or button group attributes are removed from the panel Restoring a button Use the Restore Button dialog box to restore a button y...

Page 33: ...C The panel and all its attributes are copied and pasted on the clipboard Pasting a panel To paste a panel into the workspace select the Paste command or press Ctrl V The panel and its attributes are...

Page 34: ...28 Operations OLDesign Overlay Design...

Page 35: ...the toolbar to create a new project file The New Panel dialog box opens prompting you to select the panel type From the New Panel dialog box choose the type of panel for which you want to create an ov...

Page 36: ...ved to the current file name directory and drive If you are saving a new file for the first time the Save as dialog box displays prompting you for file information Save as Select the Save as command f...

Page 37: ...u want to print The default is 1 Collate Copies Select this option to print multiple copies in sets If you do not select this option all copies of Page 1 will print then all copies of Page 2 and so on...

Page 38: ...ormed Cut Select the Cut command to cut a selected button or button group to the Windows clipboard Copy Select Copy to copy button button group attributes or to copy a panel onto the computer s clipbo...

Page 39: ...ls Title Select the Title command from the toolbar to add a title or text to a button The dialog box that appears provides a line to input the title typed Description Select the Description command to...

Page 40: ...can define the button groups add text or group titles add a description reassign a group save a button group and recall a button group Add Select the Add command to add or define a button group outli...

Page 41: ...and to save the group to a file This is useful for frequently used groups Recall Select the Recall command to recall a button group to paste onto the panel Panel Menu The Panel menu Figure 37 displays...

Page 42: ...ure 26 Rename Select the Rename command to rename current panel in the project The Panel Name dialog box Figure 6 prompts you for a new name Comment Select the Comment command to enter comments about...

Page 43: ...Select the Full size command to display the Panel Edit Windows full size 150 size Select the 150 size command to display the Panel Edit Windows at 150 of size 200 size Select the 200 size command to d...

Page 44: ...Microsoft Windows documentation for more information about icon and window display Cascade Select the Cascade command from the Window menu to size and arrange your open panel windows to overlap so th...

Page 45: ...the Index command to display the Contents of the online Help Using help Select the Using help command to display the Windows online help instructions About OLDesign Select the About OLDesign command...

Page 46: ...40 Menu Functions OLDesign Overlay Design...

Page 47: ...have a service problem refer to the chart in Figure 41 and the map in Figure 42 to determine your team then call your AMX Support Team for technical assistance Sales and support team telephone number...

Page 48: ...rademarks of AMX Corporation All other trademarks contained in this document are the properties of their respective owners AMX reserves the right to alter specifications without notice at any time 119...

Reviews: