


AMD FX
TM
9000
SERIES
INSTALLATION
GUIDE
7. Carefully place the motherboard into the chassis, such that its
rear I/O ports line up with the cut-outs in the I/O shield. Secure
the motherboard with the supplied screws. The holes should
line up directly with the standoffs underneath.
8. After the motherboard is secure, ensure that all chassis, disk
drive, and system power cables are connected properly.
9. If the chassis allows access to the back of the motherboard
under the AM3+ socket, now is the time to install the CPU liquid
cooling system per manufacturer’s instructions.
10. If the chassis doesn’t already have one, install a case fan with
at least 35CFM of airflow capacity as close to the motherboard
VRMs as possible. Ensure that the direction of fan airflow pulls
hot air from the VRMs out of the enclosure.
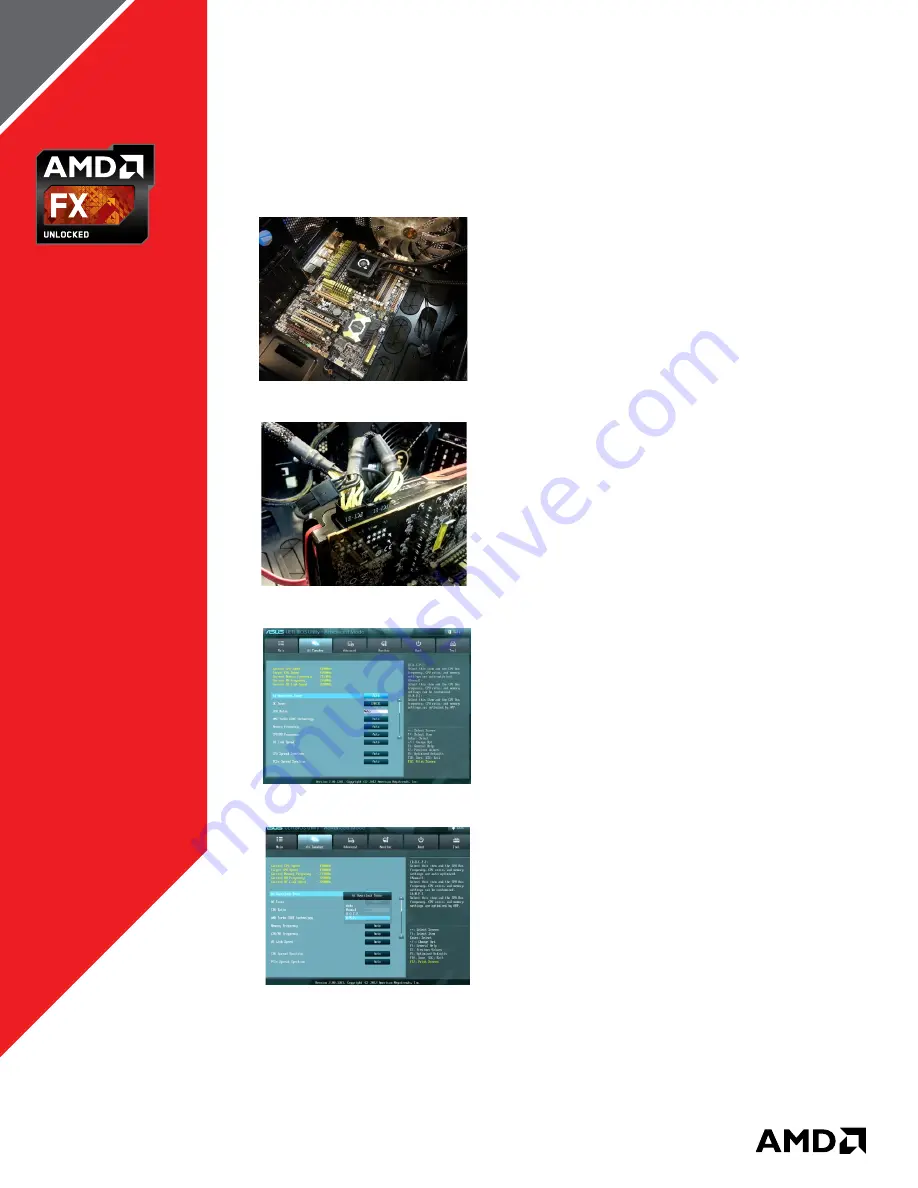
11. Install the graphics card into the motherboard x16 PCI Express®
slot and ensure the appropriate power connectors are used.
12. After attaching a monitor, keyboard, mouse, and power cables,
turn the system on.
13. The POST screen should now appear. Now enter the
system BIOS setup screen as documented by motherboard
manufacturer. Typically this is accomplished by pressing and
holding down the DEL key on the keyboard until the BIOS
screen appears. Verify that the motherboard model, CPU type,
and total memory are correctly shown.
14. Enable A.M.P. Memory Profiles to set Memory Frequencies.
For installations without AMD Radeon™ Memory, enable XMP
in the BIOS (if available) to help ensure the best possible
memory settings.
AMD FX 9000 SERIES INSTALLATION GUIDE
|
3
9
11
13
14


