


AMD FX
TM
9000
SERIES
INSTALLATION
GUIDE
1. Prepare the chassis by pre-installing the power supply and any
hard disks, SSDs, and optical drives as desired.
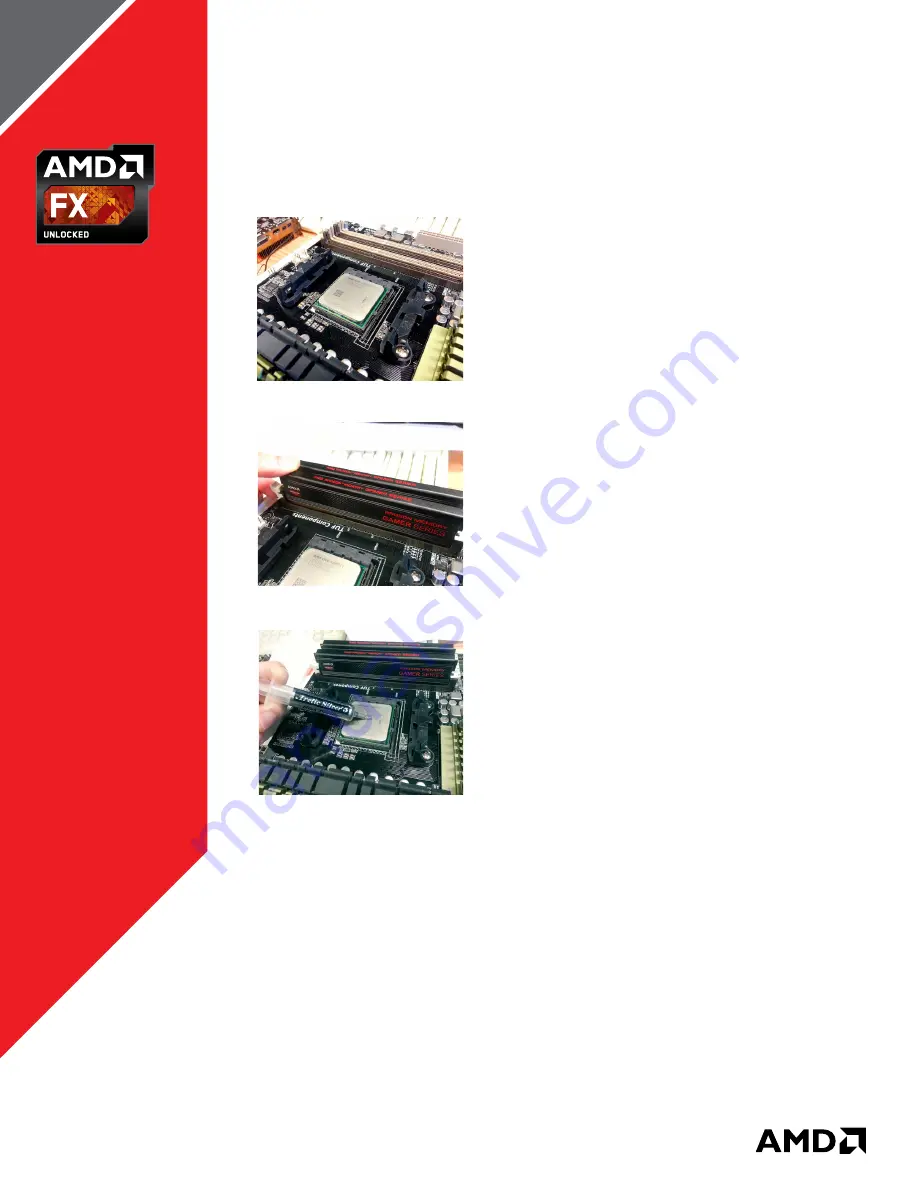
2. Install the processor into the AM3+ socket of an AMD FX™ 9000
series-compatible AMD 990FX™ motherboard and ensure it is
securely locked down.
3. Install memory modules into the correct slots on the
motherboard. For the best possible memory performance,
they should be configured in dual channel mode. Refer to your
motherboard manual for more information.
4. Check the bottom of the liquid cooler cooling block: if thermal
compound comes pre-applied from the factory, you do not need
to apply any to the CPU. If you notice hairs or fingerprints on the
surface of the processor, you can clean it by lightly wiping the
surface of the processor with a 10% IPA cotton swab.
5. If the cooling block does not have thermal compound pre-
applied, squeeze a pea-sized amount onto the center of the
CPU. This should be evenly spread over the entire processor
surface area, and you can use a credit card as a tool to help
accomplish this task. Keep in mind that the purpose of thermal
compound is to compensate for imperfections between the CPU
and cooling block, not to add a barrier between them. A proper
application should result in a very thin layer without any visible
streaks or clumps.
6. Examine your chassis. If it does not allow for access to the back
of the motherboard under the AM3+ socket, and your liquid
cooling system requires a bracket to be attached under the
motherboard, you may have to install the liquid cooling system
water block on the CPU per manufacturer’s instructions before
installing the motherboard into the chassis. If the chassis
does
allow
for rear access, install the liquid cooling system
after
the
motherboard is installed as it will be easier to manage the
attached cooling hardware.
AMD FX 9000 SERIES INSTALLATION GUIDE
|
2
2
3
Installation:
5


