73
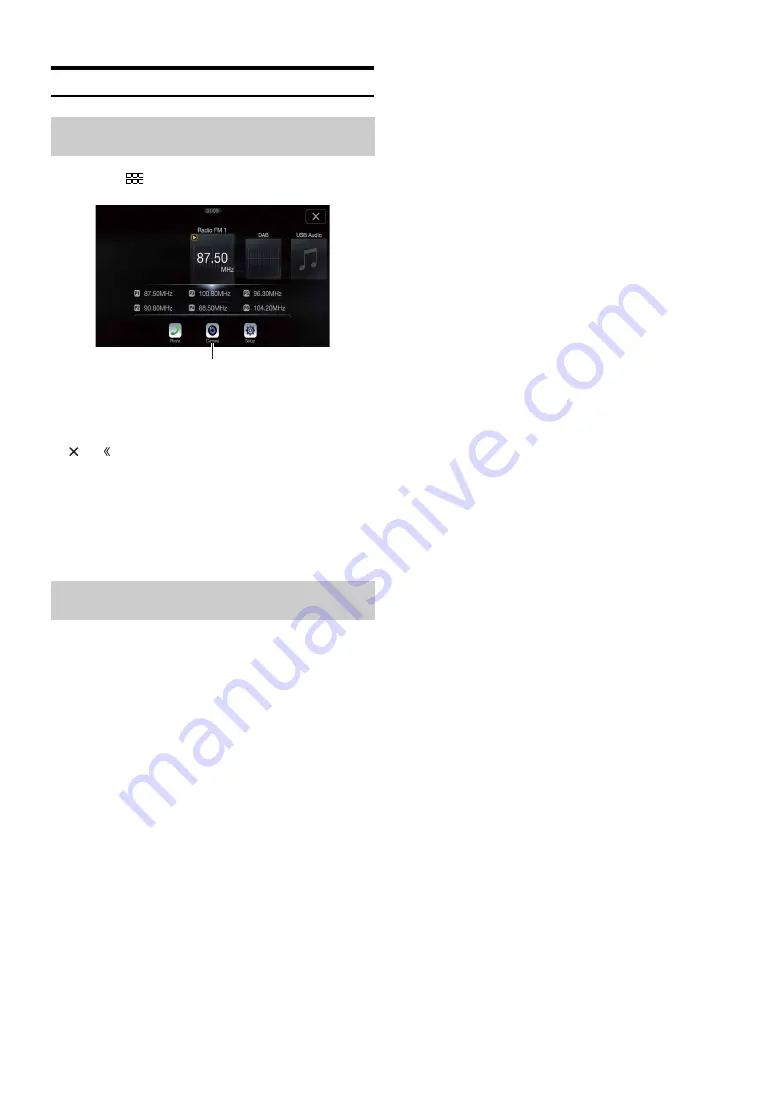
Side Camera Operation
1
Press the
(MENU)
button.
The menu screen is displayed.
2
Touch
[Camera]
.
The Side Camera view is displayed.
• Touch the screen while the camera image is being displayed, and touch
[
]
or
[ ]
to return to the main source screen or previous screen.
• You can perform a Guide Adjustment. For details, see “Adjusting the
Rear/Front/Side Camera Guide” (page 42).
• If you connect a Side Camera using the optional Multi Camera
Interface module, you can display the Side camera image using the
[Camera]
button only when you set “Setting a Default Camera”
(page 43) to “Side”. If you connect a Rear Camera and Front Camera at
the same time, touch
[Rear]
or
[Front]
in the Rear Camera image to
switch the Camera image.
If the camera has a view switch function, the Direct Change switch is
displayed.
1
Touch the screen when the image from the side camera
is displayed.
The operation screen is displayed on the screen.
• After a 5-second time-out, the operation screen returns to the
camera display screen.
2
Touch
[Rear]
or
[Front]
.
The image pattern changes.
• For detailed information about image patterns, see the camera Owner’s
Manual.
• You can perform a Guide Adjustment. For details, see “Adjusting the
Rear/Front/Side Camera Guide” (page 42).
Displaying the Side Camera image from the
Menu screen
Switching the Image Pattern for the Side
Camera
Rear:
Vehicle Rear view
Front:
Vehicle Front view
[Camera] button
Summary of Contents for INE-F409E
Page 2: ......


