


25
-EN
1
Carefully, pull out the USB Memory from the USB cable or
the USB Connection Terminal.
2
Close the cover of the USB Connection Terminal.
Notes
• Change to a source other than the USB Memory mode, then remove the
USB Memory. If the USB Memory is removed in the USB Memory
mode, data may be damaged.
• When removing USB Memory, pull it out straight.
• If sound is not output or USB Memory is not recognised even when USB
Memory is connected, remove USB Memory once, and then reconnect.
• After removing the USB Memory, close the cover of the USB Connection
Terminal to prevent dust or foreign objects from entering and causing a
malfunction.
• On how to connect a USB Memory to Rear USB Connector, refer to
“Rear USB Memory Connection (CDE-135EBT only) (sold separately)”
on page 36.
Using the USB Memory Banking Function
Note
• When a USB Memory is connected, the following description is
available only when TAG is set in “Setting the USB Search Mode” (refer
to “Setting the USB Search Mode” on page 18).
What is a Bank?
A bank is a unit of up to 1,000 songs, which is stored in memory.
“BANKING” refers to the grouping of songs available in USB Memory, in
banks of 1,000 songs each. However, unless the following estimates are
followed, the total number of songs stored could be less.
Playlists: 20 (32 characters; 64 bytes)
Genres: 10 (32 characters; 64 bytes)
Composers: 30 (32 characters; 64 bytes)
Artists: 30 (32 characters; 64 bytes)
Albums: 100 (32 characters; 64 bytes)
Titles: 1,000 (32 characters; 64 bytes)
Folders: 100 (32 characters; 64 bytes)
Files: 1,000 (32 characters; 64 bytes)
File Paths: 1,000 (128 characters; 256 bytes)
About Banking
While a bank is being built up, “BANKING” is displayed. Banking occurs
whenever a USB Memory device is connected or after power to the
head unit turns on.
It can take anywhere from a few seconds to up to several minutes for
banking to complete. This depends on the number of files and folders
in USB Memory.
Available operations while Banking
• During Banking, the information display changes so the VIEW
operation is not available.
• With a song playing, Regular fast-forwarding and next song selection is
available.
• While Banking, the song playback order may differ from the song order
in the USB Memory device.
• Searching is not recommended during the Banking process as the
database is under construction at this time, and malfunction may result
in some cases.
This unit has a BANK function that automatically divides every 1,000
songs stored in USB Memory into individual banks to make searching
and playing back a song easier. A maximum of 1,000 songs for one bank
can be stored according to the order stored in USB Memory. A
maximum of 20 banks (20,000 songs) can be recognised.
Playback
1
Press
SOURCE
to select the USB mode.
For CDE-135EBT, depending on which USB Connector you used,
press
BAND/F/R
to switch USB source between FRONT and
REAR.
2
Press
or
to select the desired track (file).
Pressing and holding
or
will fast backward/fast
forward track continuously.
3
To pause playback, press
.
Pressing
again will resume playback.
Notes
• Any file protected by DRM (Digital Rights Management) copy
protection, cannot be played back on this unit.
• The playback time may not be correctly displayed when a VBR
(Variable Bit Rate) recorded file is played back.
• If there is tag information, artist name/album name/track name is
displayed.
• If an MP3/WMA/AAC file contains ID3 tag/WMA tag information,
the ID3 tag/WMA tag information is displayed (e.g., song name, artist
name and album name). All other tag data is ignored.
• “NO SUPPORT” is displayed when text information is not compatible
with this unit.
• Before disconnecting USB Memory, be sure to change to another source
or set to pause.
• Press
VIEW
to switch the display. For details, refer to “Displaying the
Text” on page 14.
Searching for a desired Song
You can select to search a song by Tag information or (FILE NAME)
mode. Before you search a song, select your desired search mode in
“Setting the USB Search Mode” (refer to “Setting the USB Search Mode”
on page 18).
Before performing the following procedures, make sure TAG is selected
in “Setting the USB Search Mode” (refer to “Setting the USB Search
Mode” on page 18).
A USB Memory Device can contain hundreds of songs. By using file tag
information and keeping these songs organised in playlists, this unit’s
search functions will ease song searches.
Remove USB Memory from Front USB
Connection Terminal
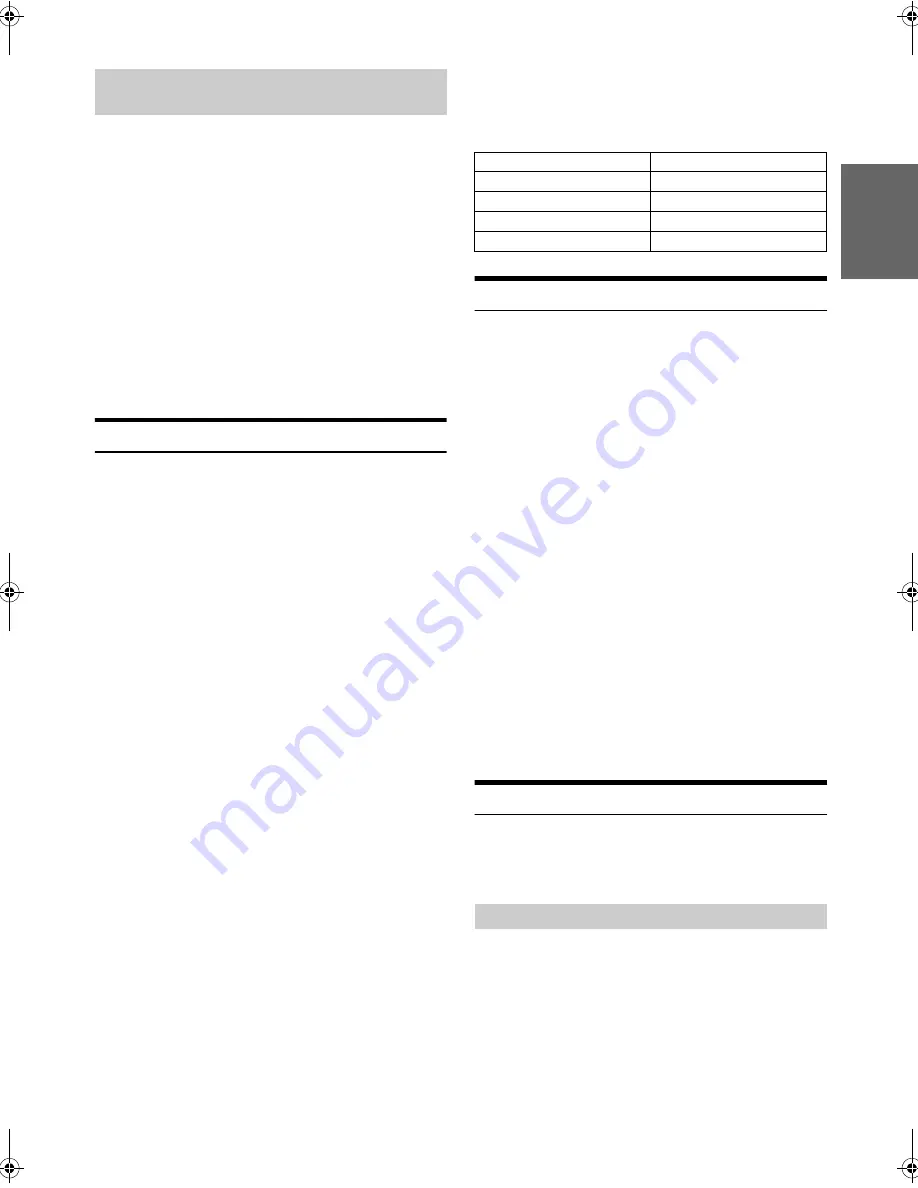
Bank No.
Song number
Bank1
1~1,000
Bank2
1,001~2,000
Bank20
19,001~20,000
Searching by Tag information
00ALPINE.book Page 25 Sunday, November 20, 2011 6:35 PM


