30
-EN
Setting the External Input Defeat
Mode
When inputting external devices to this unit, turning
DEFEAT ON will bypass BASS, TREBLE and MX, i.e.,
sound for external devices is output at the default
setting.
1
Press and hold the
SETUP
button for at least 3
seconds.
2
Press the
f
UP
or
g
DN
button to select the
INTERRUPT AUDIO mode.
3
Press the
BAND
button to toggle the mode between
ON and OFF.
When using Initial mode, set this to OFF.
When the Initial mode is not selected, set this to OFF.
4
Press the
SETUP
button to return to normal mode.
Demonstration
This unit has a Demonstration feature which simulates
the display functions.
1
Press and hold the
SETUP
button for at least 3
seconds.
2
Press the
f
UP
or
g
DN
button to select the
DEMO mode.
3
Press the
BAND
button to turn on or off the DEMO
mode.
Each press toggles between ON and OFF.
If no button is pressed for 30 seconds, the DEMO
mode activates.
NOTES
•
The initial setting at the factory is “ON.”
•
To quit DEMO mode, set to “OFF.”
4
Press the
SETUP
button again to return to normal
operation.
Setting the AUX Mode (V-Link)
You can input TV/video sound by connecting an
optional Ai-NET/RCA Interface cable (KCA-121B) or
Versatile Link Terminal (KCA-410C) to this component.
1
Press and hold the
SETUP
button for at least 3
seconds.
2
Press the
f
UP
or
g
DN
button to select the AUX
mode.
3
Press the
BAND
button to toggle the mode between
ON and OFF.
NOTES
•
The initial setting at the factory is OFF.
•
You can set the AUX mode display by pressing the
g
DN or
f
UP button after ON is set, select the AUX
mode display setting, and then press the BAND button.
•
When connecting the KCA-410C, you can set two AUX mode
displays.
4
Press the
SETUP
button to return to normal mode.
5
To adjust the volume, etc., first press the
SOURCE
button and select the AUX mode, then make the
necessary adjustment.
NOTE
When using the Versatile Link Terminal (KCA-410C), you can
connect two external inputs. To select the mode, press the
BAND button on the unit.
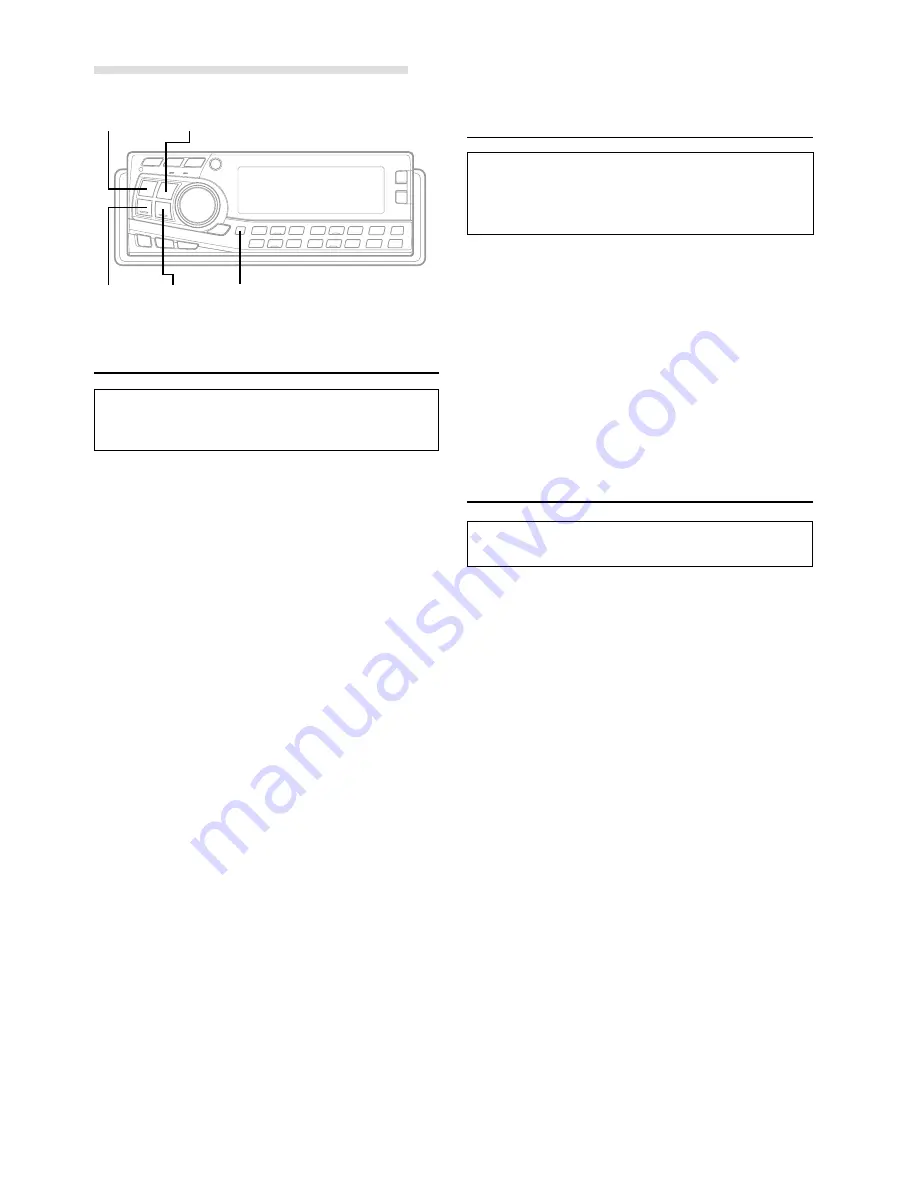
SETUP Operation
BAND
SOURCE
g
DN
f
UP
SETUP
Summary of Contents for CDA-7998R
Page 54: ...52 EN...


