© Copyright, Alliance Laundry Systems LLC – DO NOT COPY or TRANSMIT
Installation
13
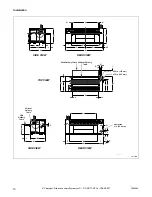
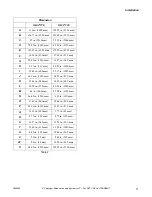
1800000
Moving Finisher with Crane
1. Remove any obstacles under machine placement
area.
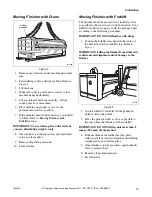
2. Fasten lifting cables to lifting eyebolts. Refer to
.
3. Lift machine.
4. Make sure cable is positioned correctly so that
machine hangs horizontally.
5. Lift and relocate machine carefully, without
sudden shocks or movements.
6. Place machine on ground, as close to the
permanent location as possible.
7. If the machine needs further moving, use forklift
or rollers. Refer to
Moving Finisher
with
Forklift
section.
IMPORTANT: To use rollers, place rollers in four
corners, distributing weight evenly.
8. Once finisher is in final position, open hydraulic
valve to release chest.
9. Remove all packing materials.
10. Level finisher.
Moving Finisher with Forklift
The finisher should be moved with a forklift as close
as possible to the area where it will be installed. Use a
forklift of sufficient capacity to lift the packaged unit
according to the following procedures.
IMPORTANT: DO NOT lift finisher with slings.
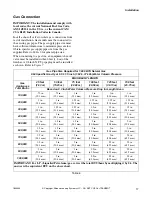
1. Position the forklift arms beneath the center of
the unit in the built-in forklift slots. Refer to
.
IMPORTANT: Lifting the finisher from either side
could cause misalignment and/or damage to the
finisher.
Figure 3
2. Use the forklift to carefully lift the packaged
finisher off wooden skids.
3. Move the packaged unit as close as possible to
the area where the finisher will be installed.
IMPORTANT: DO NOT lift the unit more than 8
inches (203 mm) off the ground.
4. If the machine needs further moving, place
rollers in all four corners of finisher, distributing
weight evenly, and roll into place.
5. Once finisher is in final position, open hydraulic
valve to release chest.
6. Remove all packing materials.
7. Level finisher.
FWF49N
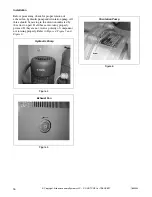
Figure 2
FWF49N
Lifting
Eyebolts
FWF56N
Summary of Contents for UL24A118
Page 2: ......

