


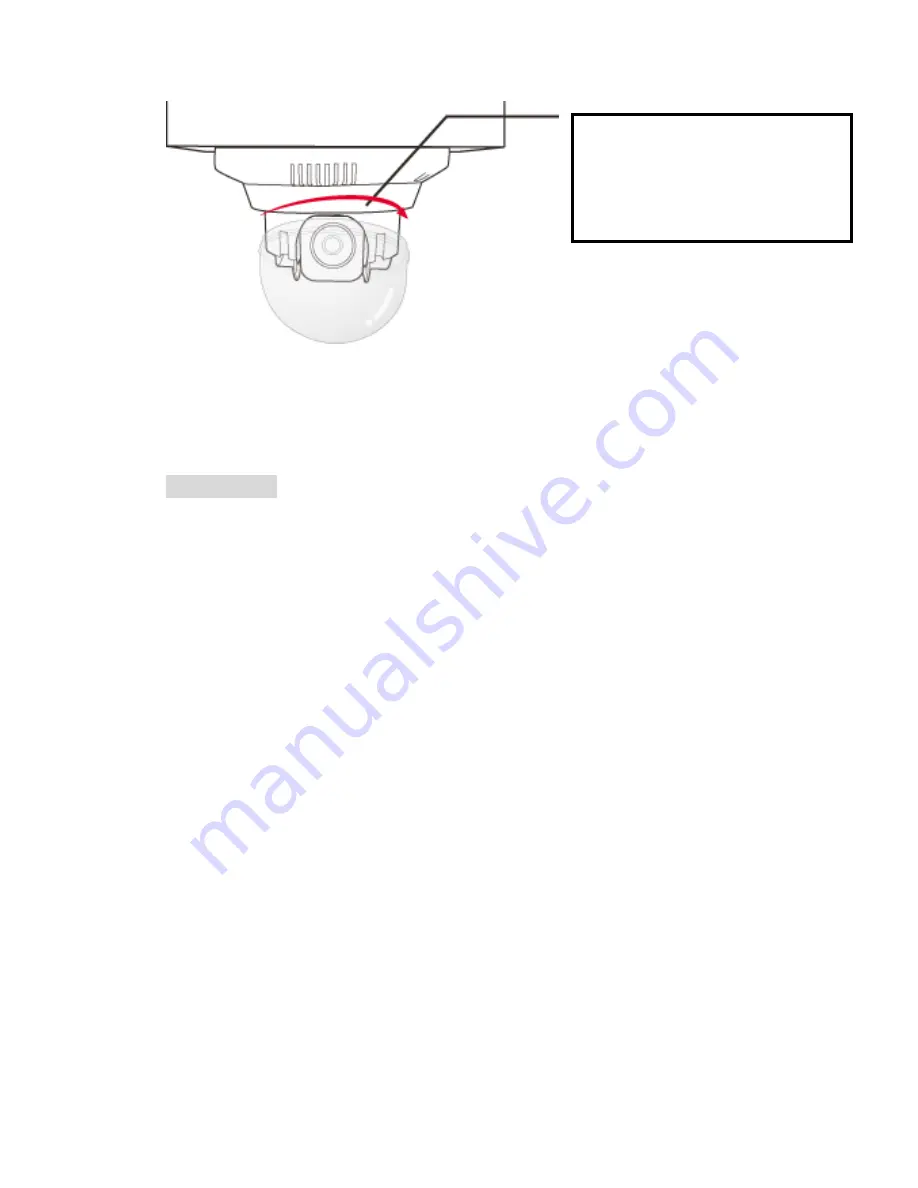
20. Remove the outer packaging of the
optical cover and align the optical cover
with the gap of the PTZ Dome Camera.
Put the cover to its position, turn right to
the end, and remove the protection film.
Do not leave any fingerprints on the
cover
Note: While installing, be careful not to scratch or leave fingerprints on the optical cover. Gloves are
recommended for the installation. Dust may accumulate to the optical cover after prolonged use and
affect the image quality. A high-pressure gas spray can be used to remove the dust. If the dust
accumulation is severe, remove the optical cover, clean with water, dry and wipe it carefully with a
wiper (optical lens wiper). It is not allowed to use any harsh solvents to clean the optical cover. A new
replacement is available if the optical cover is damaged to affect the image quality.
Important!!
1. Users should carefully read the attached Hardware Installation Manual to avoid damage to the
equipment and personnel.
2. If you want to hang the camera from the ceiling, please do not affix this product to the asbestos
plate on the lightweight steel frame. The fragile asbestos plate might not be capable of holding the
weight and the camera may fall from the ceiling to injure personnel or damage the equipment. It is
recommended to secure the camera on a rigid surface, such as wooden plate, concrete, metal
surfaces. The attached screws are used for wooden plate. Please use other appropriate screws if the
camera is to be secured to a surface made from different material.
3. When using a screw to fix the camera to the ceiling, please protect your eyes from falling screws.
4. Reminder, you can fix the camera to the ceiling after setting the camera.
5. Do not forget to clean and maintain the camera -
Dust may adhere to the optical cover after prolonged use and affect the image quality. Remove the
optical cover, clean with water, dry and wipe it carefully with a wiper (optical lens wiper).
After completion of the hardware installation:
1.
Connect the network cable
Connect one end of the network cable (not supplied) to the network port on the
rear panel. Connect the other end to the network equipment of the user.
2. Connect to power supply
Connect the power supply (not supplied) to the power inlet. The camera will
automatically rotate. It takes about 40 seconds to activate the camera.
22


