Editing Effects
11
71
Hearing the Effects Only
Normally, the final output of an Effect is mixed back in with the original
Program or Mix, so that what you hear is a combination of the two. In
some cases, however, you may want to hear only the Effected sound.
Here’s how to do that:
1) Go into Program Edit mode.
2) Assign the Output parameter of the Sound/Program to OFF.
3) Assign the Effect Bus of that Sound/Program to one of the four
Effect Sends.
4) Adjust the Effect Level as you wish.
If the Effects Inputs Clip (“!”)
If the input to the Effect becomes overloaded while you are playing, then
a “!” symbol will flash in the Mix or Program display. You want to avoid
this situation because clipping creates unnecessary noise and distortion,
and can even cause the signal to drop out for a second.
There are two easy fixes:
• Go into Effect Edit mode and reduce the Input levels for each effect
function in the current configuration.
• Reduce the Effect level settings in the Program or Mix that is giving
you the problem.
The Effects Edit Pages
The Configuration Function [40 CONFIGURATION]
The starting point of every Effect is its
Configuration
, which defines all
routing and parameters. Each is a unique arrangement of effect blocks
distributed across two to four effect Sends. The Configuration
determines where each block’s input comes from and where each block’s
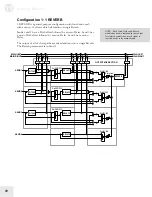
output goes. The five Effect Configurations are:
1. 1 REVERB
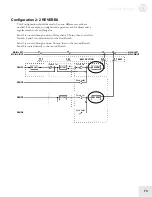
2. 2 REVERBS
3. REVERB
4. 1 EQ
5. OVLZLY
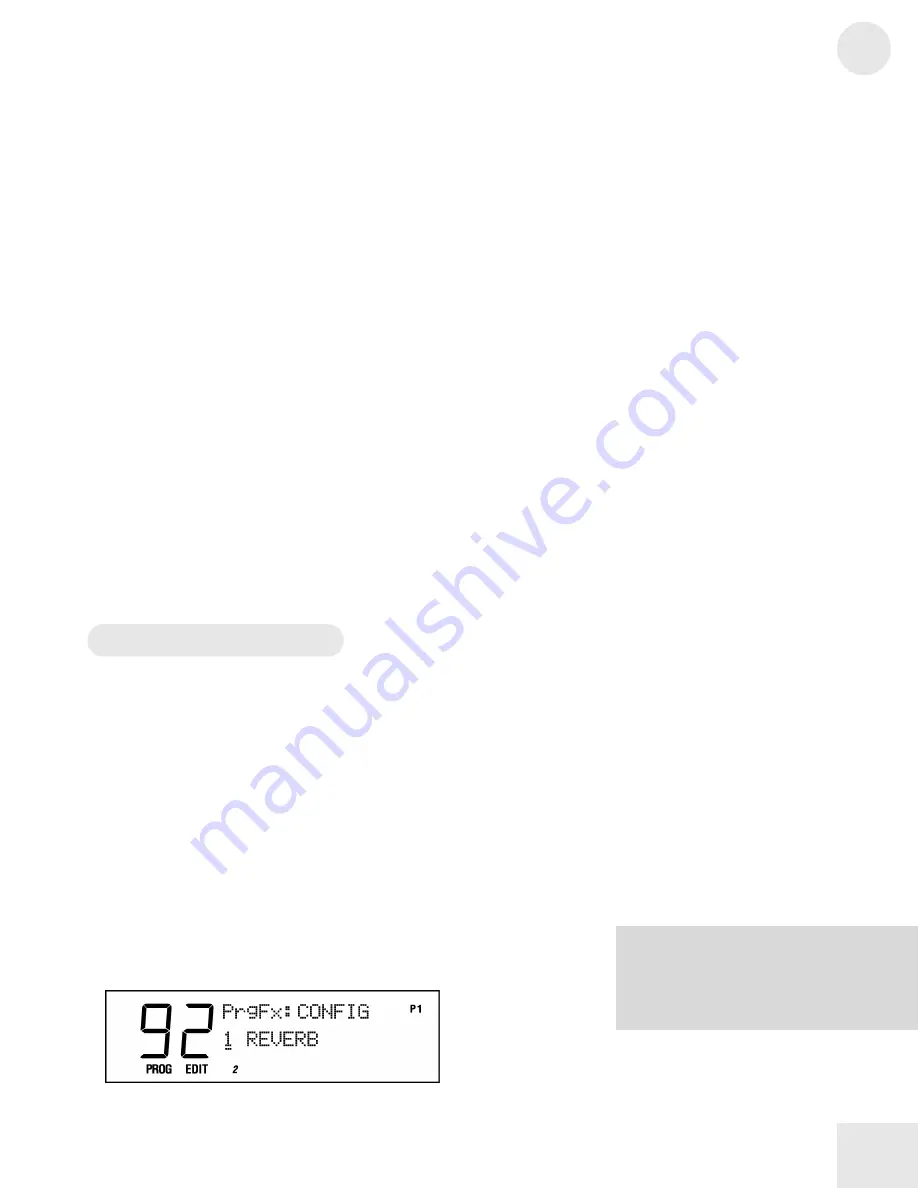
To pick a Configuration, enter Effects Edit Mode and then press [40], the
button that has CONFIGURATION printed above it. The display will
look like this:
Use the [VALUE] buttons or the [EDIT VALUE] slider to select one of
the five Configurations.
NOTE: Every time you select a new
Configuration, many of the parameters will
be reset to their default values. So always
pick your Configuration first, before doing
any other Effects editing.
Summary of Contents for QS6.2
Page 1: ...Reference Manual...
Page 2: ...This page intentionally left blank 10 20 30 40 50 60 70 80 90 100...
Page 6: ......
Page 14: ...1 Connections 12 Connection Diagram...
Page 26: ......
Page 64: ......
Page 94: ......
Page 102: ......


