4
Expansion Cards
22
To play back a card sequence:
1) Insert the card containing sequence data into the [PCMCIA
EXPANSION SLOT].
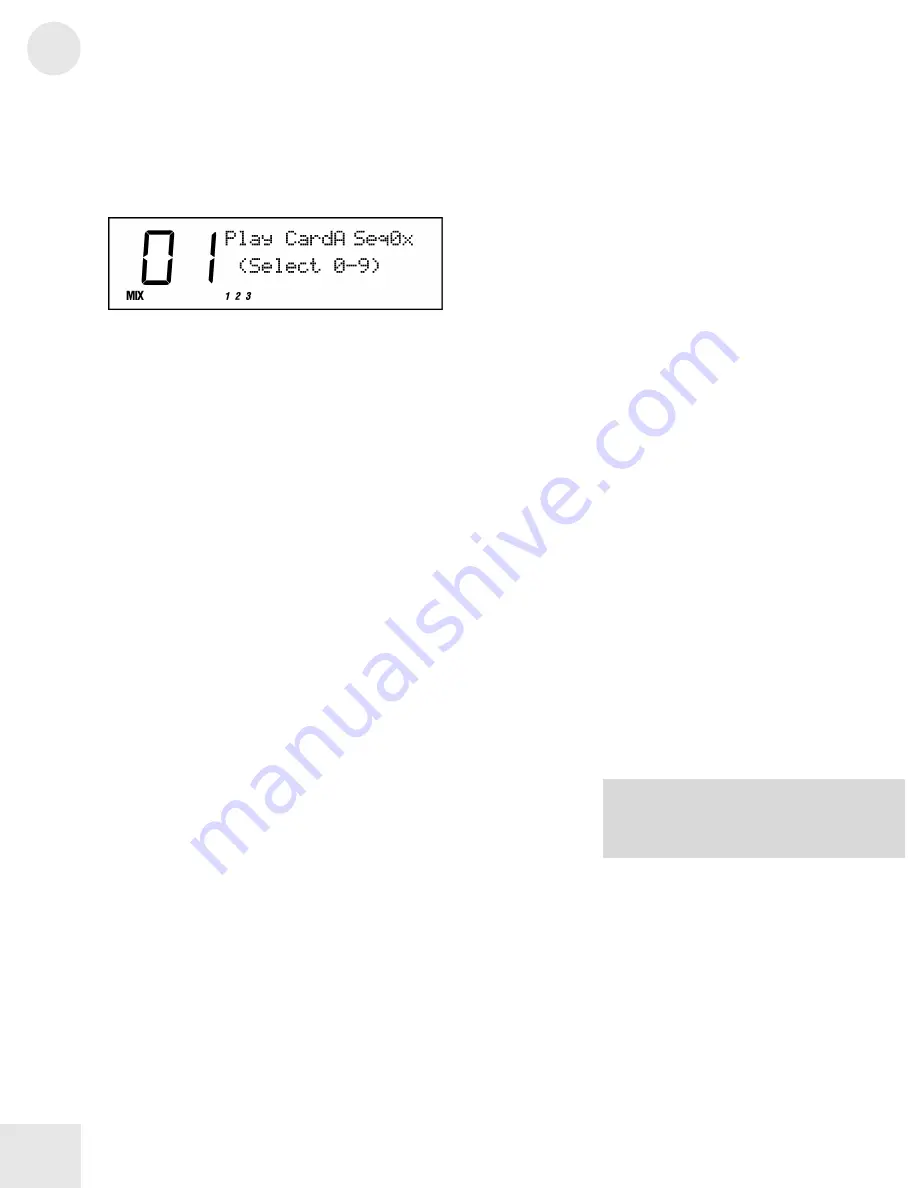
2) Press the [SEQ SELECT] button. The display will look like this:
3) Use the [00] through [40] buttons to pick the tens digit of the
sequence number.
4) Finally, use the [0] through [9] buttons to play a specific sequence.
To stop a sequence while it’s playing, you can press the [SEQUENCE],
[PROGRAM] or [MIX] button.
Saving a Bank to an SRAM Card (Formatting)
Before you can use a blank SRAM card for the first time, you must
format it by storing the User Bank to each of its banks. Depending on
the amount of SRAM a particular card has, up to 8 complete Banks can
be stored onto it.
1 ) Insert an SRAM card into the [PCMCIA EXPANSION SLOT].
2 ) Press [STORE].
3 ) Press [< PAGE] three times. This selects the “SAVE TO CARD”
option.
4 ) Use the [CONTROLLER D] slider or the [VALUE] buttons to
select a bank location on the card to store to.
5 ) Press [STORE] to transfer the User Bank data from the QS onto
the card.
Saving a Program or Mix to an SRAM Card
This is done just like storing to the User Bank, except that you use the
[BANK] buttons to select a card bank.
Note that the SRAM card must be formatted first (see above).
Loading Banks from a Card
The QS can access Program and Mix data directly from a card by using
the [BANK] buttons. However, there may be an instance where you
want to load a full bank from a card into the User Bank. Warning: this
will erase the current Programs and Mixes in your User Bank.
To overwrite the User Bank with a Card bank:
1 ) Insert the card into the card slot on the back panel.
2 ) Press [STORE].
3 ) Press [< PAGE] twice. This selects the “LOAD FROM CARD”
option.
NOTE: If the display reads “CARD IS
WRITE PROTECTED.” switch the write-
protect switch on the card to off and repeat
the procedure.
Summary of Contents for QS6.2
Page 1: ...Reference Manual...
Page 2: ...This page intentionally left blank 10 20 30 40 50 60 70 80 90 100...
Page 6: ......
Page 14: ...1 Connections 12 Connection Diagram...
Page 26: ......
Page 64: ......
Page 94: ......
Page 102: ......


