Alea Systems, Inc.
Rev.1.13
Pingo-Photo Rep
User manual
38
17.2 Start the autoloader
When the print image and page setup preparations are complete, load the printable CD-Rs (the CDs must be
coated with an ink absorption layer specifically designed for ink jet printing - most major manufacturers
offer printable surface CD-Rs in white and silver) into the CD magazine(s). Verify that the printer is on and ready.
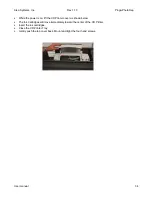
The printer will intitalize by moving its tray back about an inch and then forward to the extended position. If
this does not happen, the tray may be too far back on power up. Repeat power on after moving the tray into
the mid position. The loader will then check the hopper for discs. Finally, the picker will return to home
position (The first CD Magazine on the right side of the CD Printer tray). Pingo Rep is ready for a print job.
Define your print settings and issue the print command. The print image will spool to the system hard disk drive
and then begin sending data to the printer. As the printer receives the image data, a load paper command will be
issued and the printing will begin.
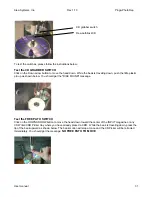
The Pingo rep will automatically load a disc into the printer tray for printing. After printing, each disc will be
placed into the output hopper(s).
•
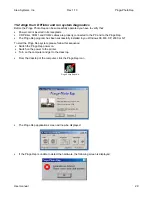
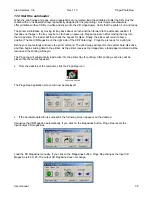
From the desktop of the computer, click the Pingo Rep icon
The Pingo Rep application screen will now be displayed:
•
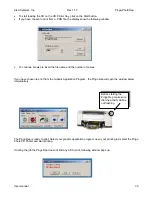
If the hardware detection is successful, the following screen appears on the desktop:
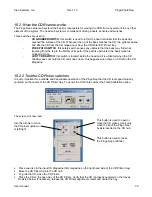
Sequence the CD Magazine automatically. If you click on the Magazines button, Pingo Rep resets the
input/output CD magazines.
Load the CD Magazine manually. If you click on the Magazines button, Pingo Rep changes the input CD
Magazine to #2 or #3. The output CD Magazine does not change.
Pingo-Photo Rep.LNK


