


March 20, 2013
• Alcorn McBride RideTraXX User’s Manual • Rev 1.3 • Page 29
Scheduler Control
For an easy way to
make a schedule, use
Schedule Builder
available at
http://www.alcorn.com/s
upport/software.html
If you plan on using the
Scheduler, you should
verify that the
RideTraXX’s time, date,
timezone, and daylight
savings mode are set
correctly.
The RideTraXX has a built-in real-time clock, which can be used to trigger
events based on time and/or date. For example, a schedule could be created
to play a sound at exactly 3:00PM on January 15th 2015, or start looping a
sound at 8AM every morning and stop looping it at 8PM every night.
The RideTraXX can accomplish this type of task using a feature called the
Scheduler
. With a user-created schedule file, the Scheduler can execute any
event listed in the
Command Protocol
section of this manual. These
scheduled events are accurate down to the minute, and can be programmed to
execute once, or repeat periodically (i.e. repeat every Monday, every January
1
st
, every morning, etc.).
The RideTraXX obtains schedule information from a file on the Compact
Flash card named
schedule.scl
.
This file is created using either a text editor
(i.e. Notepad) or a free Alcorn McBride application called
Schedule
Builder
. The remainder of this section contains information on how to make
this schedule file using either method.
Schedule Builder
To make creating schedules more convenient, Alcorn McBride provides a
free Windows application for making schedules using a graphical interface.
This program is called
Schedule Builder
, and it can be downloaded from the
software section the Alcorn McBride website at
http://www.alcorn.com/support/software.html
Here is a step-by-step guide to get started making schedules with Schedule
Builder.
1.
Open the Schedule Builder application
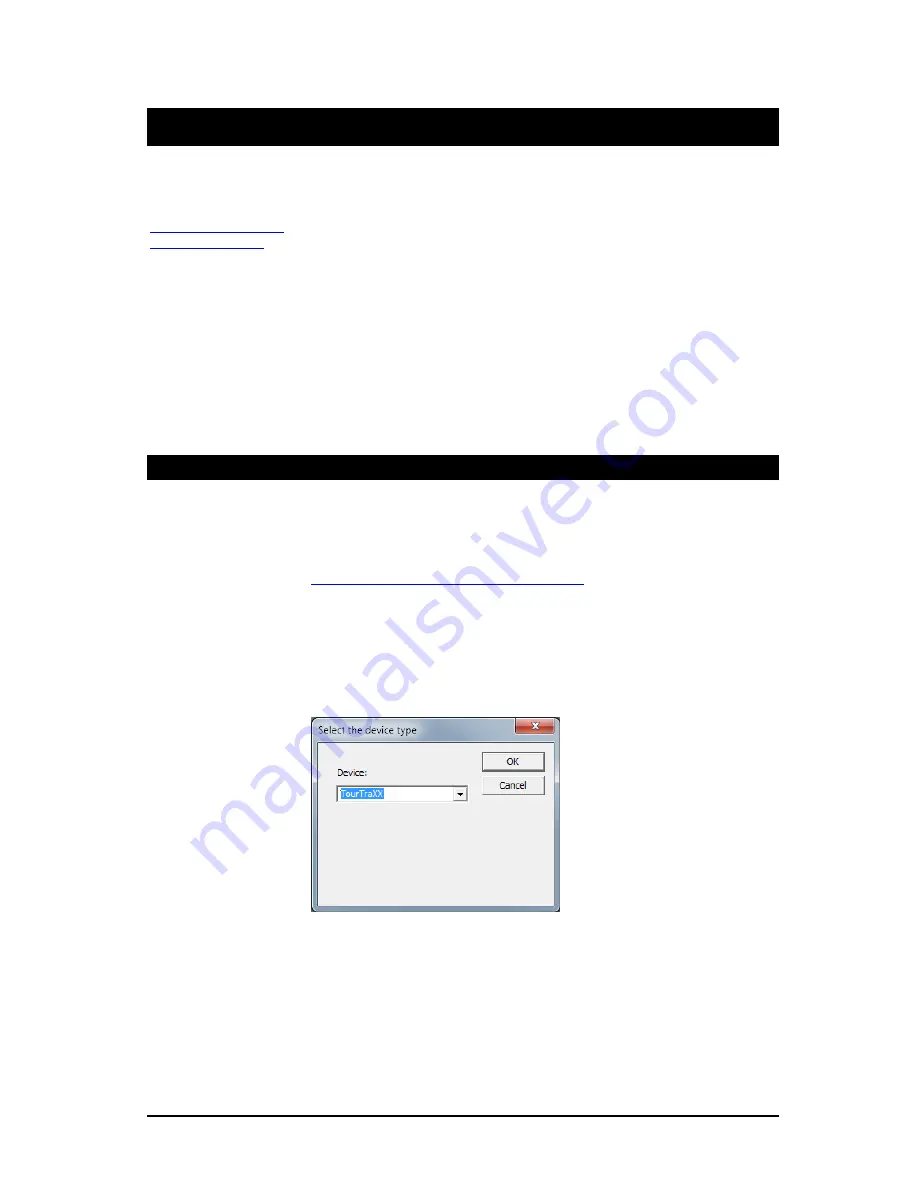
2.
Select the RideTraXX in the list of supported devices and click OK.
3.
The Add/Edit Event window will appear automatically. This is where
you select the event you wish to insert into the schedule. Since “Play
and Loop Clip” is an event used to play an audio file, we will use it for
this example.
4.
Using the arrows in the „parameters‟ box, you can select which type of
Play command you wish to use. For example, “By Number” would
allow you to enter a clip number. “By File” would allow you to enter the


