background image

Page 9

User instructions

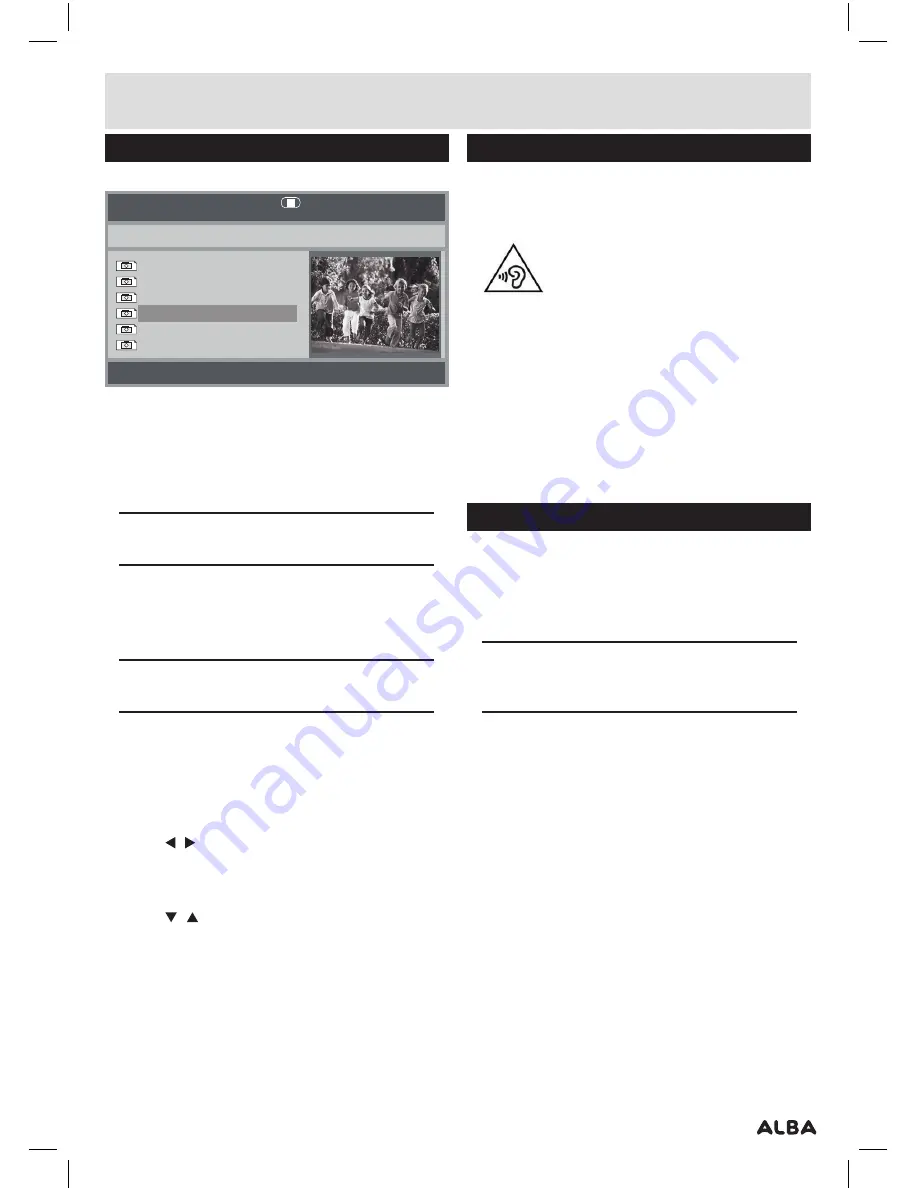
Picture disc / JPG image viewer

Follow the steps to  view images from a CD/DVD disc . 

00:00 00:00

052/086

Resolution   2592  x 1944

DSC00283
DSC00283
DSC00283
DSC00283
DSC00283
DSC00283

1:

 Insert a 

CD/DVD 

containing 

JPG 

images into the unit .

2:

 Once loaded a file manager will appear listing 

compatible images found on the disc .

3:

 Use the navigation buttons to scroll through the 

images . Press the 

ENTER/


OK (6)

 button to display 

an image

NOTE:

 View all images from every folder by 

pressing the PROG button on the remote control.

4:

 To view an image for longer than the default slide 

show duration press the 

PLAY/PAUSE 

 button on 

the unit 

(10)

 or remote control . Pressing once more 

resumes the normal playback .

NOTE:

 You can navigate to the file manager at any 

time by pressing the MENU button.

1:


REPEAT MODES

Press the 

REPEAT

 button repeatedly to cycle through 

the available play modes : Single, Repeat one, Repeat 
folder, Folder, Shuffle, Random .

2 . PICTURE ROTATION

Press the   /   navigation buttons to rotate the image 
Anti-Clockwise or Clockwise .

3 . PICTURE FLIP

Press the   /   navigation buttons to flip the image .

4 . PICTURE ZOOM

 To enlarge  or reduce the image press the 

ZOOM

 button 

repeatedly to cycle through the magnification modes . 
EG:- 50%, 75%, 100%, 125%, 150% & 200% .

5 . SLIDE SHOW TRANSITIONS

During the slide show, pressing the 

PROGRAM

 button 

will cycle through all the available transition presets .

Earphone usage

1:

 Connect earphones  

(supplied)

 to the 

3 .5mm

 output 

on the side of the main unit 

(12)

 .

2:

 Adjust the volume in the normal manner  

(see Setting the volume level

,

 Page 7)

 .

• 

Listen at moderate volumes to avoid hearing 

damage .

• 

If you hear no sound during playing

,

 do not turn up 

volume up as the music may suddenly begin at a 

high volume . 

• 

Excessive sound pressure from earphones  

and headphones can cause hearing loss .

• 

To avoid damaging your ears

,

 adjust the volume  

to the lowest safe level before playing

,

 and turn  

up to the desired level when playback has started .

Adjusting the swivel display

The display can be rotated a total of 270 degrees .

1:

 The display can be rotated 

90

 degrees Anti-clockwise 

from the facing front position .

2:

 The display can be rotated 

180

 degrees Clockwise 

from the facing front position .

NOTE:

 Take care not to rotate any further than 

the specified angles, as internal wiring can be 
damaged.

Summary of Contents for CDVD7SW

Page 1: ...7 portable DVD player With swivel screen Instruction manual CDVD7SW CDVD7SWP...

Page 2: ...MenuandTFTfunction 7 Skippingforwardandback 7 QuicksearchFWD RWD 7 Stoppingplayback 7 Repeatplayback CD DVD 7 Displayfunction 7 GOTOfunction 8 Programplayback upto20tracks 8 Zoomfunction 8 Selectinga...

Page 3: ...oasuitablepowersource asdescribedinthe operatinginstructionsorasmarkedontheproduct Themainsplugisusedasthedisconnectdevice the disconnectdeviceshallremainreadilyaccessible Thissymbolmeansthatthisuniti...

Page 4: ...ignedanumber whichiscalledtitlenumber chapternumberortrack numberrespectively Theremaybediscsthatdonot havethesenumbers Copyright information Thisproductincorporatescopyrightprotection technologythati...

Page 5: ...weradapter 1xMainsadapter Overview of controls 1 DISPLAYswivel 2 VOLUME button 3 VOLUME button 4 SOURCEbutton 5 SETUPbutton 6 NAVIGATION ENTERbuttons 7 MENUbutton 8 TFTbutton 9 STOPbutton 10 PLAY PAUS...

Page 6: ...alternate playbacksequenceforDVD CD NUMERICBUTTONS Usedto enterdigitsordirectskipto chapternumbers QUICKSEARCHRWD FWD Press repeatedlytocyclebetweenthe fastrewind forwardspeeds SKIPPREV NEXT Presstosk...

Page 7: ...eAVOUTPUTsocket 13 onthesideoftheunit 2 Inserttheotherends colouredred white yellow intoyourTV 3 Thered whitesocketscarryaudio Theycanbe connectedtoeithertheTVinputsoranexternal amplifier Takenotetoma...

Page 8: ...PAUSEbuttontostart playback Setting the volume level 1 UsetheVOLUME buttonsoneitherthe mainunit 2 3 orremotetoincreaseordecreasethevolume 2 UsetheMUTEbuttonontheremotetosilencethe audio pressagaintor...

Page 9: ...s eg ZOOMX2 ZOOMX3 ZOOMX4 ZOOM1 2 ZOOM 1 3 ZOOM1 4 Thenextpresswillreturntothe OFFsetting Selecting an audio track WhenviewingaDVD youmaywishtochangethe audiotrackforexampleYouwishtousea2channel versi...

Page 10: ...i ClockwiseorClockwise 3 PICTUREFLIP Pressthe navigationbuttonstofliptheimage 4 PICTUREZOOM Toenlarge orreducetheimagepresstheZOOMbutton repeatedlytocyclethroughthemagnificationmodes EG 50 75 100 125...

Page 11: ...ANGLEMARK SelectONofyouwishaniconto bedisplayedwhenthemulti angleoptionisavailable OSDLANGUAGE ThissetstheOn ScreenDisplaylanguage Choosebetween English German French Spanish SCREENSAVER Whentheunitis...

Page 12: ...stheDVD playerwillautomaticallyselectthislanguageasthe audiotrack ifavailable PREFERENCE MENU cont SUBTITLELANG Choosethedefaultsubtitlelanguage DISCMENU ThisoptionsetsthedefaultDVDmenulanguage once s...

Page 13: ...pwards Ensurethediscisnotscratchedor dirty Cleanandre insertthedisc ortryanotherdisc Ensurethedisciscompatiblesee TechnicalSpecifications onpage13 Nopictureorsound TheTFTbuttonhasbeen presseddisabling...

Page 14: ...totheapplicablecollectionpointfortherecycling ofelectricalandelectronicequipment Byensuringthisproductisdisposedofcorrectly youwill helppreventpotentialnegativeconsequencesfortheenvironmentandhumanhea...

Page 15: ...uarantee does not cover accidental damage misuse cabinet parts knobs or consumable items The product must be correctly installed and operated in accordance with the instructions contained in this manu...

Reviews: