20
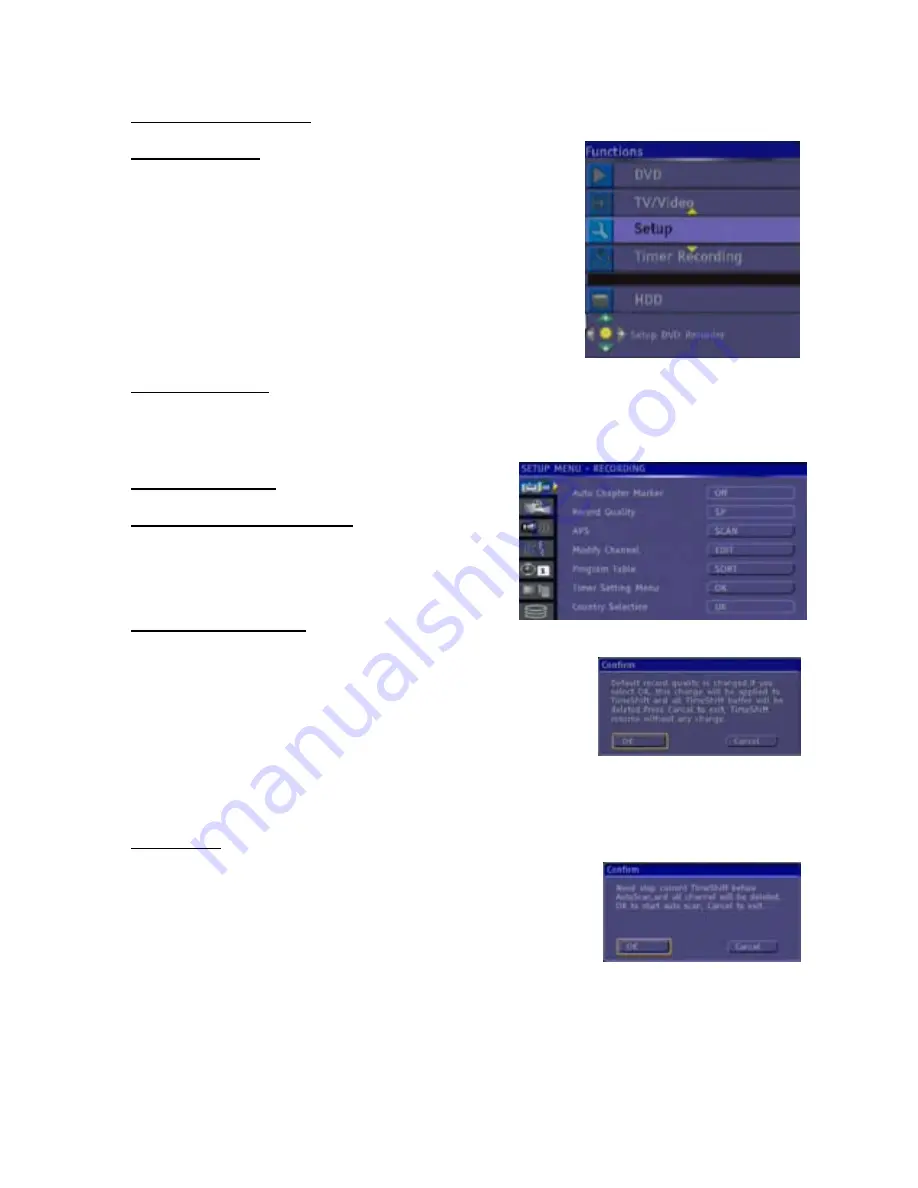
2.2 FUNCTIONS MENU
INTRODUCTION
This menu is used as a shortcut menu for switching to DVD playback,
timeshift monitor mode, setup menu, timer recording menu, harddisk
playback. You can navigate on those items and press SELECT on one
of them to switch to. If you wait for more than 5 seconds this menu will
be closed.
DVD -
Switch to DVD playback window.
TV/Video -
Switch to time shift monitor mode.
Setup
– Switch to setup menu.
Timer Recording
– Switch to timer recording menu.
HDD
– Switch to harddisk title window.
2.3 SETUP MENU
If you press
SETUP
key on the remote control or select Setup from Functions menu, a menu will be
displayed. You can use arrow keys for navigation and
SELECT
key to change highlighted option.
NOTE:
Some Setup Menu items may not be available during playback or monitor mode.
2.3.1 RECORDING
2.3.1.1 Auto Chapter Marker
You can select one of the time periods (5min, 10min, 20min,
30min) for automatic chapter insertion or cancel this function
by choosing “Off” option.
2.3.1.2 Record Quality
You can choose the quality level for custom recording. Each quality level offers different recording time
period, listed below:
- HQ
: High Quality-60 min
- SP
: Standard Play- 120 min
- LP
: Long Play- 180 min
- EP
: Extended Play- 240 min
- SLP : Super Long Play- 360 min.
If you change Record Quality at Time Shift mode, buffer will be refreshed. Therefore, a confirmation
message is displayed before changing quality.
NOTE:
This menu item will be active only in monitor mode.
2.3.1.3 APS
Automatically scans all the channels present at the antenna input.
Initially it deletes all current channels in the memory. To confirm this a
message is displayed on the screen. If you chose “Continue” it will start
scanning the channels.
Note
: APS takes a few minutes
Note
: If Audio is not present please see Trouble shooting guide


