29CTF05BS
3 – 28
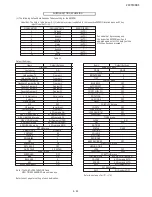
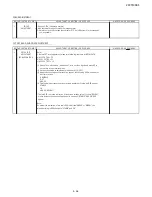
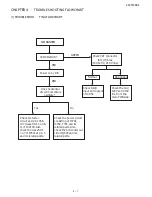
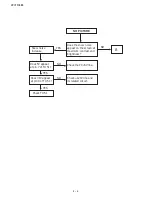
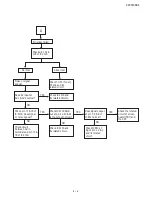
A = Out of spec
B = OK
C = Out of spec
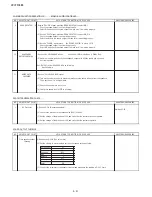
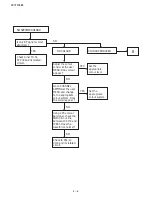
HORIZONTAL, VERTICAL, DEFLECTION LOOP AND ADJUSTMENT
S
K
R
A
M
E
R
R
O
M
R
O
F
E
V
A
W
E
R
U
D
E
C
O
R
P
/
N
O
I
T
I
D
N
O
C
T
N
E
M
T
S
U
J
D
A
T
N
I
O
P
T
N
E
M
T
S
U
J
D
A
O
N
1
MAIN SCREEN
ADJUSTMENT
)
e
p
o
c
s
o
n
o
m
(
.l
o
r
t
n
o
C
e
t
o
m
e
R
n
w
o
D
/
p
U
e
m
u
l
o
V
y
b
e
p
o
l
S
-
V
t
s
u
j
d
A
E
P
O
L
S
-
V
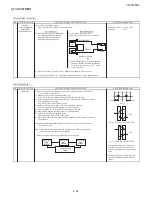
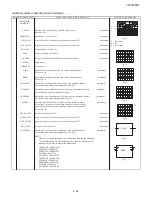
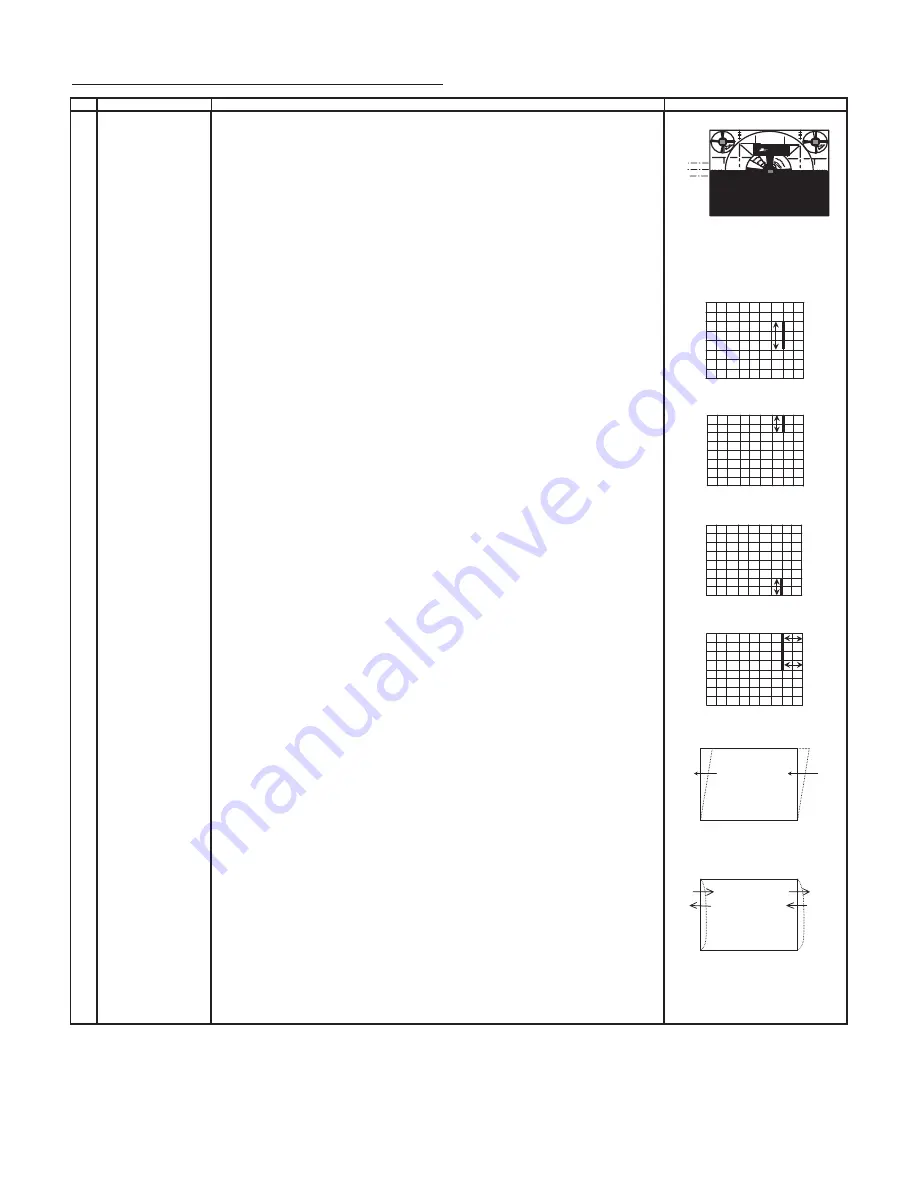
Refer to Fig 1-1.
VER-AMP-F50
Adjust the ove
)
e
p
o
c
s
o
n
o
m
(
%
5
.
8
o
t
n
a
c
s
r
)
e
p
o
c
s
o
n
o
m
(
.
T
R
C
f
o
r
e
t
n
e
c
c
ir
t
e
m
o
e
g
e
h
t
o
t
n
e
e
r
c
s
e
h
t
f
o
r
e
t
n
e
c
e
h
t
n
g
il
A
0
5
F
-I
H
S
-
R
E
V
)
e
p
o
c
s
o
n
o
m
(
.
T
R
C
f
o
r
e
t
n
e
c
c
ir
t
e
m
o
e
g
e
h
t
o
t
n
e
e
r
c
s
e
h
t
f
o
r
e
t
n
e
c
e
h
t
n
g
il
A
0
5
F
-I
H
S
-
R
O
H
EW-W-F50
Adjust the overs
)
e
p
o
c
s
o
n
o
m
(
%
5
.
8
o
t
n
a
c
V-LINE
Adjust the linearity
)
e
p
o
c
s
o
n
o
m
(
.t
s
e
b
e
h
t
o
t
)
e
p
o
c
s
o
n
o
m
(
).
d
e
v
e
i
h
c
a
s
i
y
ti
r
a
e
n
il
e
h
t
s
s
e
l
n
u
s
i
h
t
t
s
u
j
d
A
(.
t
e
s
e
r
p
y
d
a
e
rl
A
R
R
O
C
S
-
V
V-SCROLL
Already preset.
VX-NORMAL
Already preset.
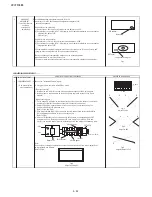
H-PAR
Adjust the 2nd vertical line from the end of the crosshatch pattern
(crosshatch)
Refer to Fig 1-6.
H-BOW
Adjust the 2nd vertical line from the end of the crosshatch pattern
(crosshatch)
Refer to Fig 1-7.
E/W-PAR-F50
Adjust the 2nd vertical line from the right end of the crosshatch pattern
(crosshatch)
so that the middle 4 blocks ar e straight. Refer to Fig 1-2.
UPCOR-PAR
Adjust the 2nd upper vertical line from the right end of the crosshatch pattern
(crosshatch)
so that the upper line are straight. Refer to Fig 1-3.
LOCOR-PAR
Adjust the 2nd lower vertical line from the right end of the crosshatch pattern
(crosshatch)
so that the bottom line are straight. Refer to Fig 1-4.
EW-TRAP
Adjust the 2nd vertical line from the right end of the crosshatch pattern
(crosshatch)
so that the D1 (center area of the second vertical line - edge of screen)
and D2 (top area of the second vertical line - edge of screen) are same.
Refer to Fig 1-5.
)
e
p
o
c
s
o
n
o
m
(
.
%
0
1
o
t
n
a
c
s
r
e
v
o
e
h
t
t
s
u
j
d
A
0
6
F
-
P
M
A
-
R
E
V
)
e
p
o
c
s
o
n
o
m
(
.
T
R
C
f
o
r
e
t
n
e
c
c
ir
t
e
m
o
e
g
e
h
t
o
t
n
e
e
r
c
s
e
h
t
f
o
r
e
t
n
e
c
e
h
t
n
g
il
A
0
6
F
-I
H
S
-
R
E
V
)
e
p
o
c
s
o
n
o
m
(
.
T
R
C
f
o
r
e
t
n
e
c
c
ir
t
e
m
o
e
g
e
h
t
o
t
n
e
e
r
c
s
e
h
t
f
o
r
e
t
n
e
c
e
h
t
n
g
il
A
0
6
F
-I
H
S
-
R
O
H
)
e
p
o
c
s
o
n
o
m
(
.
%
0
1
o
t
n
a
c
s
r
e
v
o
e
h
t
t
s
u
j
d
A
0
6
F
-
W
-
W
E
E/W-PAR-F60
Adjust the 2nd vertical line from the right end of the crosshatch pattern
(crosshatch)
so that the middle 4 blocks ar e straight. Refer to Fig 1-2.
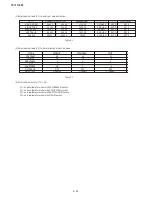
NOTE :
There are no separate adjustment for 16:9 mode and Normal mode adjustment.
The 16:9 (Panorama mode 50/60Hz) data need to follow the adjusted data for
Normal mode (50/60Hz). Please set the data as below.
VER-AMP-P50 = VER-AMP-F50
VER-SHI-P50 = VER-SHI-F50
HOR-SHI-P50 = HOR-SHI-F50
EW-W-P50 = EW-W-F50
E/W-PAR-P50 = E/W-PAR-F50
VER-AMP-P60 = VER-AMP-F60
VER-SHI-P60 = VER-SHI-F60
HOR-SHI-P60 = HOR-SHI-F60
EW-W-P60 = EW-W-F60
E/W-PAR-P60 = E/W-PAR-F60
Fig 1-1
A
B
C
H-PAR
H-BOW
Fig 1-2
Fig 1-3
Fig 1-4
Fig 1-5
Fig 1-6
Fig 1-7
D1
D2
Summary of Contents for 29CTF05BS
Page 1: ...Service manual Colour TV set 29CTF05BS ...
Page 46: ...29CTF05BS 7 2 ...
Page 50: ...29CTF05BS 10 2 ...
Page 51: ...29CTF05BS 10 3 2 SCHEMATIC DIAGRAM CRT UNIT 29CTF05BS ...
Page 53: ...29CTF05BS 11 2 2 PWB A MAIN UNIT 1 MAIN UNIT COMPONENT SIDE ...
Page 54: ...29CTF05BS 11 3 ...
Page 55: ...29CTF05BS 11 4 2 MAIN UNIT CHIP PARTS SIDE ...
Page 56: ...29CTF05BS 11 5 ...

