16
•
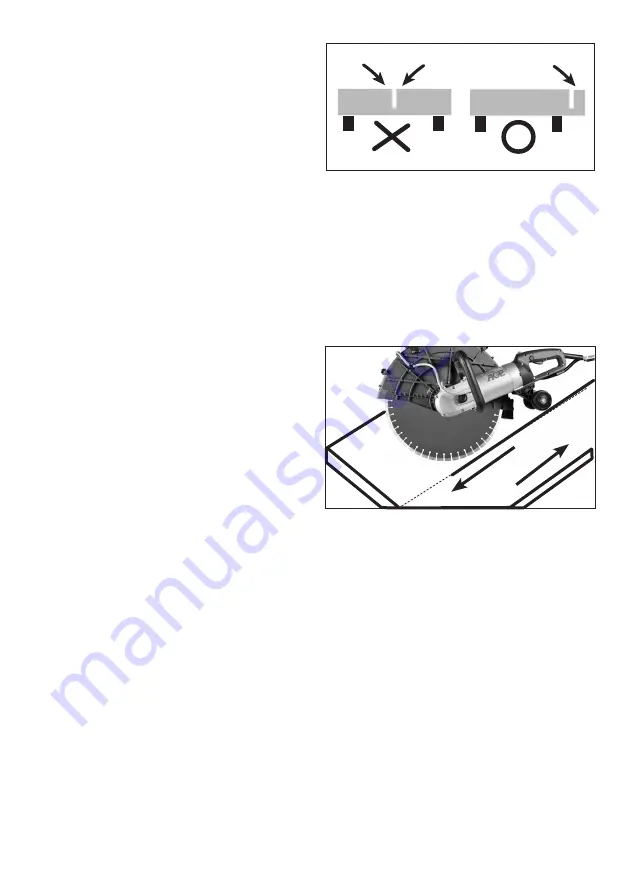
Whenever there is a situation where severing
the workpiece will cause a hazardous situation,
leave a tab of material intact and finish off the
operation with a chisel or the like.
Cutting Technique
•
Holding the machine with both hands to resist the start up torque, press the release button and then
squeeze the trigger switch.
•
Allow the machine to reach full speed before contacting the workpiece.
•
Adjust the water flow as needed by turning the water feed valve.
•
Then gently begin the cut with the rear portion of the blade until the kerf is established. Make the first cut
in the forward direction (so that you can see the line of cut). Then make following cuts in the backward
direction.
•
Do not try to cut too much depth in one pass. Never exceed about 50mm (2”) per pass.
•
It’s a good idea to first cut a shallow guiding
groove before proceeding to make the main cut.
If any correction is needed. Lift the blade and cut
slightly ahead and then back into the existing
kerf. Take care to avoid the blade being pinched.
•
In round workpieces, the best technique is to
use a slow, uniform back and forth motion while
cutting with the bottom quadrant of the blade.
•
Do not allow the machine to bog down. Limit
your feed pressure to keep the blade spinning at
high speed.
•
Never side load the blade in the kerf.
Stopping
Release the trigger to stop the machine. After the trigger is released, the blade will continue spinning for a
short time. Once the machine is fully stopped, press the Power button on the power converter to de-energize
the motor.
WARNING: Do not set the machine down until the blade has stopped turning.
MAINTENANCE AND CLEANING
This machine operates in a very harsh environment.
Therefore, it’s essential for the long life of the tool that it be thoroughly cleaned after each use.
Daily Maintenance
1.
2.


