


Instrument Installation Checklist
Revision:
A.00
, Issued:
January
17
, 20
21
Document part number:
D0007550
Page ____ of ____
© Agilent Technologies, Inc. 20
21
Configuring the temperature control cooling unit
1
Determine the COM port the cooling unit is using:
a
Power on the RapidFire 400 System by pressing the two main power switches in the rear.
The TEC fan should start, indicating the cooling unit is working.
b
On the computer, go to
Control Panel > Device Manager > ports (COM & LPT)
.
c
Note the COM ports in use.
d
Unplug the cooling unit controller USB connection from the computer and note which
COM port disappears.
e
Plug the controller USB cable back into the computer and close the control panel.
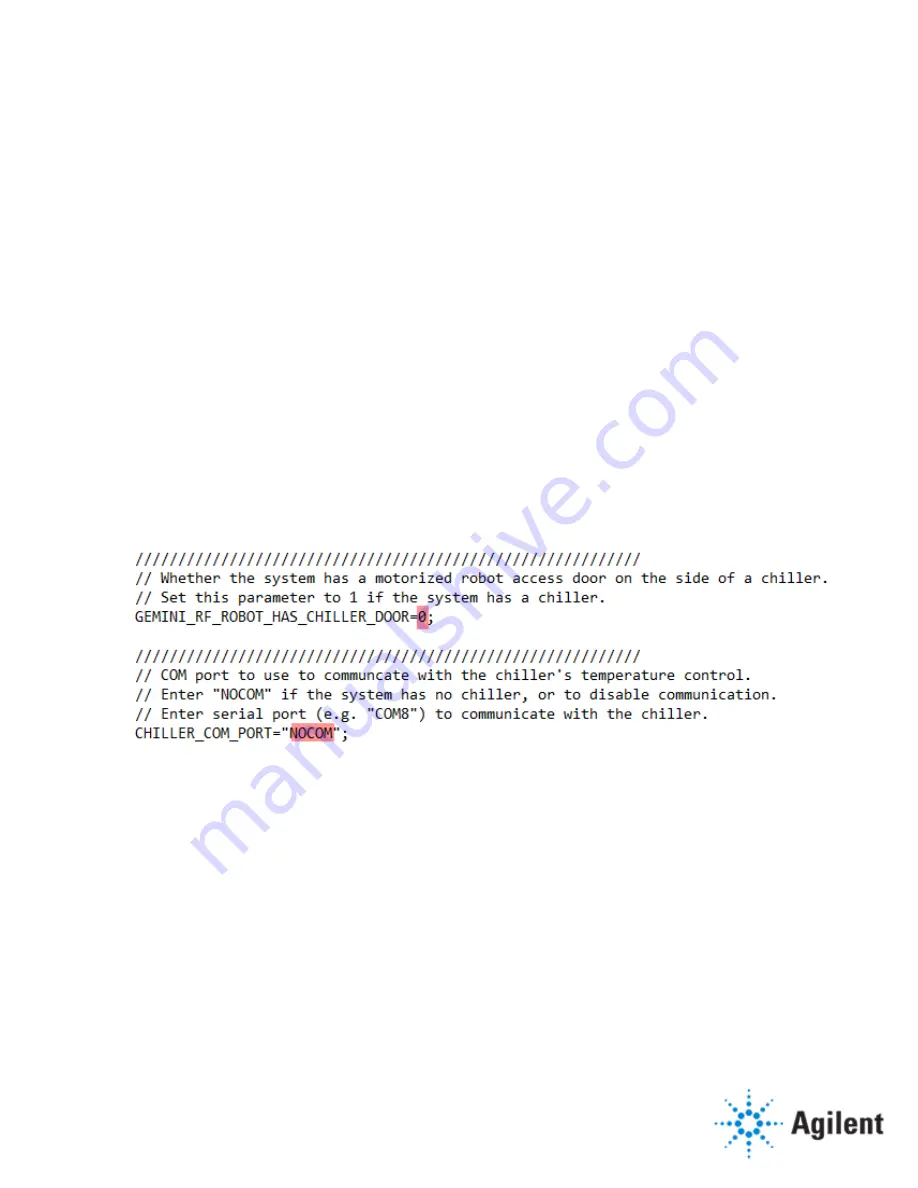
2
Configure the cooling unit in the RapidFire software:
a
Open the PlateHandler.cfg file (C:\Agilent\RapidFire\Config Files for RF400) in a text
editor.
b
Change
GEMINI_RF_ROBOT_HAS_CHILLER_DOOR=0;
to
=1;
c
Change
CHILLER_COM_PORT="NOCOM'; to ="X";
where X is the number you determined
in step 1.
d
Save and close the file.
3
Start the RapidFire software and verify you can open and close the robot access door,
temperature controls are active, and the enclosure cools.
Setting the robot teachpoints
Since you are installing a temperature control unit, you will need to reset the teachpoints as they
will change with the addition of the cooling enclosure.
Setting the x-axis position for the robot
1
Change the following parameter in the RapidFire.cfg file: