


49
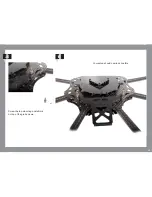
1
2
3
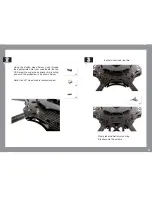
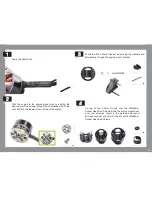
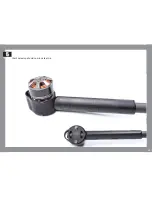
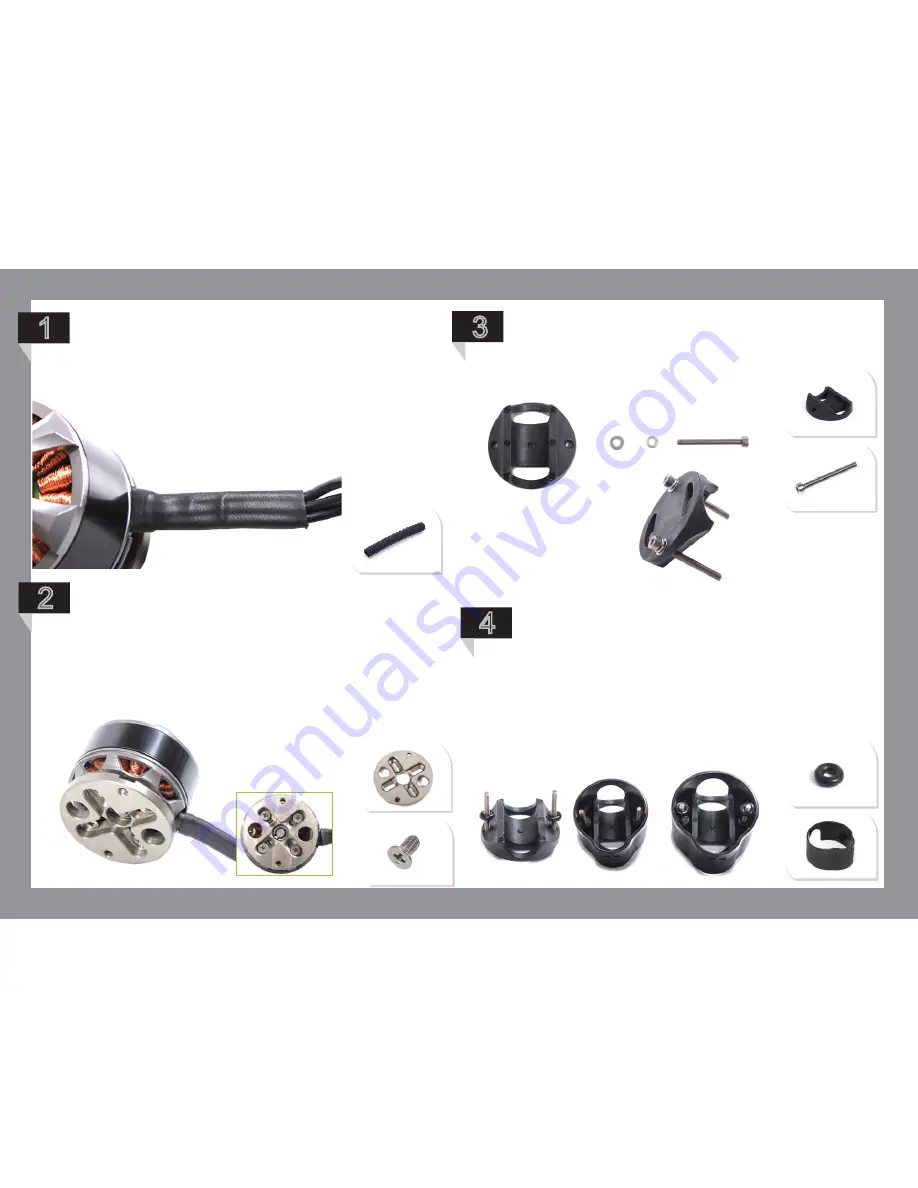
Fit the two M3 x 30mm titanium screws, spring washers and
flat washers through the engine mount bracket.
Apply the heat shrink.
4
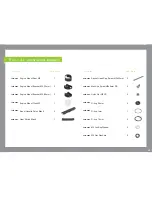
x2
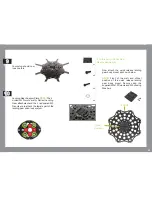
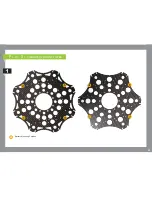
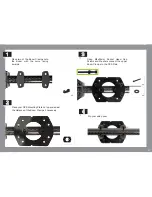
Affix the engine to the engine mount disk by slotting the
desired machine screws through the chamfered side of the
disk and into the firewall mount holes of the engine.
x4
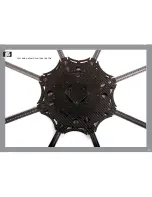
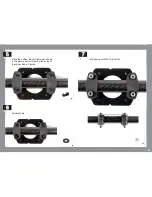
Fit two of the 2.5mm O-rings over the M3x30mm
Socket Head Cap Screws. Slide the engine mount boot
over your setup as shown in the pictures below and
add a second set of 2.5mm O-rings over the M3x30mm
Socket Head Cap Screws.
x4
Summary of Contents for XM Titanium
Page 1: ...1 B u i l d M a n u a l...
Page 3: ...3 F l i g h t o p e r a t i o n a n d s a f e t y...
Page 8: ...8 P r e b u i l d C h e c k l i s t...
Page 10: ...10 A s s e mb l y I n s t r u c t i o n s...
Page 21: ...21 P a r t 2 G e a r R a i l a s s e mb l y...
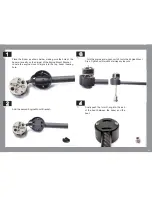
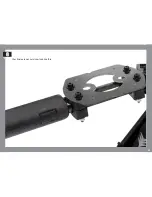
Page 37: ...37 15 Your setup should now look like this...
Page 38: ...38 P a r t 3 XM BATTERY MOUNT PLATES 1 Battery Mounting Position...
Page 52: ...52 Your final setup should now look like this 5...
Page 59: ...59 8 Your final setup should now look like this...


