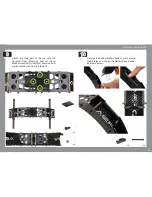


28
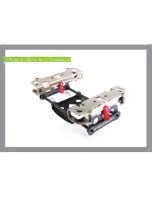
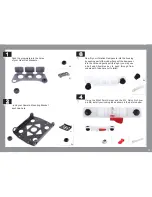
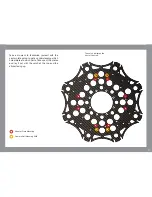
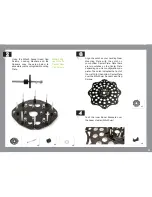
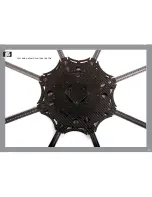
Take a moment to familiarise yourself
with the center plate setup to get an
understanding which holes relates to
which parts. Take one of the plates
and lay it out with the notch at the top
and the sticker facing up.
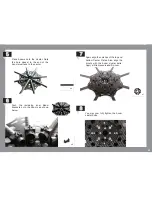
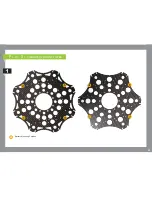
Camera Rail Mounting
Boom Bracket Mounting Inner
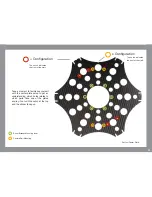
The notch indicates
the front of the craft.
Bottom Center Plate
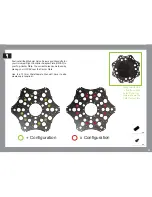
x Configuration
The notch indicates
the front of the craft.
+ Configuration
Summary of Contents for XM Titanium
Page 1: ...1 B u i l d M a n u a l...
Page 3: ...3 F l i g h t o p e r a t i o n a n d s a f e t y...
Page 8: ...8 P r e b u i l d C h e c k l i s t...
Page 10: ...10 A s s e mb l y I n s t r u c t i o n s...
Page 21: ...21 P a r t 2 G e a r R a i l a s s e mb l y...
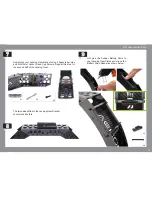
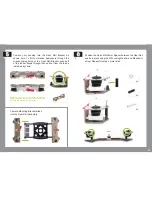
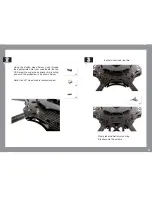
Page 37: ...37 15 Your setup should now look like this...
Page 38: ...38 P a r t 3 XM BATTERY MOUNT PLATES 1 Battery Mounting Position...
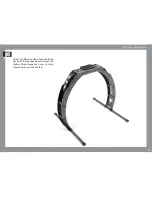
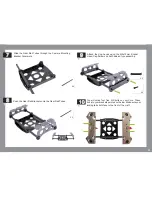
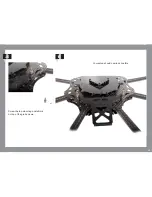
Page 52: ...52 Your final setup should now look like this 5...
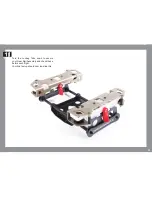
Page 59: ...59 8 Your final setup should now look like this...


