Deployment Guide
27
I
NSTALLING AND
C
ONNECTING TO THE
H
IVE
M
ANAGER
GUI
Installing the GUI Client and Connecting to the MGT Interface
1. Connect Ethernet cables from the MGT interface and LAN interface
—
if you are using it
—
to the network.
2. Connect an Ethernet cable from your management system to the network so that you can make an Ethernet
connection to the IP address you set for the MGT interface.
3. Open a web browser and enter the IP address of the MGT interface in the address field followed by the
destination port number 9090. For example, if you changed the IP address to 10.1.1.20, enter this in the address
field: http://10.1.1.20:9090
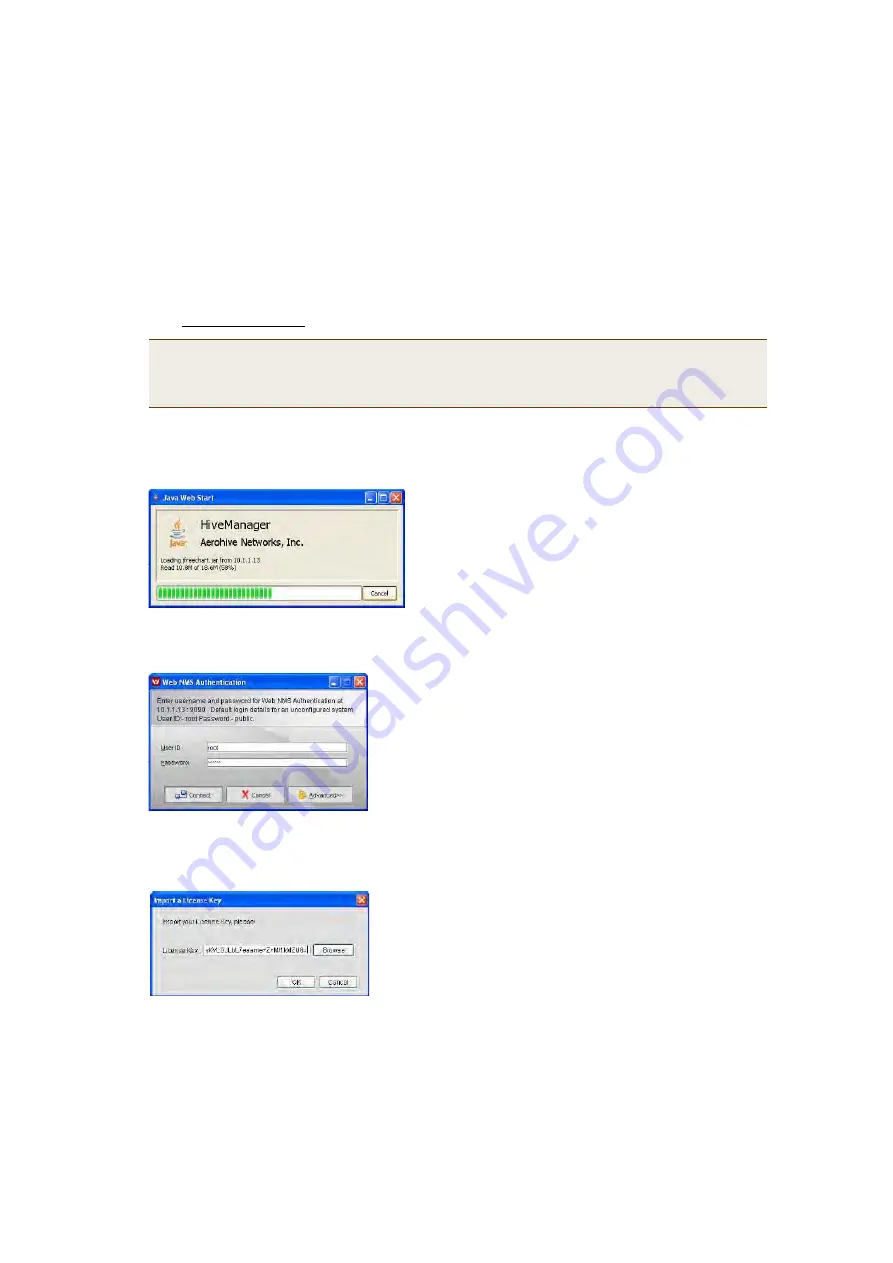
The management system downloads the GUI client software from the HiveManager and installs it in a Java
sandbox. The initial download and installation might take a minute or so to complete, and the web browser
window might appear blank for several seconds at the start. This is normal. After a few seconds, a download
status bar appears onscreen that allows you to monitor the progress of the download and installation.
When the download and installation completes, a login prompt appears.
4. Type the default user name and password (
root
and
aerohive
) in the login fields and then click
Connect
.
The HiveManager GUI application automatically opens and prompts you to enter a license key.
5. Copy the license key string provided by Aerohive when the HiveManager was purchased, paste it in the License
Key field, and then click
OK
.
You are now logged in to the HiveManager GUI.
Note:
If you ever forget the IP address of the MGT interface and cannot make an HTTP connection to the
HiveManager, make a serial connection to its console port and enter this command:
ifconfig
. The
output displays data about the MGT interface (internally called "eth0"), including its IP address. For
serial connection settings, see
"Changing Network Settings for the HiveManager" on page 25
.


